One morning, as I was going through my usual makeup routine I started to really think about what I was doing: was I using the right moisturiser before my foundation? Was I applying concealer that made my fine lines look worse? Is there another way I can define my brows without painstakingly drawing on tiny hairlike lines? It then occurred to me that maybe I should ask a professional rather than just hoping someday the answers would magically pop into my head. So that's exactly what I did.
This is the story of how I decided to seek the help of a professional makeup artist. But not just any makeup artist. I wanted the help of Hannah Martin [1], the the wedding makeup artist to Princess Eugenie [2].
One scroll through her Instagram and you'll see three things: glowing skin, minimal-but-beautiful eye makeup, and before-and-after photos that show the same person but just an enhanced version of themselves. Basically, it's everything I wanted from my own makeup. Add the fact that she's incredibly down to earth (you'll love her after listening to just one episode of her podcast with fellow makeup artist, Lisa Potter-Dixon [3], "Life and Lipstick" [4]), and I knew she'd be the perfect person to give me kind and constructive criticism about my makeup.
Luckily, she was game. So on an average Wednesday morning, I apprehensively tipped out the contents of my makeup bag — a mix of high street and high-end products — for Martin to inspect while we sat together in a coffee shop just off Oxford Street. One by one, we discussed each product choice and application technique (many of which I was doing wrong), and she gave me advice on where I could improve. Keep reading to see all of the tips Hannah Martin gave me during an hour-long makeup lesson. Myself and my makeup bag will be forever thankful.
Tip 1: Reconsider Your Choice of Moisturiser and Primer
Every good makeup look needs a good base. If your skin isn't prepped properly, nothing you put on top of it will look how you want it to — no matter how expensive the product is. Martin took a long, hard look at my prep process, which included a thick cream that didn't soak in very well, followed by a primer that didn't add any moisture to my dry skin. The combination was definitely not a recipe for dewy makeup success.
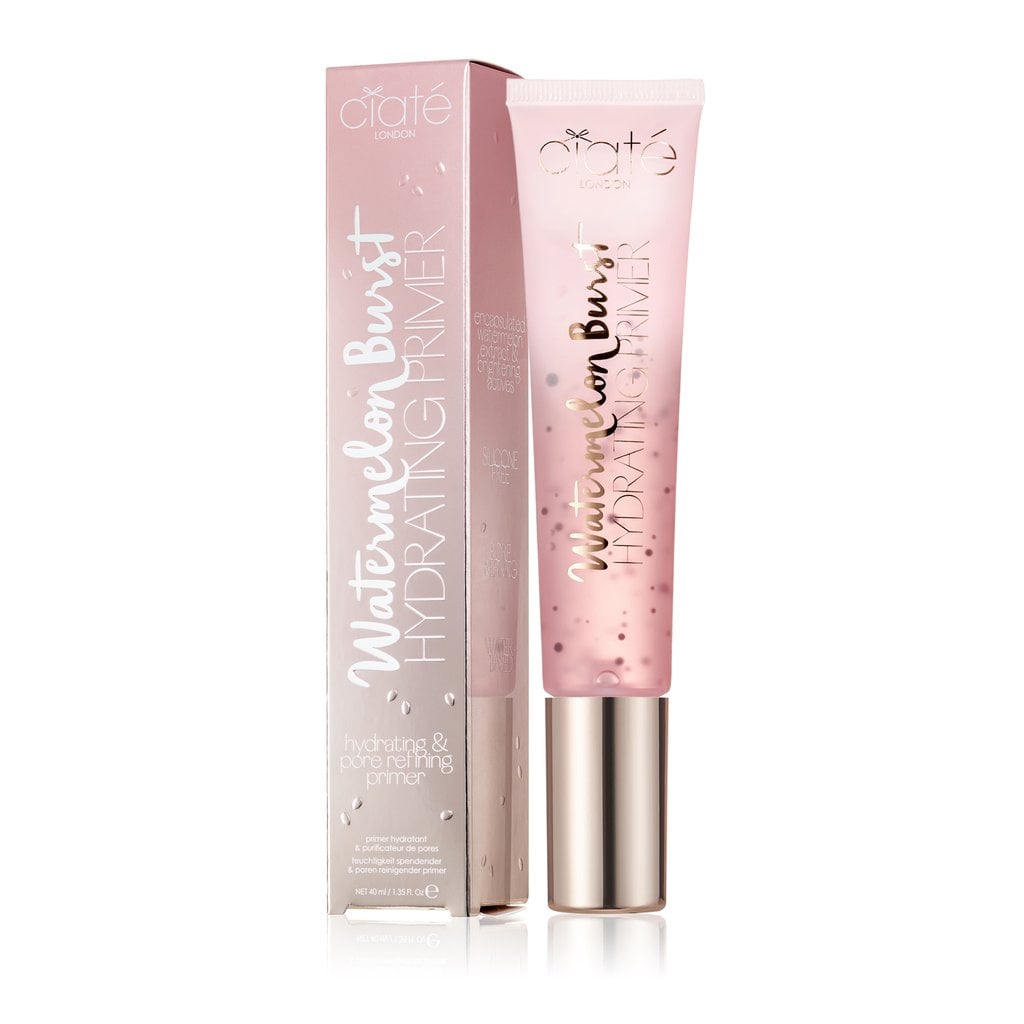
Martin suggested I try a hydrating primer (I have very dehydrated skin), such as Ciaté Watermelon Burst Hydrating Primer [5] (£24). She also recommended Drunk Elephant B-Hydra Intensive Hydration Serum [6] (£44) "if the skin needs a moisture surge," Bobbi Brown Extra Repair Moisturising Balm [7] (£68), to be used as a spot treatment just for the really dry patches on my face, and Charlotte Tilbury Magic Cream [8] (£70), which, in my opinion, really is magic.
Of course, her suggestions are not to be used all at once but rather mixed and matched depending on what I feel like my skin needs in the morning. Since taking her advice, my skin looks — and most importantly to me — feels more hydrated throughout the entire day without my makeup just slipping right off.
Tip 2: Setting Powder Should Look Invisible If You Prepped Correctly
Now, I hate face powder. Even if my base is done correctly, I'd rather walk around like a shining disco ball than dust powder on my face. However, Martin may have talked me into coming round to the occasional dusting of the stuff to set my makeup.
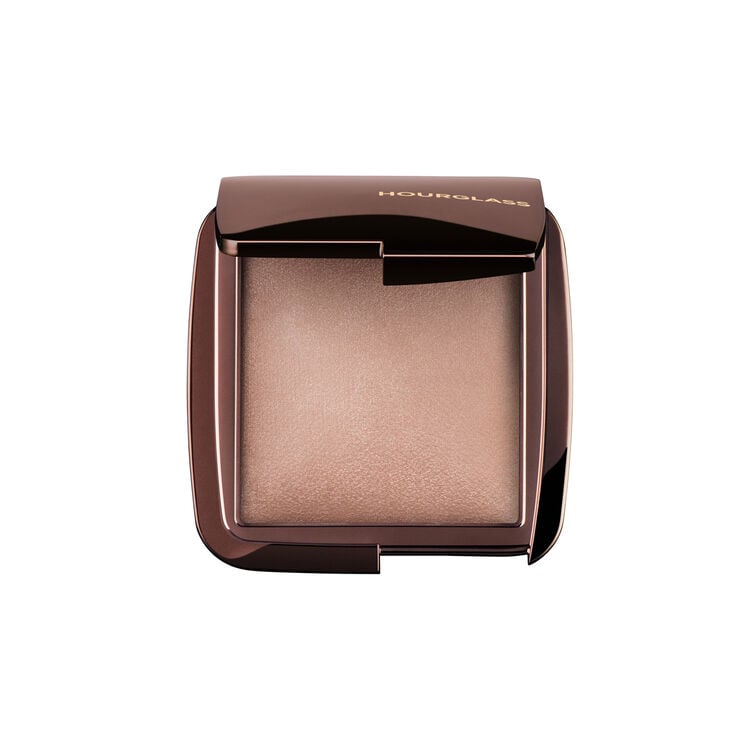
Martin suggested I was going wrong by using a shimmery loose setting powder all over my face, which was not only a messy to use but also made me look even more like a disco ball. Following her advice, I now use a pressed powder like Hourglass Ambient Lighting Powder [9](£20) or Charlotte Tilbury Airbrush Flawless Finish [10] (£34) and press it over my nose area and lightly on my forehead. And here's the thing: if you follow tip 1, then your powder will never look heavy.
Tip 3: Use a Colour-Correcting Concealer
I have blue-tinted circles under my eyes and dark shadows at the inner corners of my eyes. To cover this up, I explained to Martin that I tended to apply a lot of thick concealer, which ultimately made it look like I had more fine lines around my eyes than I actually do. Not cute.
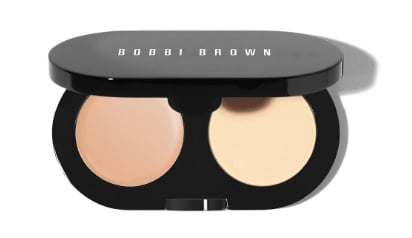
Following her advice, I now blend the lighter shade from the Bobbi Brown Creamy Concealer Kit in Ivory [11] (£26) compact and my absolute favourite [12], Pixi Correction Concentrate Brightening Peach Concealer [13] (£14) with my finger and dab it under my eyes to counteract the dark circles. Then, I top it with Yves Saint Laurent Beauté Touche Éclat Highlighter [14] (£25), which is superlight and brightens up my under eyes.
Tip 4: A Stiff Brush Is the Key to Natural-Looking Brows
I barely pluck my eyebrows (by barely, I mean I pluck a maximum of four hairs every six months). They're pretty low-maintenance, but I do like to fill in the sparse areas. Martin said I was having trouble perfecting my brows because the brush I was using was too flimsy, which meant I was applying the product in places I didn't want because I didn't have much control over where the product was going. As it turns out, I even had a better eyebrow brush in my makeup bag that I forgot was there. Martin instructed me to use the Morphe E29 Angled Brown and Spoolie brush [15] (£4.50), which makes it supereasy to draw on brushlike strokes exactly where they need to be and nowhere else. Easy!
Tip 5: Turn Your Lip Balm Into Lip Colour
Not long before meeting with Martin, I dyed my hair from blond to vibrant copper-red [16], which left me scared of putting any kind of colour on my face, especially lipstick. I became inexplicably terrified by red lipstick [17].
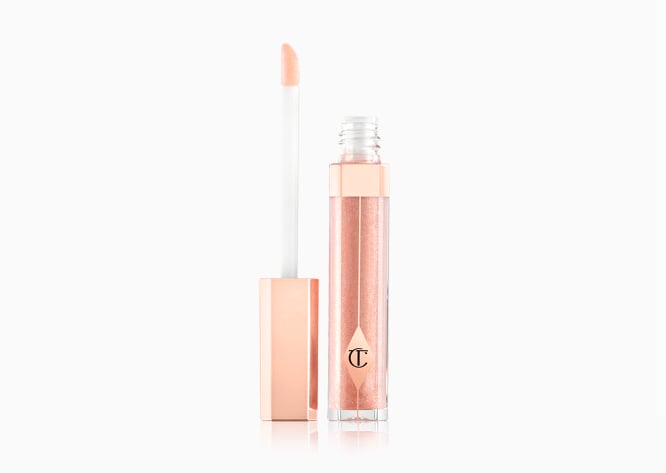
After expressing my fears to Martin, she assured me that , while I didn't need to jump straight into a fiery-red liquid lipstick right away, I could still experiment with colour — music to my ears! She recommended trying red lipsticks with a brown base, so I chose Charlotte Tilbury So Kissing in So Marilyn [18] (£24), which wasn't technically brown-based, but it worked perfectly for my skin tone. To ease my apprehensive lipstick feelings, I lightly blotted this onto my lips at first and topped it with Charlotte Tilbury Lip Lustre Ibiza Night lip gloss [19] (£17.50).
Martin also suggested taking a lip balm and adding a pink lipstick or lipliner shade over the top of it. The layering technique would blend all the textures together, creating the perfect, semisheer, everyday colour without the commitment and upkeep of a bold lip. Genius.
Tip 6: Get Acquainted With Tightlining the Eyes
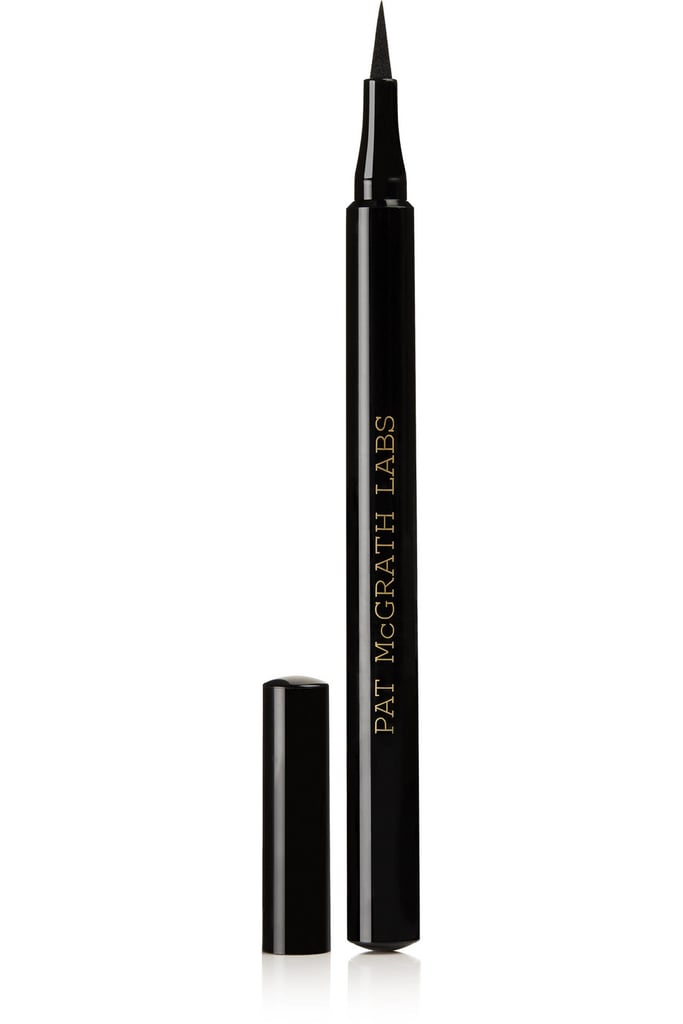
If you're unfamiliar, tightlining refers to specifically applying pencil eyeliner to the waterlines of your eyes to make your lashes look fuller. When Martin explained to me how to do this technique, she didn't refer to the waterline but rather the very base of the upper lashes. She took my Pat McGrath Labs Perma Precision Liquid Eyeliner [20] (£25.50) and carefully dotted the liner along my upper lash line (brave, but she's a professional). The difference was barely perceptible, but the dotting technique made an incredible difference on how dense my lashes looked. That's one of the reasons I admire Martin's makeup so much — she makes subtle tweaks to enhance her client's natural beauty.
As I was a little nervous to approach my eye with a liner that looked razor sharp, she recommended at first, I use a flat brush like Morphe's M432 Flat Liner Definer [21] (£4.50), to apply the liner to my waterline, which worked a treat. After practising, I'm now comfortable enough tightlining using the eyeliner pen straight onto my eye.
Tip 7: Don't Fear Blush, and DO Wear the Correct Shade
When Martin asked me about blush, I blushed at my response. I told her that I dusted on the tiniest amount of pink-hued powder on my cheeks because I knew that I was (according to most makeup artists) supposed to. I was particularly scared of it after my dramatic hair colour change. However, after some gentle convincing, Martin showed me that it's all in choosing the correct shade. I needed a very light pink, preferably two-toned rather than one stark, bright pink colour.
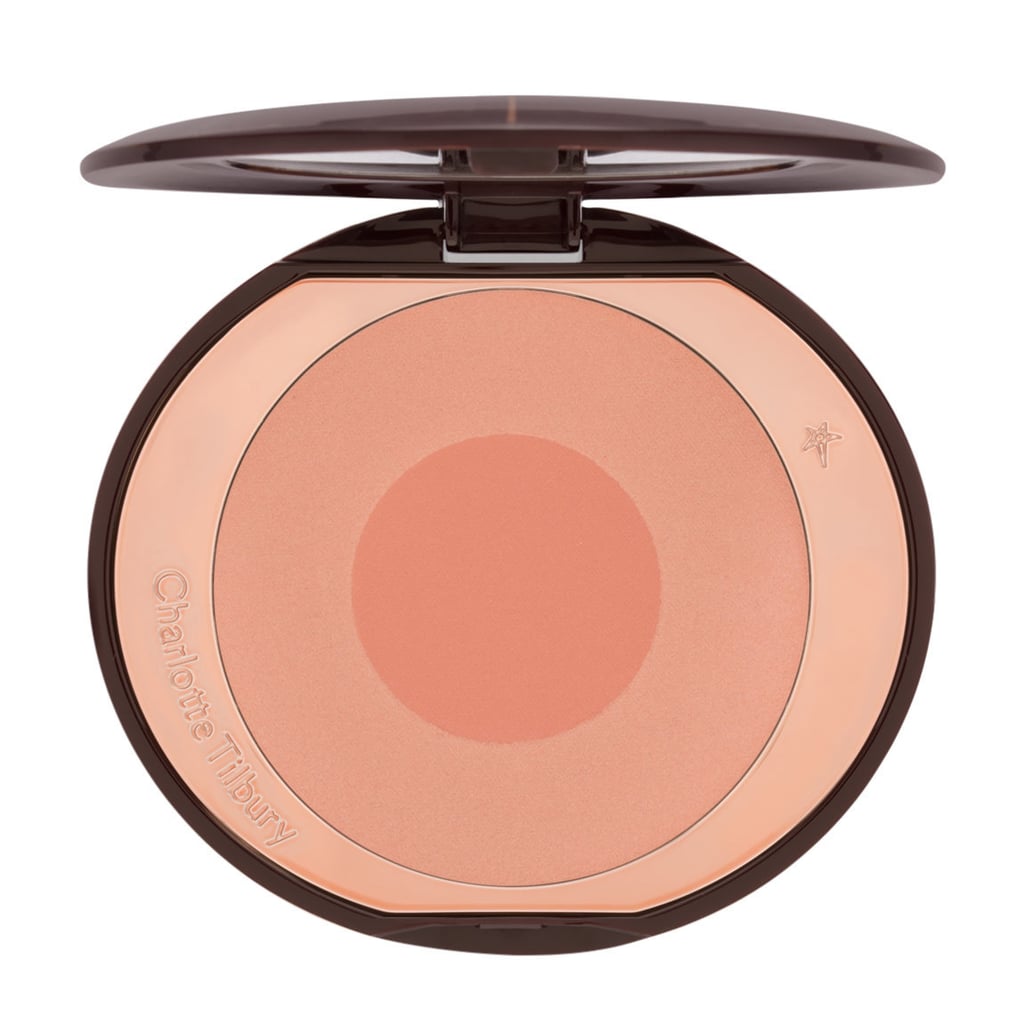
Her suggestion was Charlotte Tilbury Cheek to Chic Blush [22] (£30), which is a dual-toned blush. Both the shade First Love (a two-toned peach colour) and The Climax (a two-toned red-brown colour) complemented my hair colour and skin tone, and since I started using it, I've never looked back. Now, I can't imagine not having blush in my routine.
Tip 8: Incorporate Highlighter Into Your Skin Care
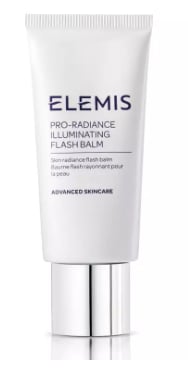
The last tip Martin gave me was using Elemis Pro Flash Balm [23] (£40.50) (it's expensive but you only need the smallest bit) on the high points of my face (cheekbones, a teeny bit on the bridge of my nose, and my brow bones). Here's the catch: she said to apply it after moisturiser but before foundation. Another great no-makeup makeup tip, the sneaky trick gives your skin that lit-from-within glow even when wearing foundation.
The Finished Result
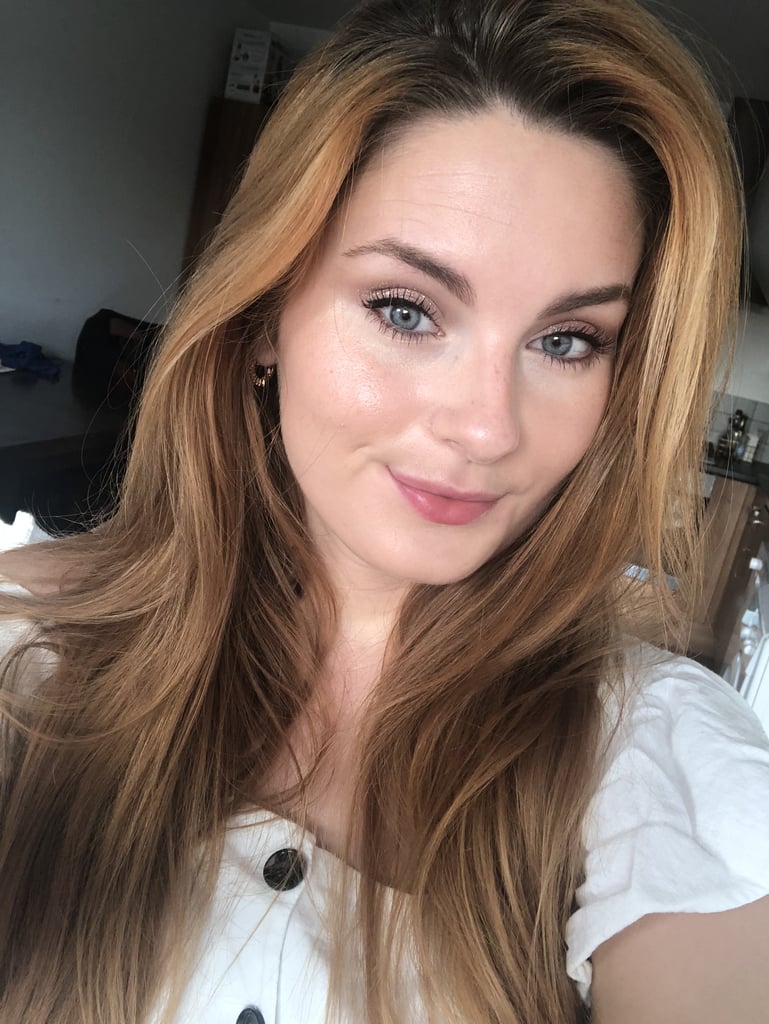
My makeup still isn't perfect, and I don't think it quite measures up to Martin's royal standards, but I now honestly have the dewiest skin of my life.
