LVL Lash Lift Review
I No Longer Need Mascara After Getting This Lash Treatment
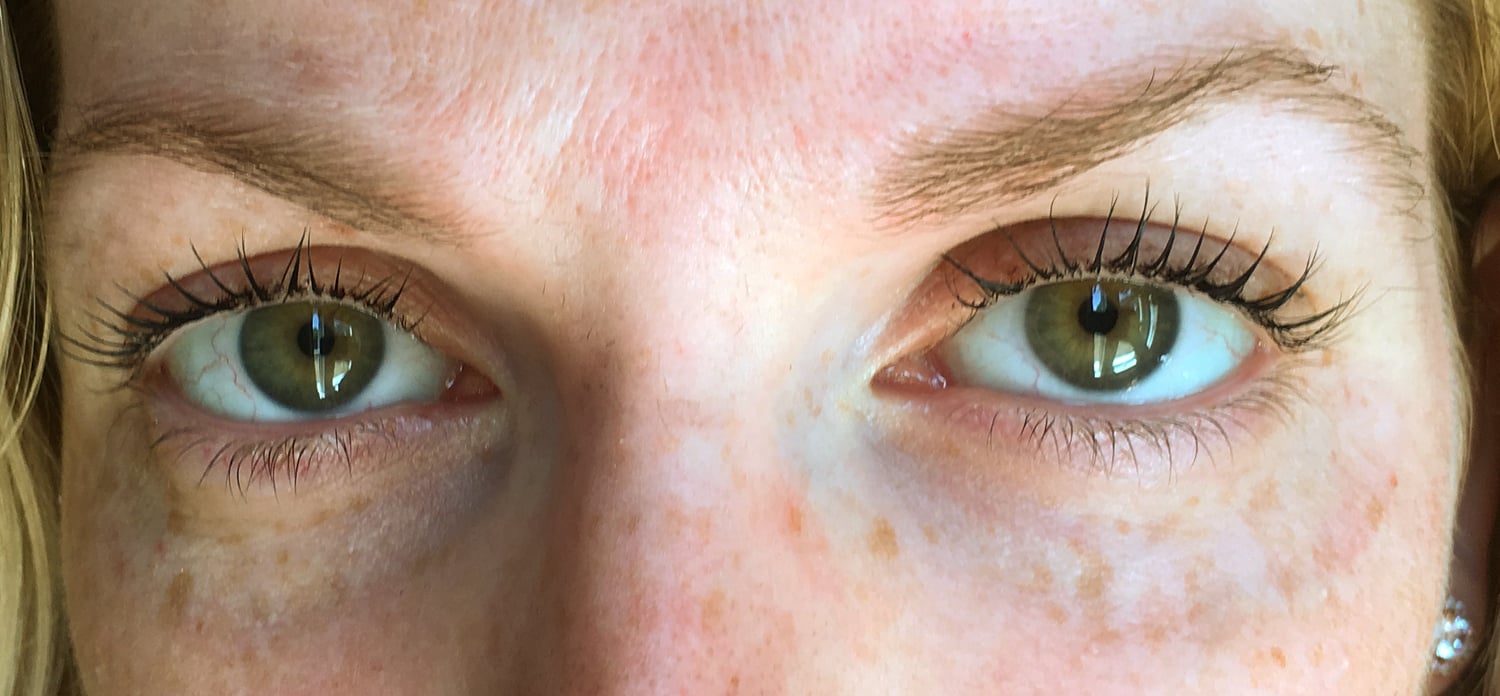
I'm not wearing mascara or false lashes in this photo. What you see is my own boring lashes turned into something magical thanks to the LVL Lash Lift.
A Lash Lift is the modern version of an eyelash perm. The roots of the lashes are actually straightened, but the rest of the lash is set pointing upward, to give the effect of a fanned-out, curled lash. Combined with a tint, the finished look is as long and defined as you can get without falsies, extensions, or mascara. The treatment lasts six to eight weeks and will set you back somewhere in the region of £40 to £70, depending upon the salon and location. I paid £50 for my lash lift at Luxe Beauty in Beckenham.
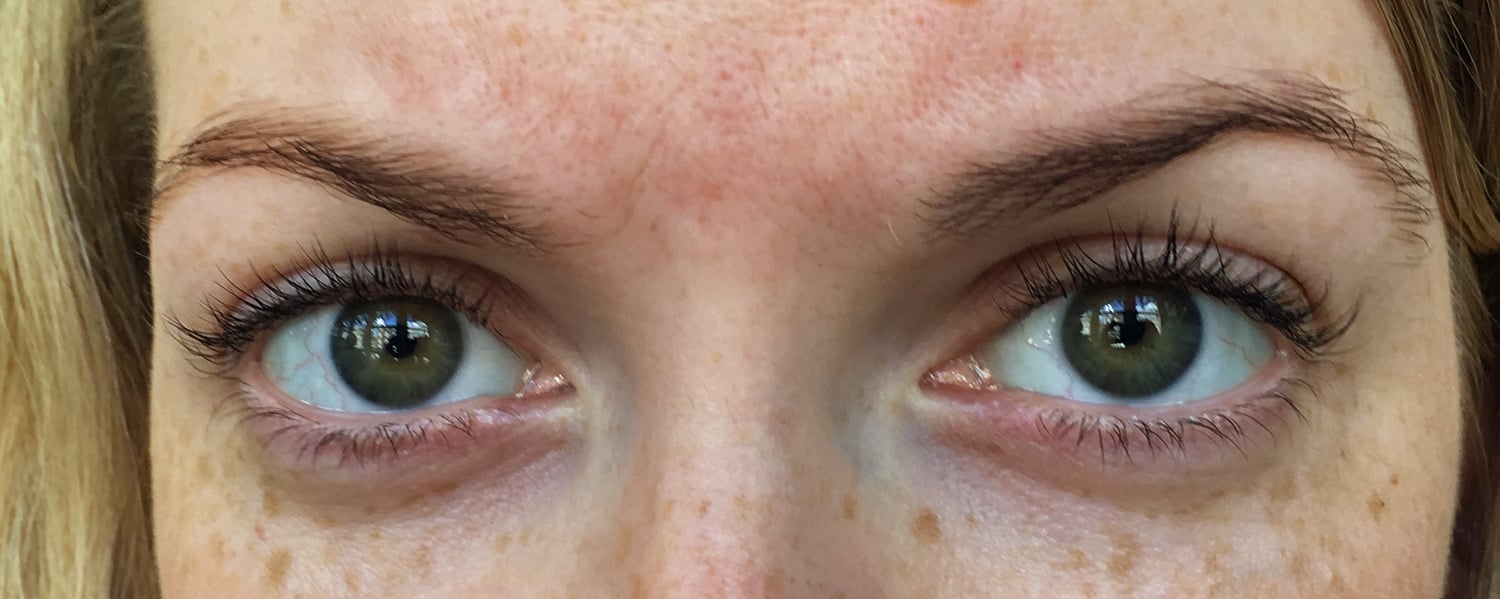
Here are my lashes (and makeup free face) before the treatment. I'm blonde and so are the ends of my lashes, and they're also fairly straight. Without mascara, they're not very noticeable, but there is a decent amount of length there, meaning I was the perfect candidate for the lash lift.
What Happens During the Treatment?
The treatment takes 45 minutes to an hour, and there are a few stages. The technician checked before I settled down that I was aware of the fact I'd be unable to open my eyes for a long time. Once you get going, there's no turning back!
First the eye area is cleaned and guards are placed on the lower lashes. A rubbery shield is then placed on the lids, to which the lashes are glued to keep them in place while the lifting solution is applied. There are different size shields: the small was fine for my lashes, though my technician offered to use the medium if I wore eyeliner a lot (it'd create a bit more of a gap between the fanned lashes and the eyelid itself, making liner application easier).
Once the shield is on, the technician painstakingly glues the lashes up onto the shield, fanning them out precisely so the finished look is fluttery, not spidery or uneven. I have a few gaps in my lashes, so this process really helped to hide this. It took quite a long time, as my technician was very thorough in getting every individual lash perfect.
Then the lifting solution is applied. It smells just like an old-fashioned perming lotion and is left on for quite a while: 12 minutes in my case, but this may vary depending on your lashes. After this is removed, a second liquid is applied (presumably a neutraliser). This was left on for six minutes. Finally, the treatment includes a black tint to really enhance the lashes right to the tip. This was left on for another five minutes or so.
The tint is then removed, and the shields and guards are gently peeled off the skin (this feels like a plaster being removed). Then you're finally able to admire your lovely fluttery new lashes!
Does it Hurt?
During the lifting process, I felt no pain at all, just the mild discomfort of not being able to open my eyes for almost an hour. The only pain I felt was at the very end, when a bit of the tint got into my right eye as I was opening it. The technician has to remove everything without using water (or the lift won't take) so there's always a slight risk that some residue may remain. I had to flush this out naturally (ie. I had to cry a bit) but it only took about 30 seconds for the tint to wash away and the stinging to subside. There was no pain or soreness after the treatment, and no lashes fell out or moved any more than they would during normal shedding.
What Happens After?
You have to keep your lashes dry for 48 hours and avoid things like excess sweating, humidity, and UV exposure. For the best results that means wearing sunglasses, washingvery carefully (wear goggles in the shower if you want to be really cautious), and skipping the gym for a couple of days. The lashes can move about a bit in the night; your technician should give you some little brushes or spoolies to help comb them into shape in the morning. After the first 48 hours, you can go about your business as usual, and you can wear mascara if you want a really bold look. Just be sure to remove it carefully and keep the lashes conditioned so they grow out strong (use a Lash Conditioning Serum or castor oil). As they grow out, you'll find your lifted lashes and your newer, straighter lashes may cross over a bit, but that's nothing a very gentle squeeze of an eyelash curler won't fix. I barely noticed this, just the odd new lash that sat a little below the lifted ones.
Was It Worth It?
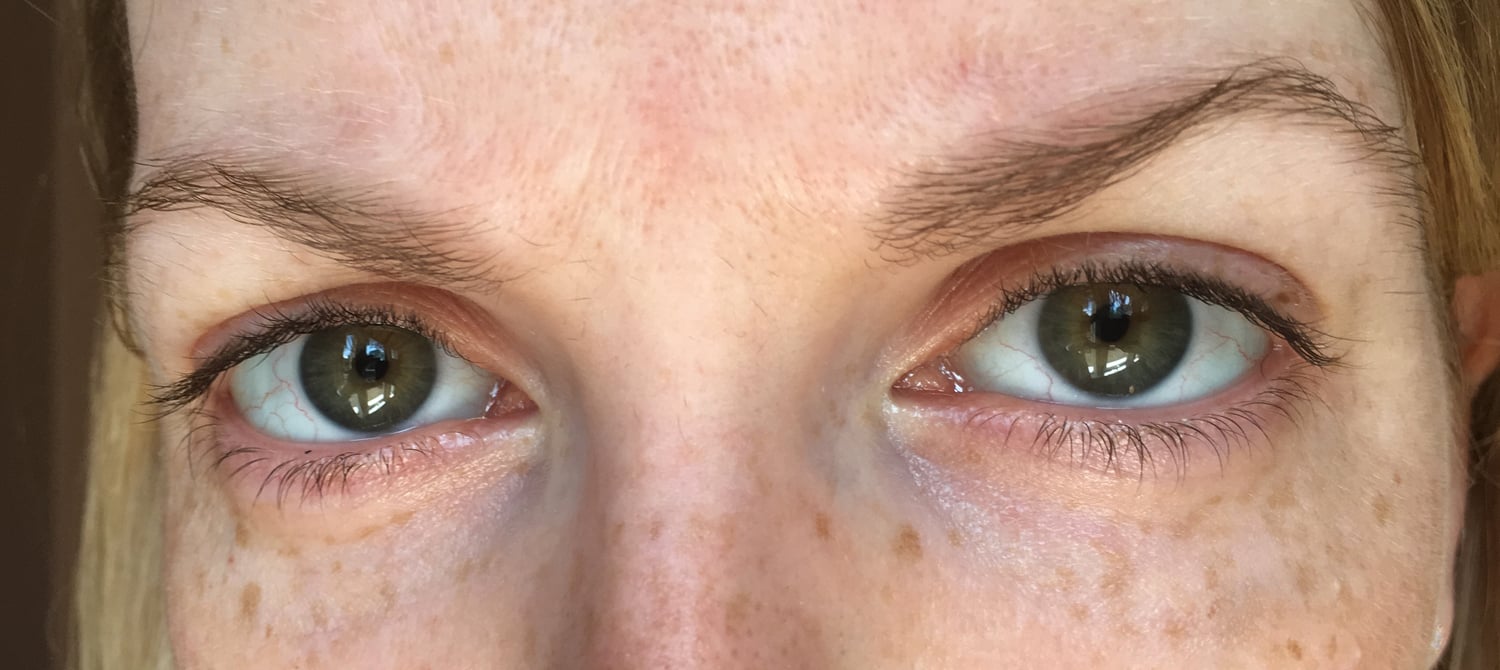
Though I wouldn't call this treatment "relaxing" (it's amazing how much you desperately want to open your eyes when you know you can't!), the results are totally worth it. Once my brows were shaped and tinted a few days later (please forgive them in all their grown-out glory in these photos) I only needed a touch of under-eye concealer and lipstick to feel put-together. However I loved that if I wanted a more dramatic look, I could still wear mascara whenever I wanted.
Though I doubt I will get this treatment every eight weeks as it's not cheap and it takes a long time, I will definitely treat myself a few times a year, especially during the Summer months. Not only is it great for the pool and the beach when makeup isn't practical, it's also perfect for my fellow hay fever sufferers!
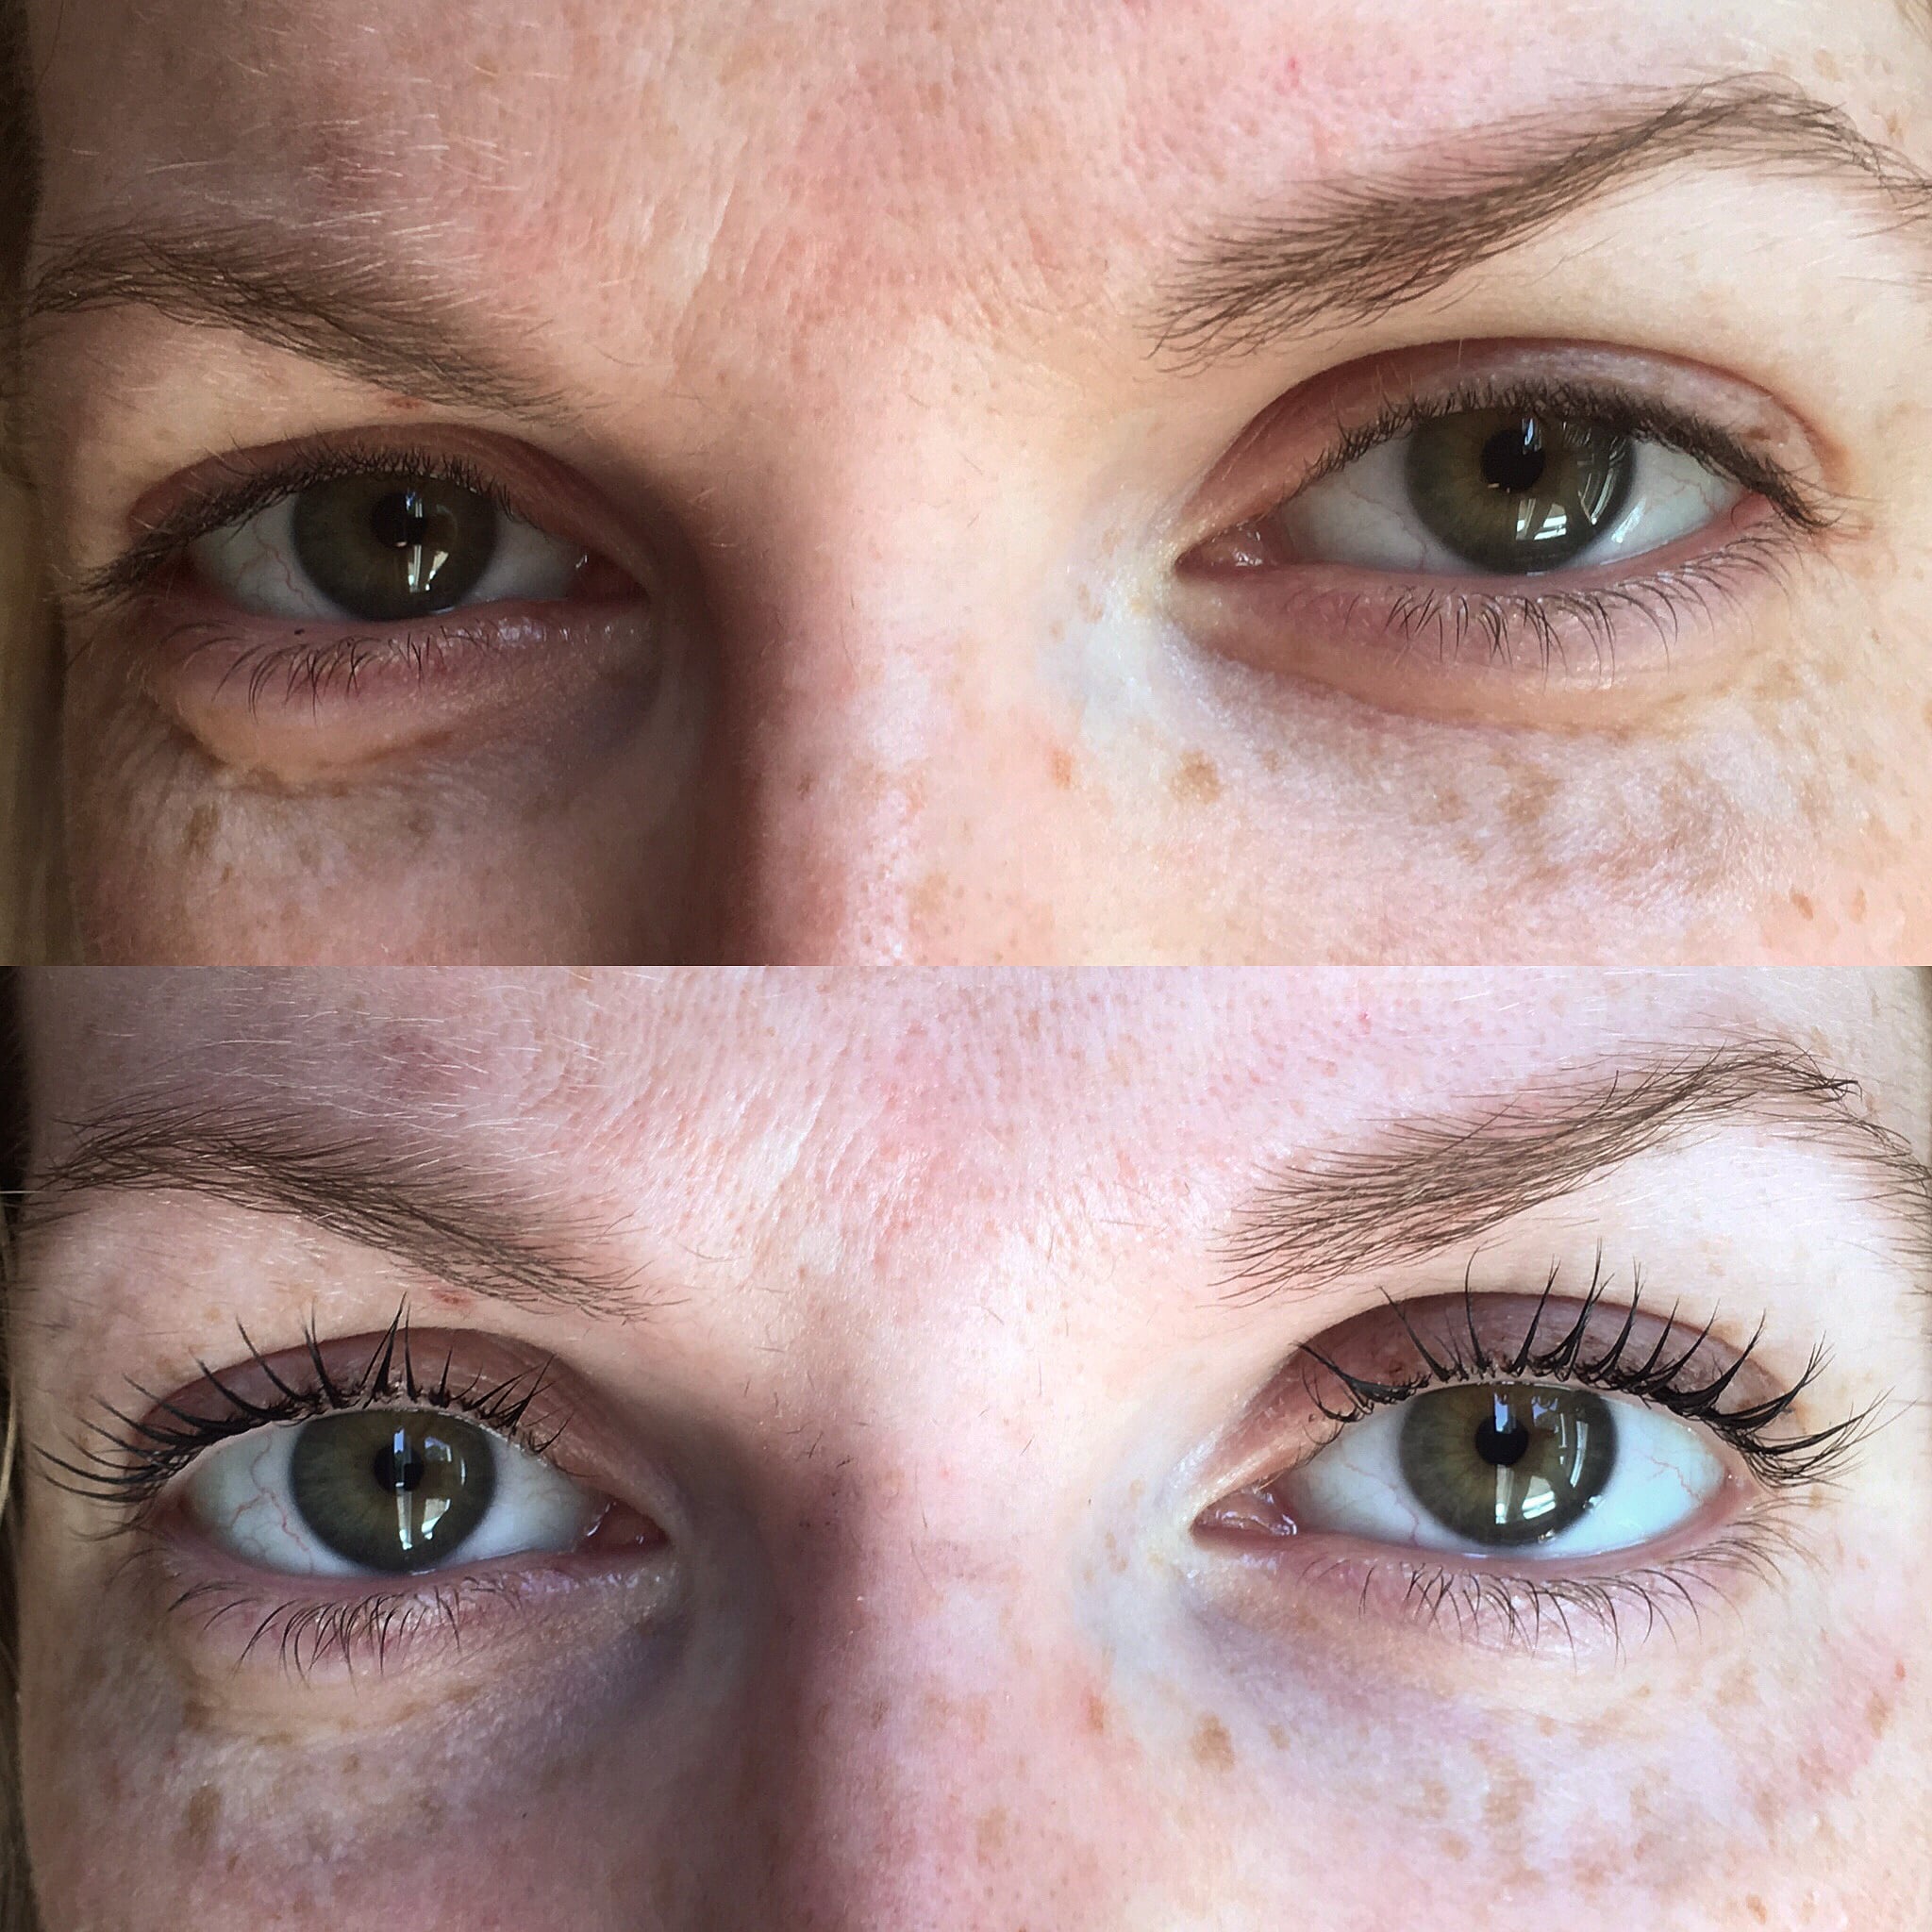
Update: This is how the lashes look 2 weeks later!