When asked what one cosmetic item you'd take to a desert island, there are a lot of people who'd answer mascara. Not me. I'd be tossing up between two items: tinted moisturiser, and clear brow gel. The former, because it's multipurpose and I really don't think you can underestimate the combination of coverage, hydration, and (if you're lucky) a whisper of SPF all rolled into one product. The latter, because I always feel more "put together" with a brushed-up brow.
That being said, when I heard about brow lamination [1], it got my cogs turning. Brow lamination is a noninvasive beauty treatment (done in-salon) that essentially involves restructuring brow hairs to keep them in a desired shape. That means that I could conceivably find myself on a desert island with my face slathered in tinted moisturiser and with brushed-up brows, without needing to take brow gel.
After a quick Google I was officially intrigued and quickly booked an appointment at Lash Perfect Beauty Bar [2] in Soho, London, to have my brows transformed. And yes, they truly were transformed. Keep on reading to find out exactly what's involved with in-salon brow lamination, from the consultation to my final thoughts, eight weeks post-treatment.
Step 1: Consultation and Skin Test
The pretreatment consultation serves two purposes: it gives you a chance to ask your technician any questions, and allows them to explain the lamination process to you. Also, just like getting your hair dyed at the hair salon, you may require a patch test 48 hours prior to having brow lamination done, to make sure you won't adversely react to the treatment. Lash Perfect Beauty Bar [3] explained that a patch test is only required if you plan to also have an eyebrow tint, in addition to lamination, but if you have sensitive skin, you may require a patch test prior to having brow lamination, regardless of whether you have the tint or not.
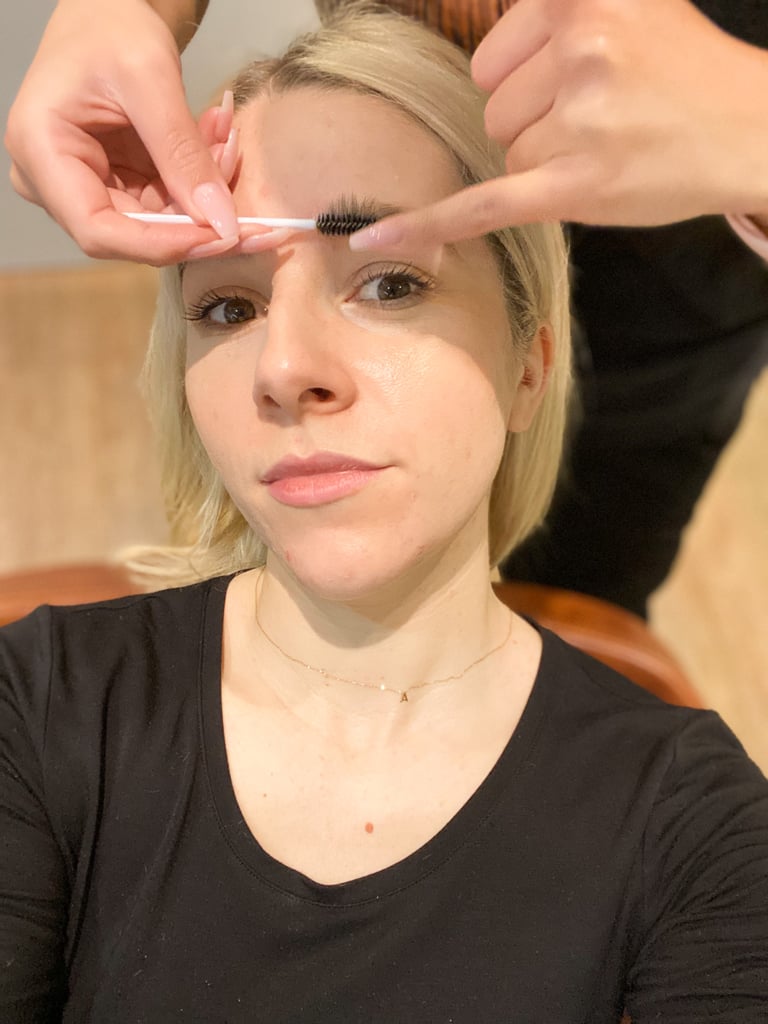
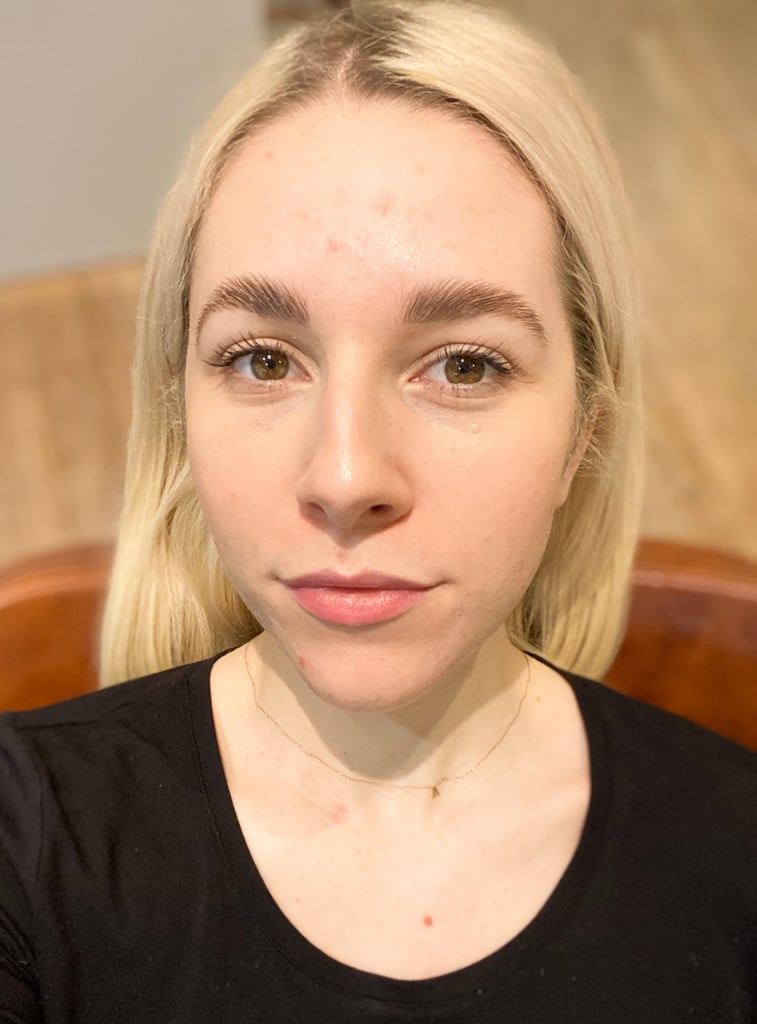
This photo shows the state of my brows prelamination. Decent shape and thickness, but also slightly unruly, and a bit droopy. That's what I wanted to change.
Step 2: Fixing the Brows in Place
The first step of the brow lamination process is to fix the hairs in place using brow lamination glue. It feels like a thick adhesive and is literally sticking your brow hairs into your chosen shape and style — mine were stuck pointing straight upwards.
Step 3: Relaxing the Brows
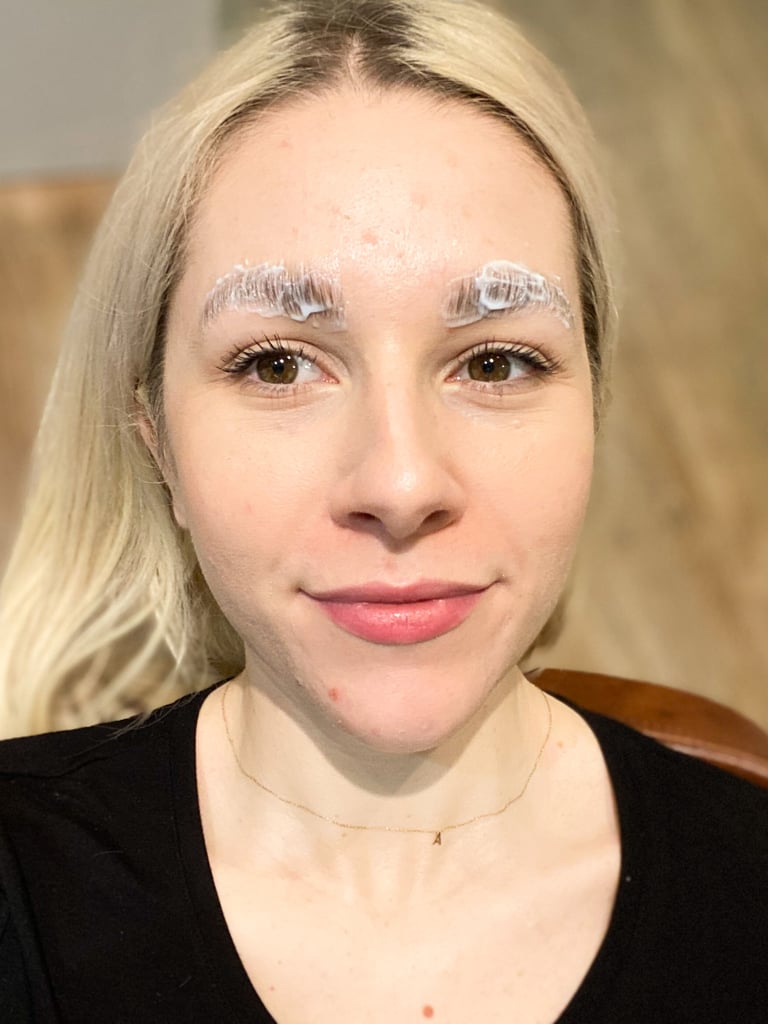
After the brow glue is applied and your brows are brushed into your desired shape and style, "Brow Style" is applied with a cotton tip. This step helps to make the hairs softer and more malleable, in preparation for the setting solution that will do most of the lamination work.
In technical terms, Brow Style contains thioglycolate, which is a chemical that will open the hair cuticle, enter the cortex of the hair strand, and "begins the process of separating the bonds between the keratin clusters," according to Lash Perfect Beauty Bar. This cream was left on for 10 minutes before being wiped off, and I didn't feel any tingling or sensation whatsoever.
Step 4: Setting the Brows in Place
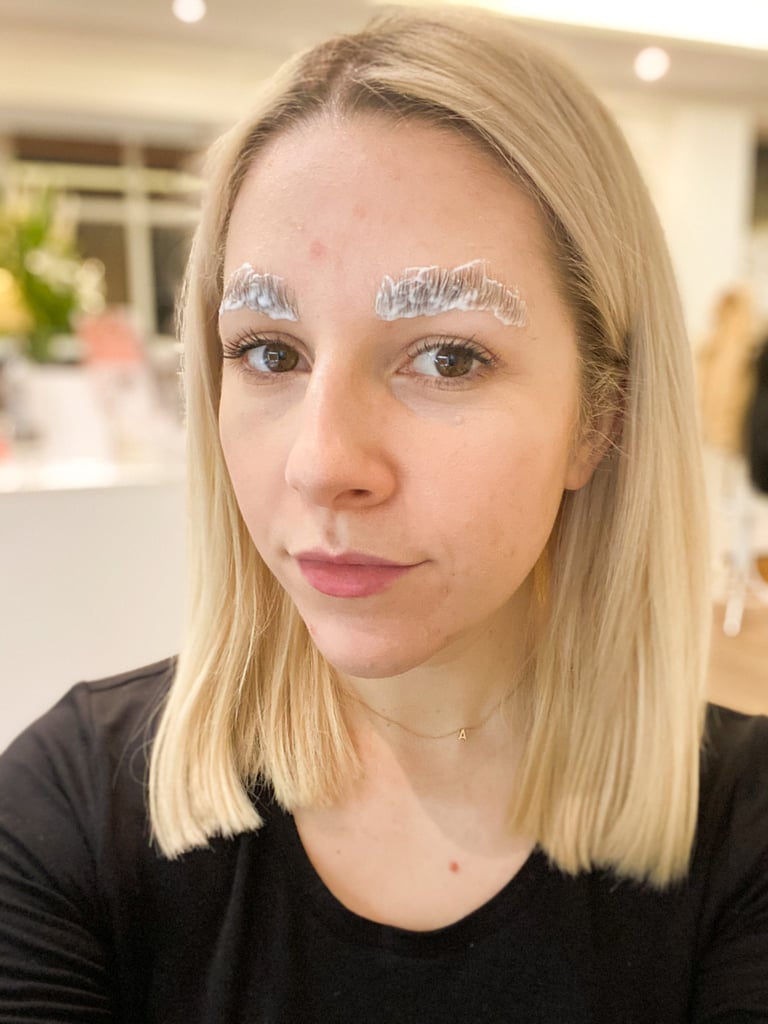
Next, the "Brow Set" solution is applied for 10 minutes, and while it looks exactly the same as the Brow Style, it has a very different purpose. According to Lash Perfect Beauty Bar, Brow Set contains hydrogen peroxide, which (in technical terms) introduces oxygen into the hair structure which "reforms and realigns the disulphide bonds and stabilises the hair into its new shape or direction."
Step 5: Superfast Tinting
A brow tint is an optional step, and because I have dark blonde to light brown brow hairs, I decided to try tinting for the first time. My technician tailored my tint to my hair shade, and because I was a little bit nervous about my first-ever brow tint, we decided to do a subtle colour change only. The tinting solution was applied for another brief 10 minutes, and if I'm honest, I think this was the most transformative element of the whole procedure.
Step 6: Hydrating the Brows
Once the brow tint was removed, the technician brushed my brows back into their brushed up position and applied "Brow Nourish," a serum with keratin. This helps to hydrate and nourish the brow hair.
After this, the procedure was done. I wasn't given any strict aftercare instructions, except to avoid getting my brows wet — as best as I could — for the first 24 hours after treatment. This also means steam baths and saunas should be avoided. Aside from this, I was told my brows could be treated as normal, and to just use a spooly to brush them into place every morning.
1 Month After In-Salon Brow Lamination
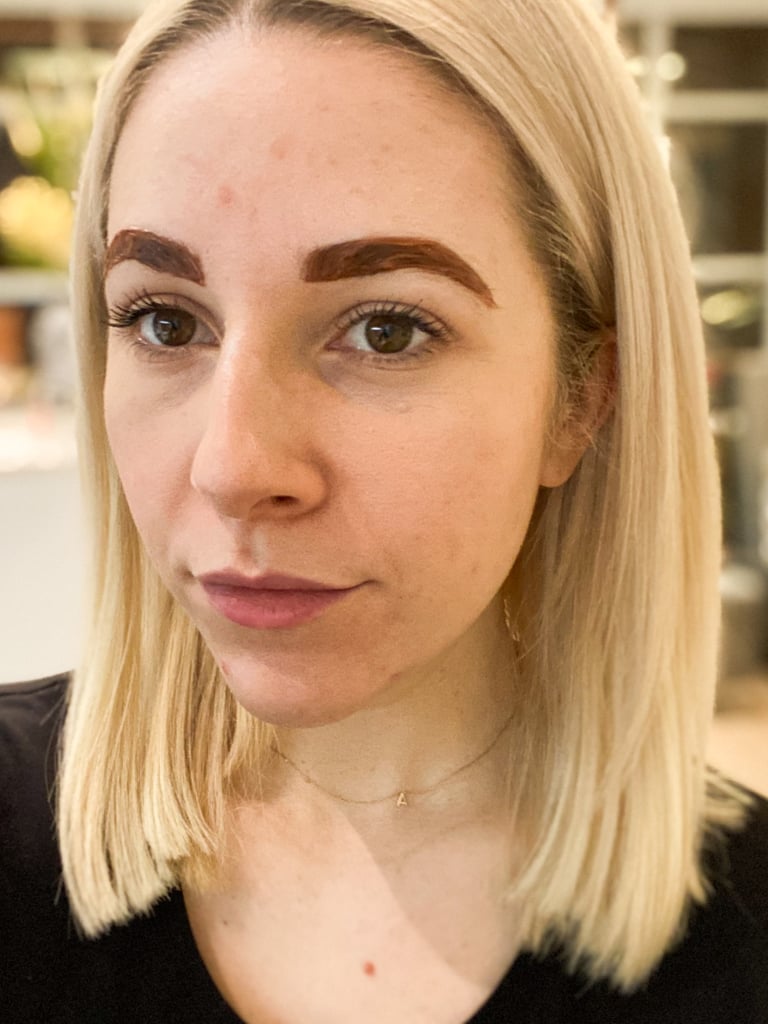
As you can tell by this photo, I'm still pretty pleased with my fluffy brows one month after having brow lamination. The main thing I noticed was that my brows stayed in place very well for the first few weeks. After doing my makeup each morning, I just brushed them up and didn't require any brow gel to keep them in place. It was bliss.
Around the three-week mark, I started using a small amount of my beloved clear Hourglass Arch Shaping Brow Gel [4] (£27) again. Because even though my brows were still significantly fluffier than they were pretreatment, they had certainly relaxed. By week four, they started to flop throughout the day. A quick sweep of brow gel ensured that they stayed in place all day long, and I was still using a lot less product than before I had them laminated.
2 Months After In-Salon Brow Lamination and Final Thoughts
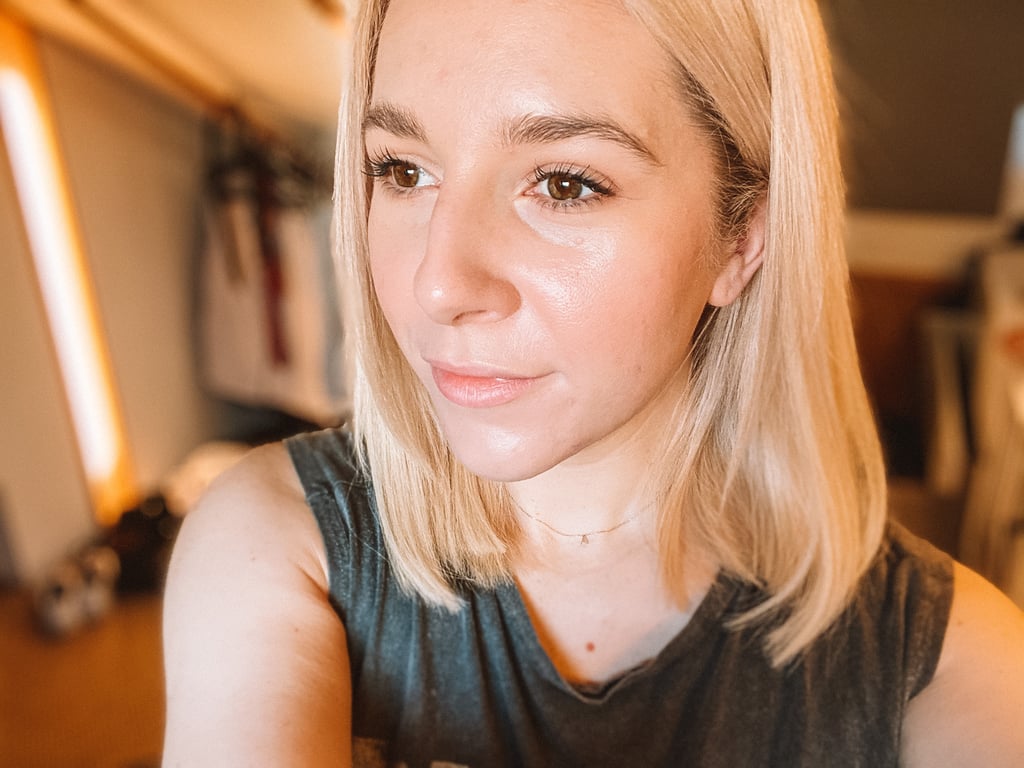
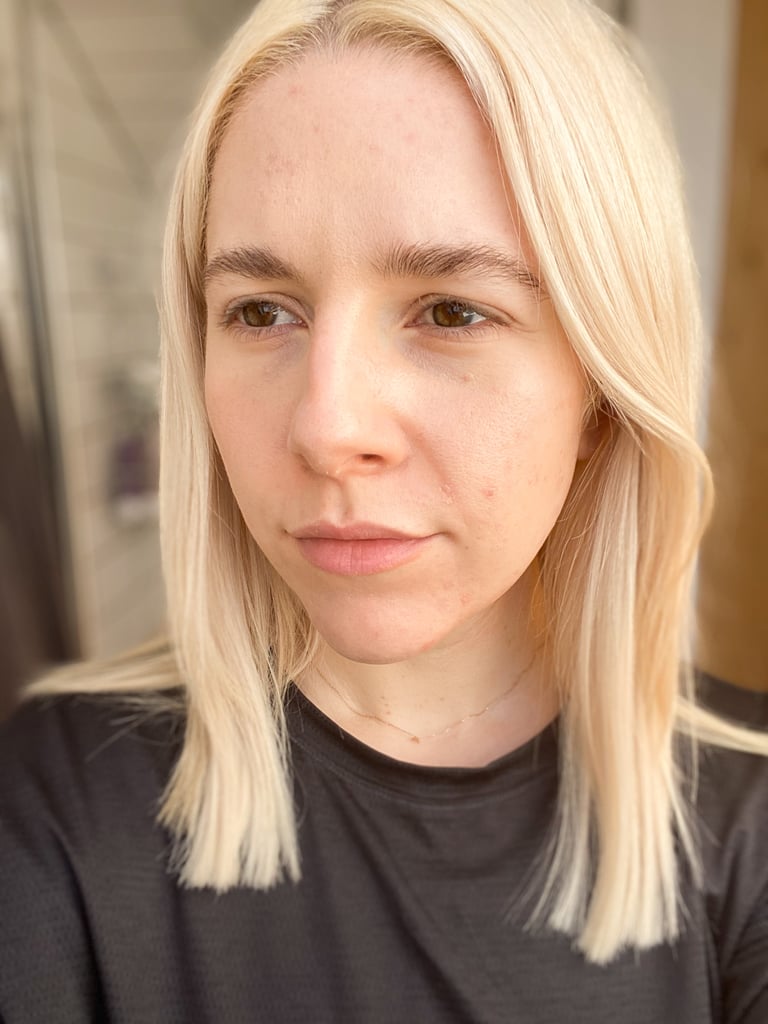
By the two-month mark, the effects of the brow lamination and tint had completely worn off. And if I look concerned in this photo, it's because I'm not sure how I feel about my brows returning to their prelamination glory.
The only thing I can note as a very slight negative was that I did notice my brow hairs felt coarser than usual, which I was told can be a normal side effect of having a chemical treatment. As someone who regularly bleaches their hair, this made perfect sense to me. Two months after the treatment, my brows are as soft as they were before the treatment, and no longer have the coarse texture, so it wasn't a huge issue for me.
Overall, I would recommend brow lamination if you are already quite happy with the state of your brows, but want to skip the step of using brow gel every morning to get that little boost. I loved how perky my brows looked laminated, particularly in the first few weeks after having them done. But it isn't a cheap treatment: at Lash Perfect Brow Bar [5], brow lamination costs £45, or £58 with a tint and "tidy." So, if your brows are your thing, and you can justify the cost, I say go for it.
Personally, I don't think I'll have my brows laminated regularly (mainly because I'd prefer to spend the cash on my hair) but will absolutely have them tinted again, which costs £15 as a standalone treatment. I don't feel put out having to use brow gel everyday, but am far too lazy to fill them in, which is why I loved having them tinted, as it made my brows appear much thicker than usual.
