Want to try a new hair colour [1] and save some Ps? Then a DIY [2] dye job might be for you. While dyeing your Afro hair [3] by yourself terrifies all hairstylists and most people, I've done all the damage to my hair already so you don't have to. So before you slather on a box dye or just any old bleach, heed some of my tips ahead.
I've been dyeing my own hair for the past two years. I have naturally dark, 4a Afro hair that I've managed to lighten on different occasions to a light blonde [4], dark blonde [5], and medium brown, so I don't have much personal experience with painterly colours (like pink or blue). Also, keep in mind that I am not a professional, just a normal naturalista who isn't scared of her hair breaking off and who loves to experiment with DIY beauty [6]. On that note, if you're going for a light blonde fro, then your hair will definitely break off, so be prepared for that. No matter how many incredible protein treatments you use, no matter how top notch your haircare routine is, your hair will break, mark my words. Also, bleach will most definitely loosen your curl pattern, so if you're cool with that, then we're good to go.
Ready to expand your hair journey with a colour experiment? Keep reading for my step-by-step guide to successfully dyeing Afro hair by yourself.
Choose Your Colour, and Get the Tools
First things first, which colour are you going for? Feeling blonde? Want to lighten gently to a brunette? Or go for a fun pink or blue? Whichever path you choose, you're going to need a few essentials before you get started:
- Bleach: Wella Blondor Multi Blonde Powder [8] (£11)
- Developer: Wella Welloxon Perfect 12% [9] (£6) 40 volume or 30 volume, and a 13-volume Wella Welloxon Perfect 4% [10] (£6)
- Toner: Wella Color Fresh 8/81 [11] (£11)
- Permanent hair dye (I used Wella Koleston Perfect)
- Plastic mixing bowl and mixing spatula/brush
- Plastic sectioning clips (for longer hair)
- Plastic cap
- Good deep conditioner (Josh Wood Colour Everything Mask [12] (£15) is amazing)
- Colour-correcting shampoo
- Shirt
- Towel
Bleach
Before I bleach, I prep my hair and scalp. It's recommended that you do not bleach freshly washed hair because the natural oils on your scalp help to protect your roots and scalp from the harsh chemicals in the bleach.
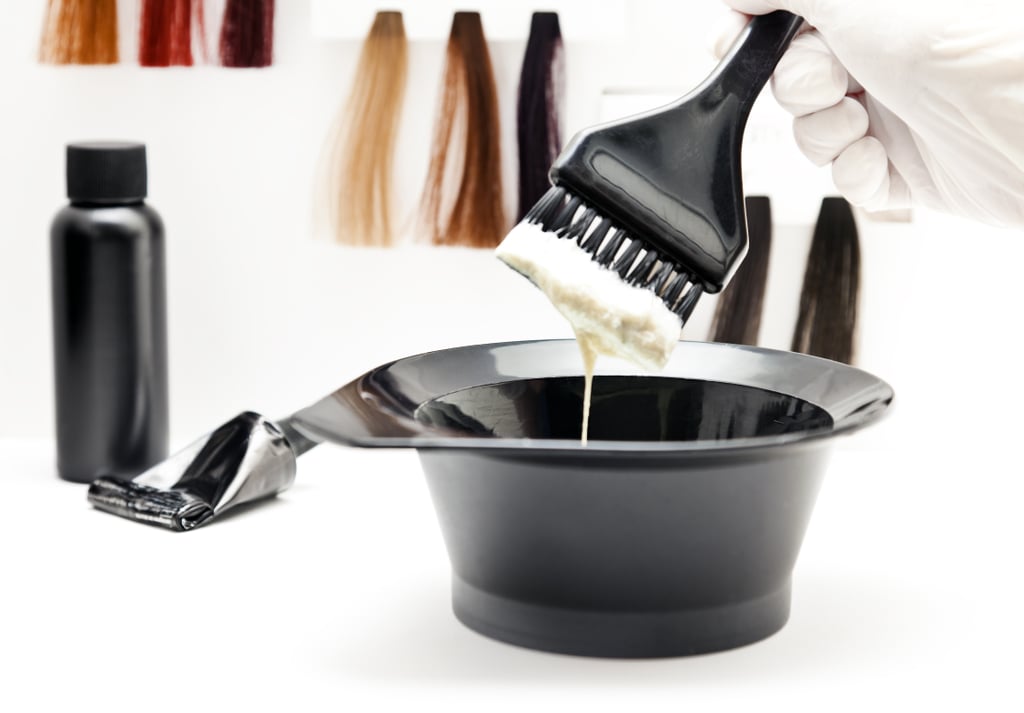
Then I get ready to mix the bleach. I've been using Wella Blondor for almost two years, and it's done the job. I usually mix the bleach with a 40-volume developer, Welloxon Perfect 40, at a 1:1 ratio until the consistency is a thick, creamy paste. I make sure to wear gloves and do the mixing in a well-ventilated area.
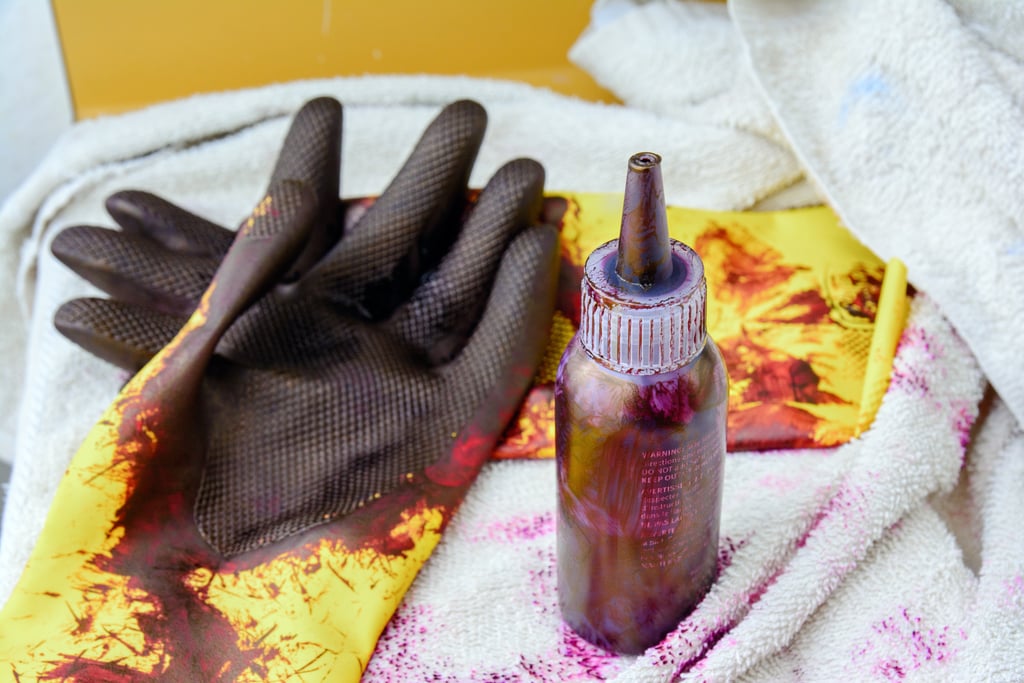
Before I slather the bleach on my head, I'm careful to wear a shirt that will be sacrificed and use a towel that will be destroyed. Once I'm in full protective gear, I section my hair. If your hair is longer, then I would start with four sections and steadily tackle each (starting from the back). I apply the bleach from midlengths to ends, then do my roots last (as not to get hot roots).
Hot roots means your roots are lighter than your ends, which makes your new hair colour look uneven. This happens because our scalp is warm, and when the warmth mixes with bleach, it speeds up the developing process. For me, I keep my hair very short, so I just slather it all over my head as quickly as possible. Once my bleach is all set, I'll cover my head with a plastic cap and leave it on for 20 minutes.
After 20 minutes, I check my hair and see how many levels it has lifted. If I'm going brunette, then I'll aim for a yellow or yellow-orange at minimum (level 6-7); if I'm going blonde, then I aim for a light yellow (level 8-9). If I were to do a painterly colour, then I'd try to get my hair to a very pale yellow (level 9-10) so the colour result is as vibrant as possible. If, after 20 minutes, my hair is still very orange, then I check it every 10 minutes until I've achieved a workable base colour — DON'T LEAVE BLEACH ON YOUR SCALP FOR MORE THAN 45 MINUTES!
Once I've achieved my perfect base, I rinse my hair with lukewarm water and a purple shampoo (for yellow tone) or blue shampoo (for yellow-orange tone).
Tone
The first time I bleached my hair, I was surprised by the bright yellow-orange fro. But no worries! Because now, it's time to neutralise those brassy undertones with a toner. (This is an essential step for blonde, light to medium brown, and pastel colours.)
While my freshly bleached hair is still wet, I use Wella Color Fresh in 8/81 as a toner. I slather it all over my head and emulsify it, leave it on for 20-30 minutes, then rinse with cool water.
A bit about toners: Your toner is meant to cancel out a brassy undertone. It does this by masking your yellow or orange hair with the opposite colour on the colour wheel. Purple is directly opposite to yellow, while blue is the opposing colour to orange.
For Wella's shade numbering system, for example, "8/81," the first number indicates the shade (8/ is a medium blonde), the second number indicates the major tone (/8 represents pearl/blue), and the third number indicates the minor tone (1 represents ash). Here's a breakdown of all the shade and tonal numbers by Wella that you need to know:
Tones: /1 (Ash), /3 (Golden Yellow), /6 (Violet), /7 (Brown), /8 (Blue/Pearl), /9 (Blue/Violet)
Shades: 6/ (Light Brown), 7/ (Dark Blonde), 8/ (Medium Blonde), 9/ (Light Blonde), 10 (Platinum)
Permanent Colour
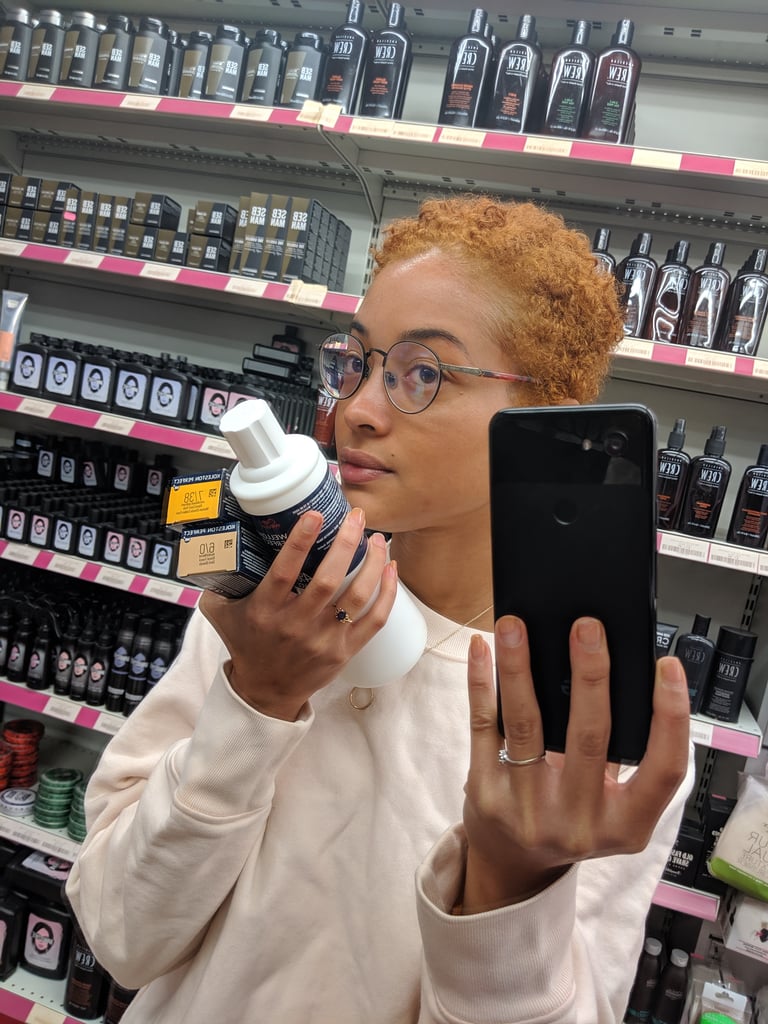
I've been using Koleston Perfect permanent hair colour for about two years, and I really like the result. This time around, I was going for a light brown/dark blonde and mixed Koleston Perfect 7/38 with a bit of 6/0 (although I really wanted 6/1, which is a cooler tone brown, but they didn't have it at the beauty supply).
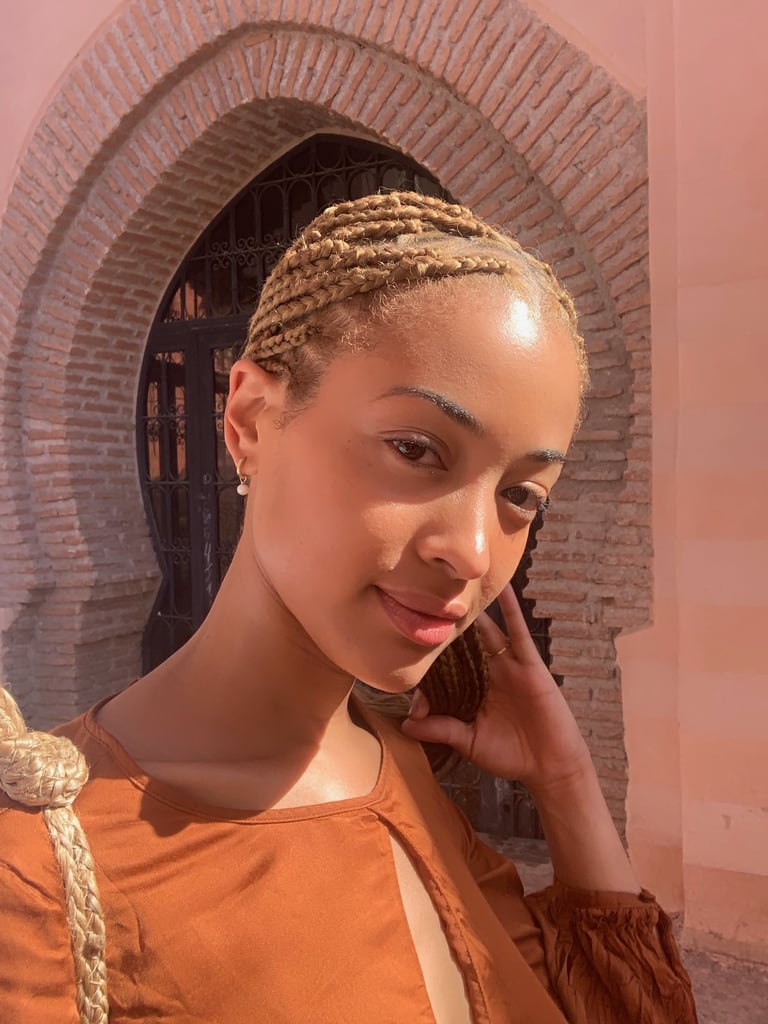
I mixed the hair dye with Welloxon Perfect 4% (13-volume developer), applied it evenly to my hair, and left it on for 20 minutes. Then, I rinsed it out with cool water and applied a deep conditioner for 20-30 minutes. The colour I came out with is pictured above, and it matched my box braids in colour 27 braiding hair perfectly. When I went blonde two years ago, a protein treatment every four to six weeks was essential to avoid breakage for as long as I could. So that's definitely something worth investing in.
I hope this helped and you got the result you wanted, and if not, it can be fixed at the salon, or you could cut it all off, grow it out, or dye it darker.


