People who have never self-tanned would guess that applying sunless tanning products to your back is the hardest area of the body to tan, but proficient self-tanners know the most challenging area is actually the hands. No matter how experienced you are, hands always prove to be a little tricky.
The most telling sign of a fake tan is a poorly blended wrist — that's what Alexandra DiMarchi [1], celebrity spray-tan artist and global tanning expert for Tan-Luxe, told me during my first-ever spray-tan session [2] with her. I had been using self-tanning products for years prior to this pro session, so this wasn't news to me. I had my body application technique for my at-home self-tan down to a science — my hands were always less of a guarantee.
It's true: it doesn't matter how good the rest of your tan looks, if your hands are orange, patchy, or streaky, people will know it's a faux glow. (Not that that's the worst thing in the world, but when you self-tan, the goal is usually to look as natural as possible.)
Ever since my spray tan with DiMarchi, where she shared with me her tips and tricks for applying self-tanner to your hands, I've gotten it right every time. Ahead, find her step-by-step guide, along with tips from celebrity makeup artist Charlie Riddle [3] on how to self-tan your hands at home for flawless results.
Before Self-Tanner Application
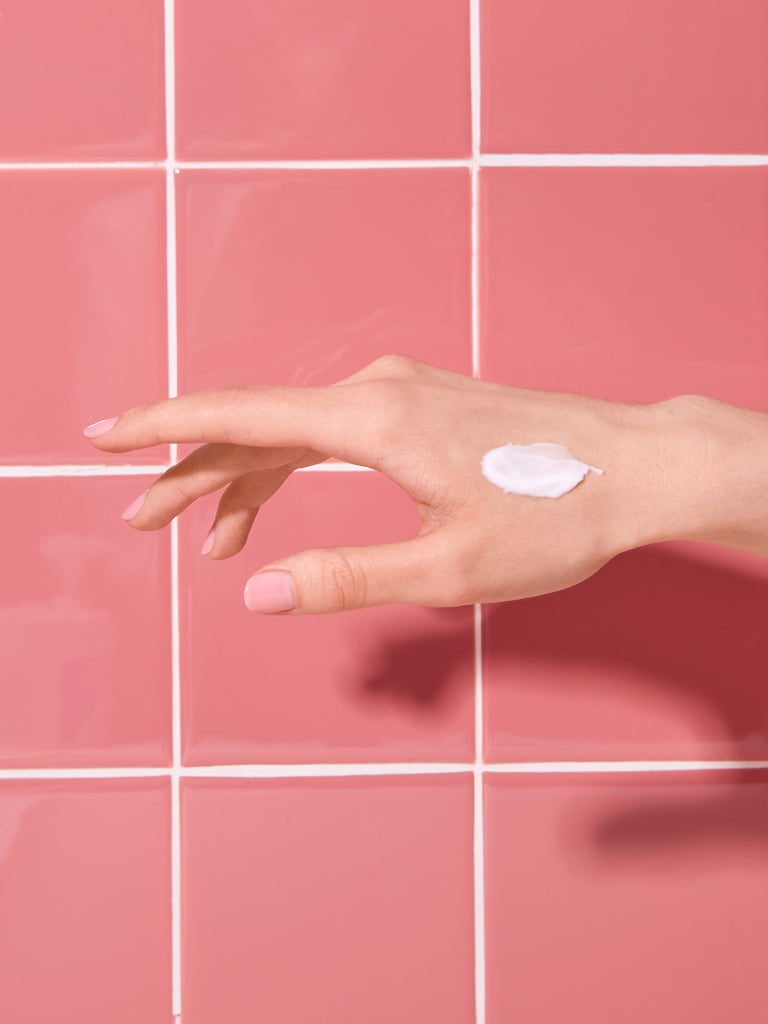
Step #1: Apply Lotion to Your Hands
This may be counter-intuitive to the self-tanner prep that you're used to — like making sure the body is free from all lotions and products — but because your hands are so dry, you want to use lotion before anything else. "Moisturise your hands, focusing on your knuckles, around your cuticles, and your wrist. This will create a barrier to ensure product does not overdevelop on dryer areas," DiMarchi said.
Step #2: Apply Extra Lotion on Your Wrist
Achieving a well-blended wrist is hard, but lotion will help. "The reason I really focus on the wrist area is because you want to make sure you have an even transition from your arm to your wrist so it isn't as noticeable that you have applied self-tanner," she said.
Self-Tanner Application Method #1: Use the Leftover Product on Your Mitt
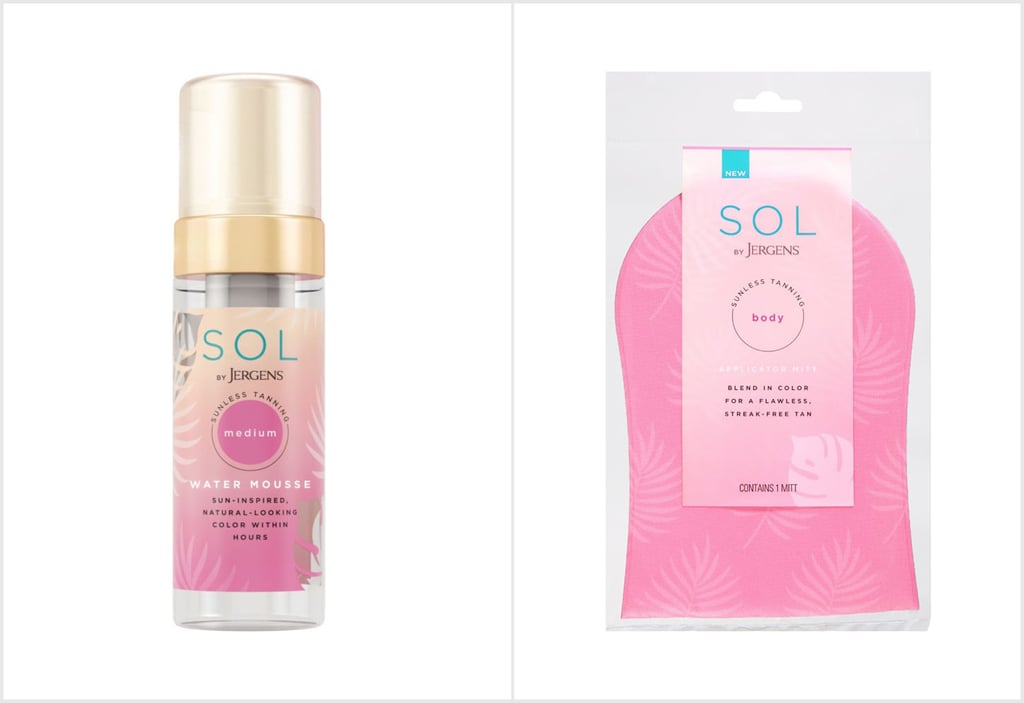
No matter what method of application you choose, always wait to do your hands after you've finished the rest of your body application. "The best way to apply self-tanner to hands is to do your hands at the very last step so you have very little product on your mitt," Riddle said. "I use the Jergens SOL Sunless Tanning Body Applicator Mitt [4] ($7) with the Jergens SOL Sunless Tanning Water Mousse [5] ($24). Apply very gently all over." Use sweeping motions rather than using a lot of pressure.
Self-Tanner Application Method #2: The Buffing Technique
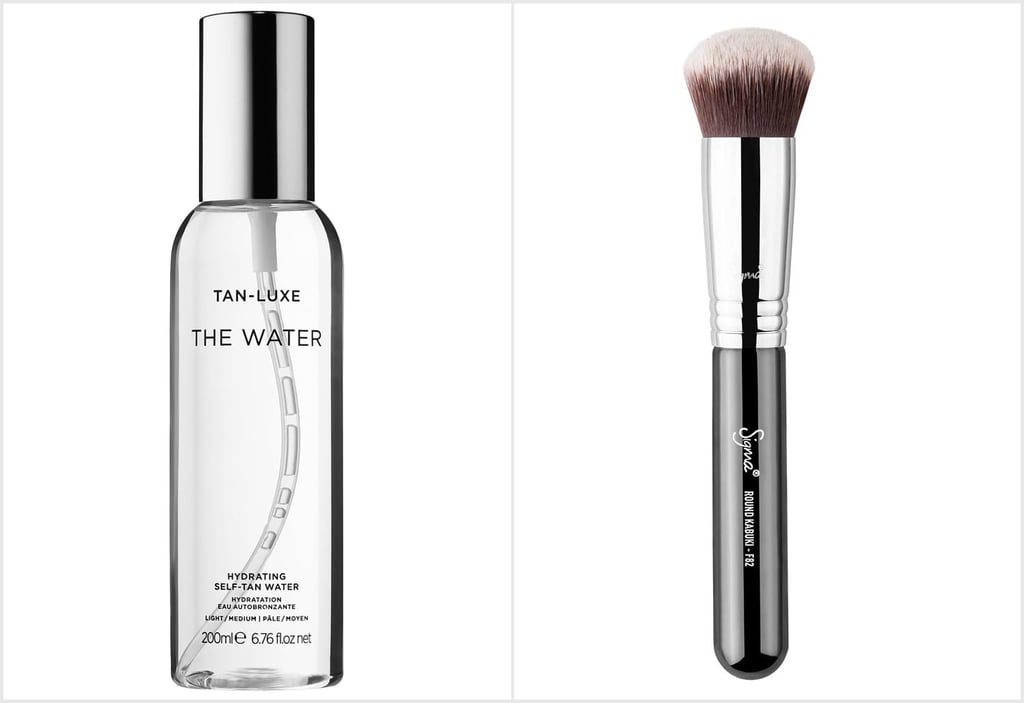
DiMarchi's preferred application method uses the Tan-Luxe The Water Hydrating Self-Tan Water [6] ($47) and a dense blending brush, like the Sigma Beauty F82 Round Kabuki Brush [7] ($25). Lightly mist your hands with the tanning water, and use the brush to buff in the product using circular motions. Be sure to get around your fingers and the sides of your hands.
After Self-Tanner Application
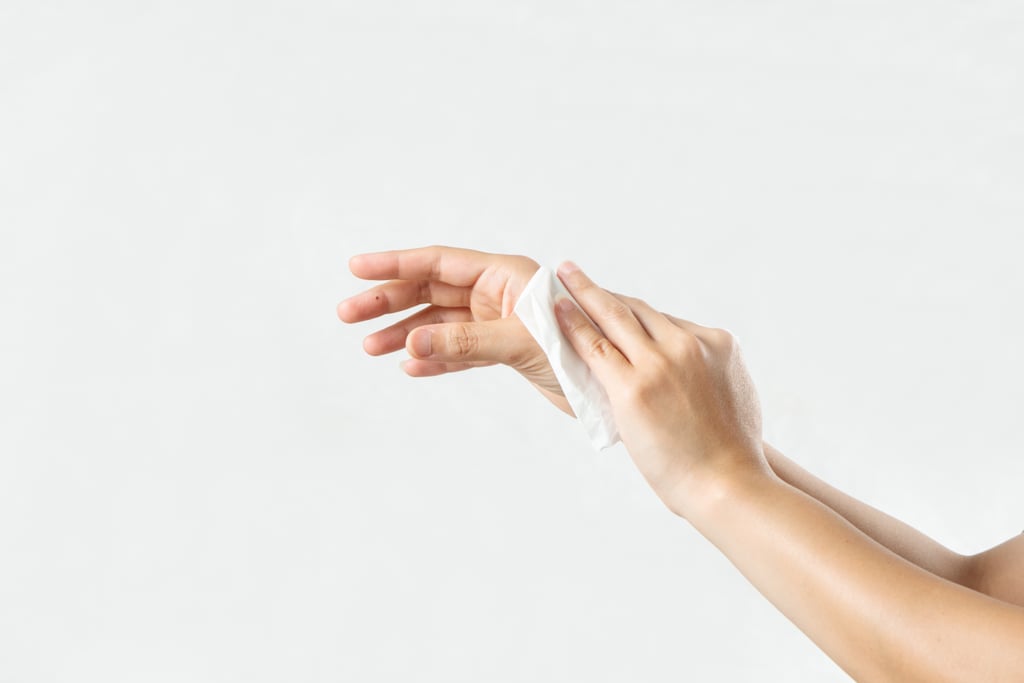
Step #4: Remove Excess Product
After application, you're not done just yet. Both DiMarchi and Riddle recommended taking a makeup wipe to remove excess product from your hands. "I like to use a cleansing wipe to lightly wipe around my wrists, palms, and nails just to be sure that there isn't any extra product buildup," DiMarchi said. "Then, I use the buffing brush or mitt to blend any excess product on the skin."
Step #5: Apply Lotion
To really ensure your hands are well-blended from the self-tanning colour, Riddle likes to apply one last step of lotion. "Apply a moisturiser all over your hands so the self-tanner is less saturated and hands will appear slightly less colour, just as a natural tan would."
How to Apply Self-Tanner to Hands


