Try This Daily At-Home Yoga Flow to Help Ease Your Arthritis
Try This Daily At-Home Yoga Flow to Help Ease Your Arthritis Pain
If you have arthritis, committing to a daily yoga practice could help ease some stiffness and pain brought on by inflammation in your joints.
According to Dr. Loren Fishman, MD — the medical director at Manhattan Physical Medicine and Rehabilitation and a certified yoga instructor — yoga produces potent calming proteins in cells, which can repair cell damage and protect cells from future injury. He says yoga can increase your range of motion by stretching both muscles and ligaments around your joints, too. Plus, it can help temper anxiety and stress, which are known to promote arthritis.
With permission from your doctor, Dr. Fishman recommends adding the following flow into your daily routine to help ease arthritis pain — just make sure you're avoiding abrupt movements, modifying steps if needed, and approaching each new move cautiously.
"If you completely shy away from the poses that cause you discomfort, yoga won't do you much good, so strike a happy balance," he says.
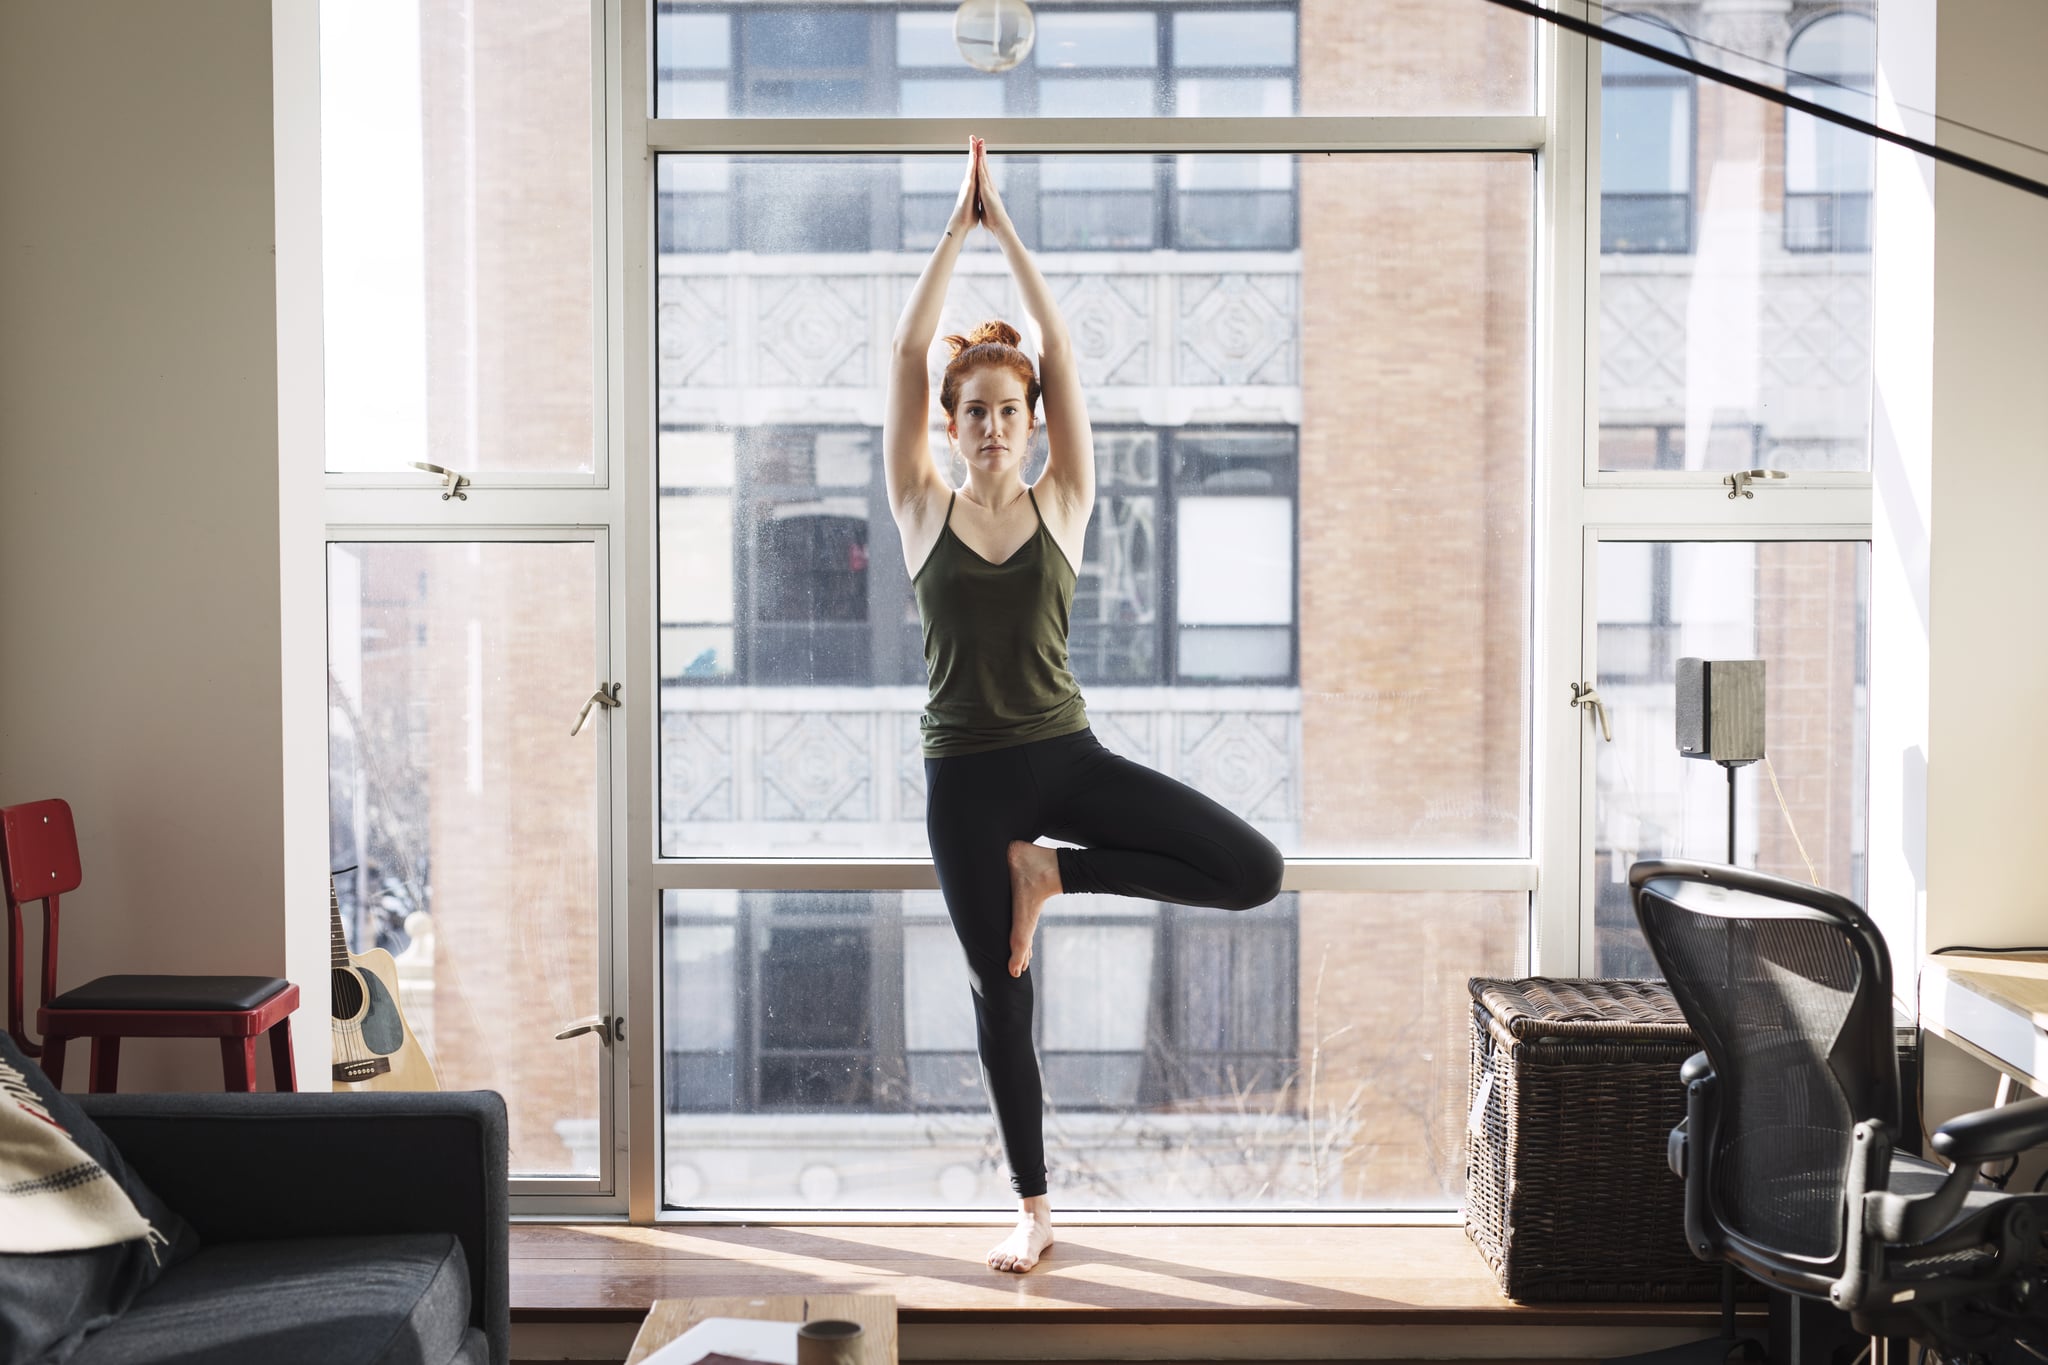
Tree Pose
- Stand facing forward with your feet parallel.
- Exhale as you bend your right knee to place your right foot on your inner left thigh. Keep your toes pointed downward.
- Inhale as you press your hands together over your head — your biceps should be behind your ears.
- Continue to stretch up with your fingertips as you bring your hips forward to make yourself even longer.
- Hold this pose for several slow, even breaths.
- Exhale as your arms come down again.
- Lower your right foot to the floor and repeat with your other leg.
Triangle Pose
- Stand with your back to a wall with your feet three feet apart.
- Turn your right foot and leg out to the side so they are parallel to the wall — the rest of your body should stay facing forward.
- Angle your left foot 30-degrees inward toward your right foot, and stretch your arms out to both sides.
- Inhale, tighten your legs to keep them straight, and lengthen through the spine.
- Exhale as you shift your hips to the left and extend your torso over your right leg by bending at the hips, not the waist. Your right hand should be reaching towards your right shin.
- Keep your torso long and curl your tailbone down to lift your belly in and up.
- Place your right hand on your ankle or a block. Stretch the left arm straight up — if unsteady, lean lightly against the wall.
- Inhale and come back up before repeating these instructions on the opposite side of your body.
Supine Hand to Big-Toe Pose
- Lie face up with your legs straight out.
- While pressing your right leg down to the floor, raise your left thigh to a vertical position while keeping your left knee bent.
- Straighten your left knee and grab your foot with both hands. You can modify this step by holding each side of a strap that wraps around the elevated ball of your foot.
- If using the strap, walk your fingers up it as far as possible, extending your reach so that your elbows are straight and your shoulders come up a little off the mat.
- Tighten your quads in both legs and draw your shoulders down to the mat.
- Slowly release all body parts to the floor before repeating the movements on your other side.
Straight Leg Seated Twist Pose
- Sit with your legs extended straight forward.
- Use your hands to pull your butt and upper thighs back and apart.
- Inhale to expand your chest, lifting the spine powerfully. You can press your hands down on the floor beside you to further your lift.
- Bend your right knee to place your right foot flat on the mat close to your inner left thigh.
- Press your entire left leg down firmly as you stretch fully through the sole of your foot.
- Inhale while lifting your spine again.
- Exhale as you turn toward the right.
- Hook your left upper arm outside of your right knee and straighten the right arm.
- Inhale while moving your spine in and up.
- Exhale to twist more. You should lead the twist with your left lower ribs wrapping toward the right.
- Turn your left arm inward to wrap it in front of and around your bent right leg.
- Wrap your right arm behind your waist and clasp your hands or use a strap.
- Inhale while rolling your right shoulder back.
- Exhale to press your left foot down and advance your entire left chest forward, twisting to the right.
- Slowly release to your starting sitting position and repeat on your other side.
Corpse Pose
- Make sure your space is quiet and safe from distractions.
- Place a folded blanket under your spine, knees, and neck for support. Feel free to use an eye mask to help relax your face.
- Lie on your back with your arms at your sides and your palms facing up. Make sure that the chest-supporting blanket allows your shoulders to be flat on the floor.
- Turn your legs inward to widen the back of the pelvis, then let your feet roll apart as you relax.
- Lengthen your butt away from your waist if you feel any compression in your lower back.
- Tuck your shoulder blades gently in toward your spine to open the front of your chest.
- Make sure that your neck is long, and your chin and forehead are level.
- Guide your attention through your whole body systematically from head to toe and back again, letting each part relax thoroughly.
- Don't worry if your mind produces thoughts — just watch them unemotionally without being drawn into the content.
- After five to ten minutes of quiet rest, take a few deeper breaths, stretch your arms and legs gently, bend your knees, and softly roll to any side.
- Take your time getting up, and respect whatever effects, changes, and benefits you may feel from your yoga practice.
- Remember your highest intention: to affirm your process of growth and healing.
Click here for more health and wellness stories, tips, and news.

