We've been cooped up in our homes for a little over two months due to COVID-19 shelter-in-place orders, so we're exhausting every kind of DIY [1] craft that we can get our hands on. Now that we're starting to get a taste of our longed-for summer weather and can no longer withstand baking 12 sourdough loaves per day in 80 degree heat, people are flocking to beaches, parks, and other public spaces to relieve their cabin fever blues. For those of you with a backyard, have you forgotten about the endless possibilities of summer fun that can be held in your own home? Sure, we all have had our fun with store-bought backyard gadgets, but there's something satisfying about perfecting your DIY game.
Slip 'n' slides have been a staple in my family household ever since I could walk — so I've come up with a simple DIY slip 'n' slide that you can make for under $10 (or free, if you already have everything on this very short list!). There's no better way to beat the heat and stay home than hosting a mini water park on your back lawn. Please note, Otter pops are optional (but make for an excellent summer treat after a good slide)!
Gather your supplies.
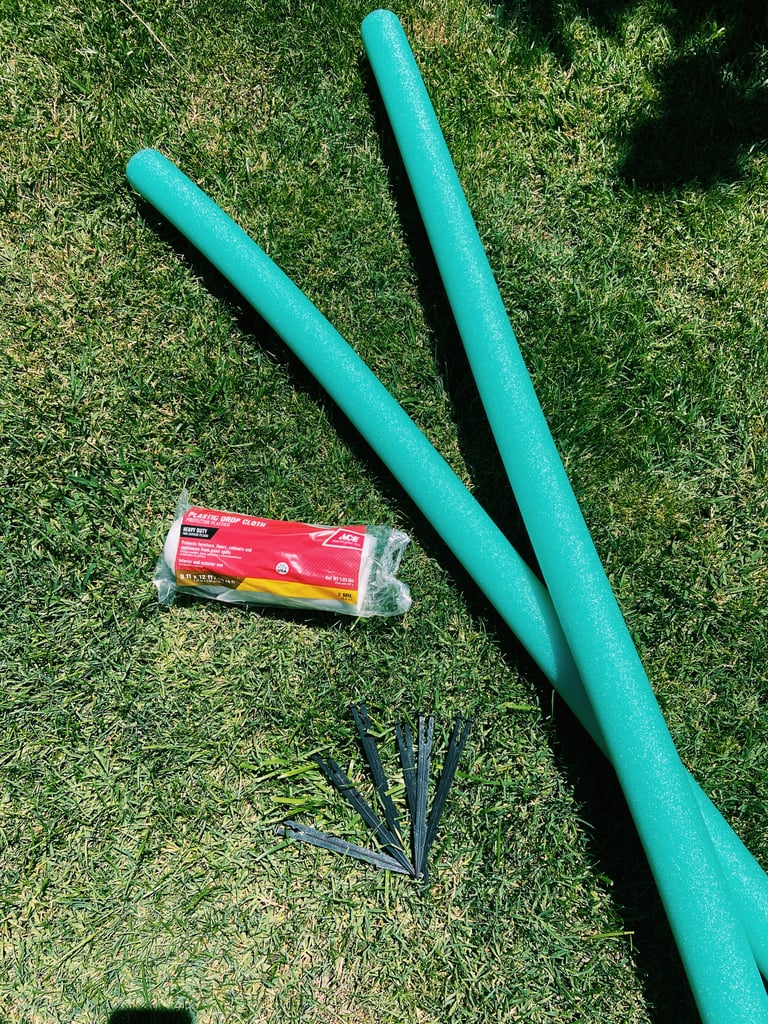
You'll need a few things:
- 1 9 ft.x12 ft. plastic drop cloth (I purchased mine at the hardware store for around $5)
- 6 plastic stakes — get creative with this! You can find them at hardware stores, but for mine, I used stakes that used to support our old backyard sprinkler system. Another good option: the stakes you'd use to set up a tent!
- 2 pool noodles
- 1 portable lawn sprinkler
- A stapler and staples
If you have these around your home already, great! If not, I found most of these items at the hardware store for under $10.
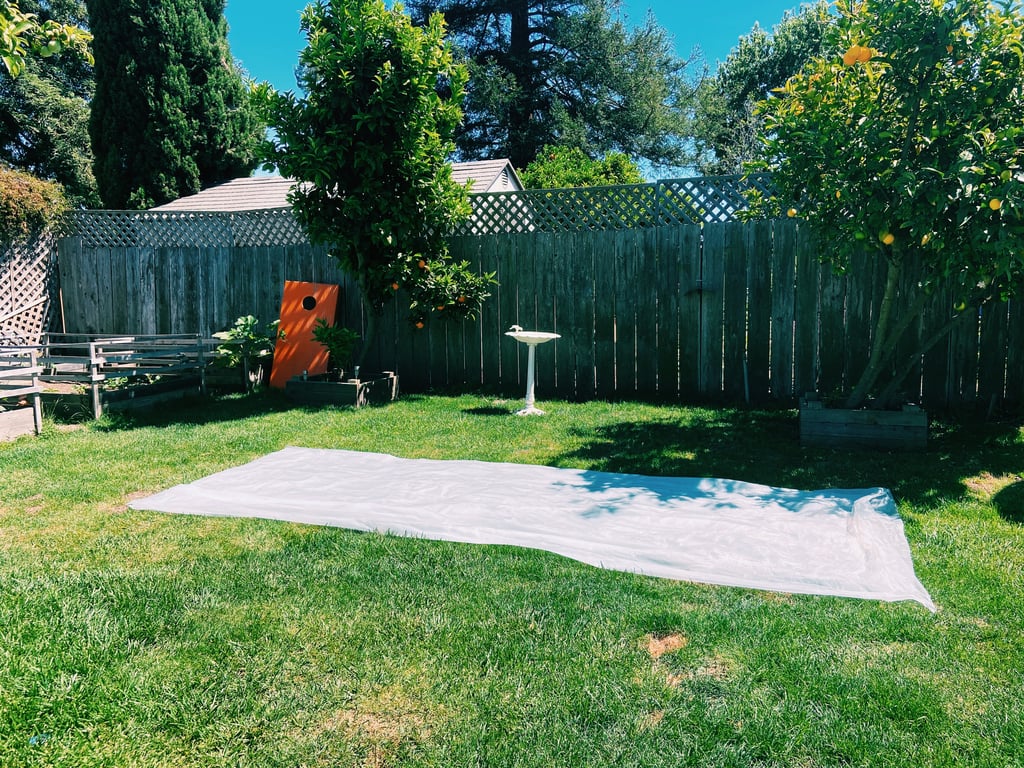
Lay out your slide.
I purchased the 9ft x 12ft plastic drop cloth so that I could fold it in half for a stronger slide. Folding the plastic in half also comes in handy later when you secure the pool noodles at the end of the slide.
Secure, secure, secure!
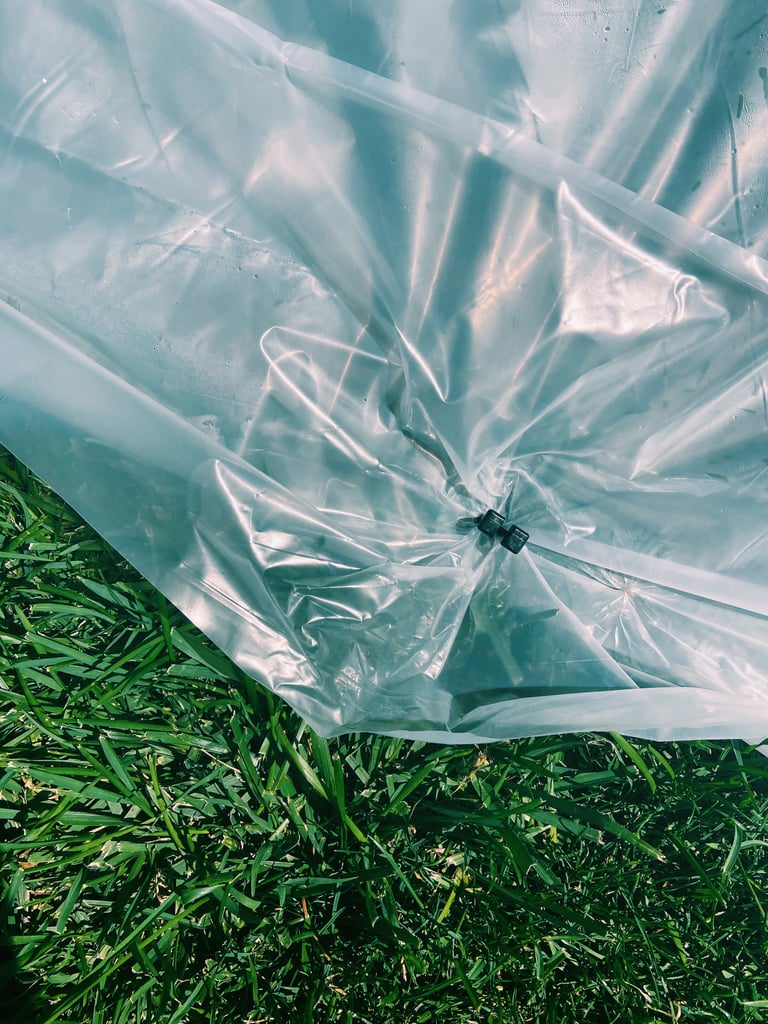
This part is really important, because you don't want your slide crumpling beneath you, causing quite possibly the worst grass burn of your life. (I tried it. Don't be like me.) I used six stakes here, and distributed them throughout the entire plastic cloth (three on one side, three on the other, evenly spaced). I then made sure they were securely lodged in the ground. You can use a hammer, your body weight, whatever you have on hand, just be careful! You'll want to try to get the stakes as far into the ground as possible in order to avoid getting hurt on the dull plastic that's exposed aboveground.
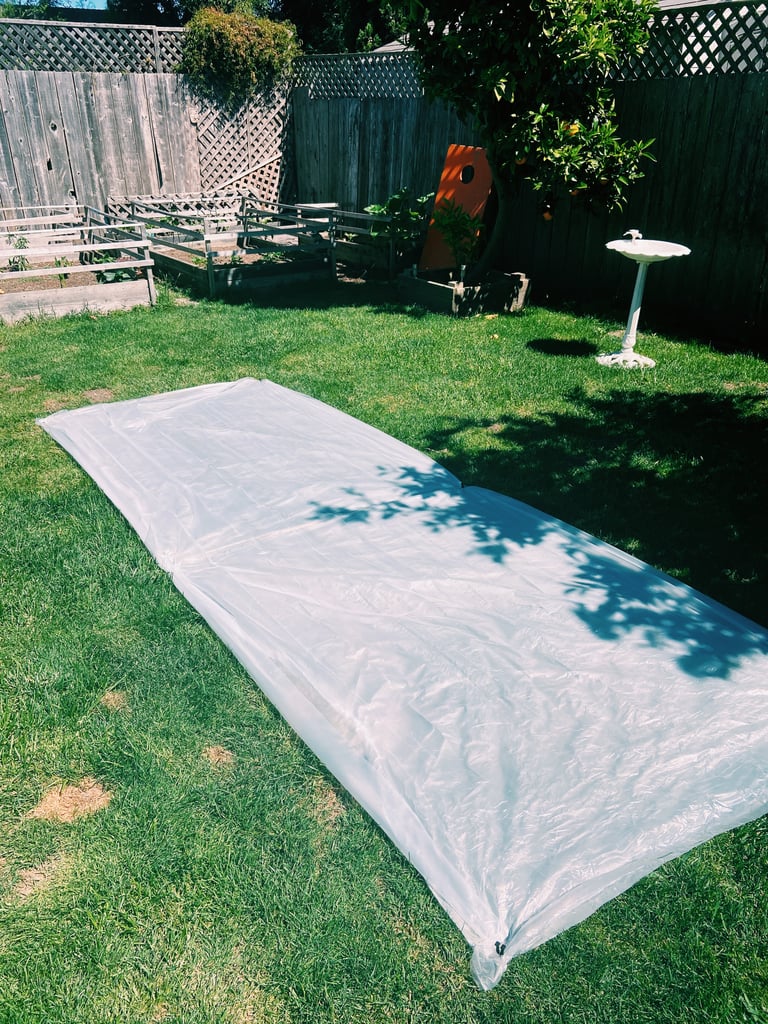
Secured your slide? Good.
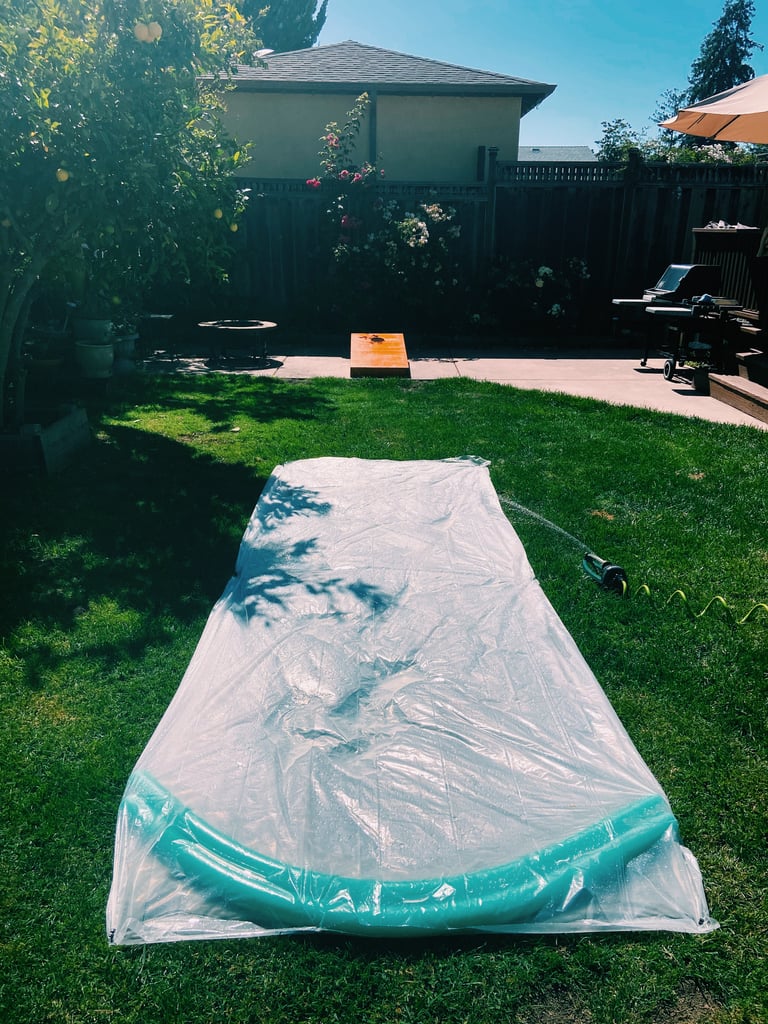
This is what your plastic slide should look like at this point — notice the six secure stakes in the ground? No one was victimized by dull plastic on this day.
Insert the noodles.
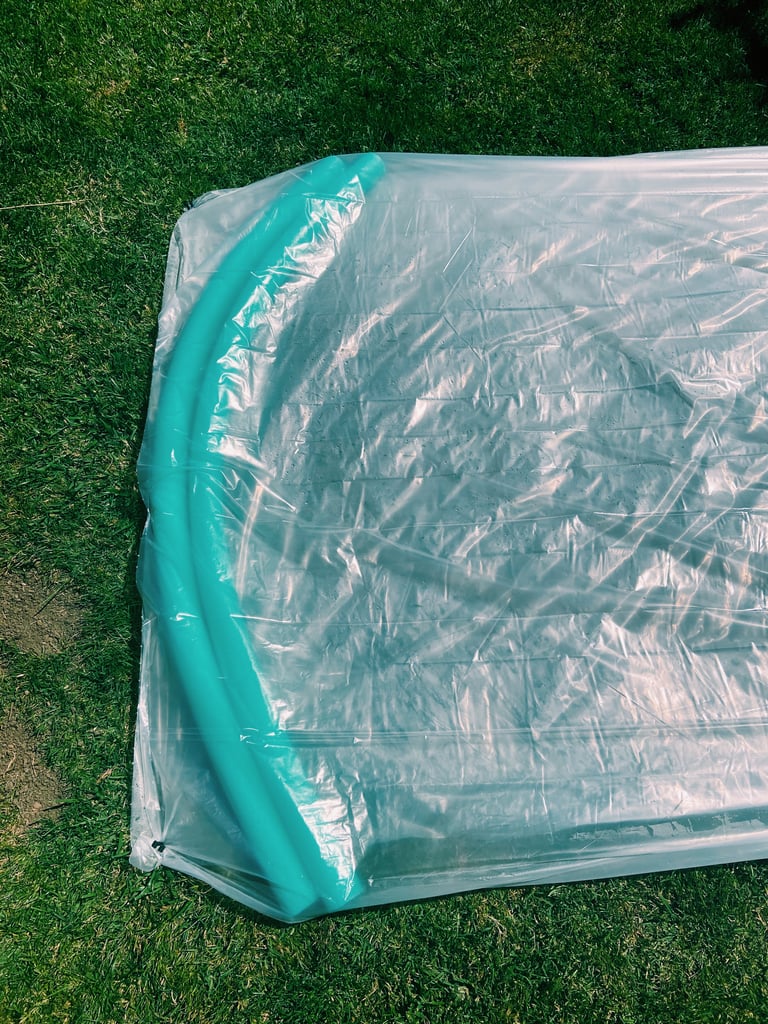
Remember when I told you about the folded plastic coming in handy? This is the part. Because you've folded your plastic in half, you have now created a plastic burrito in which you can easily place the pool noodles, creating padding at the end of your slide so you don't go shooting off the end. I then stapled the open sides of the plastic sheet in order to keep the noodles snug.
Create the slip.
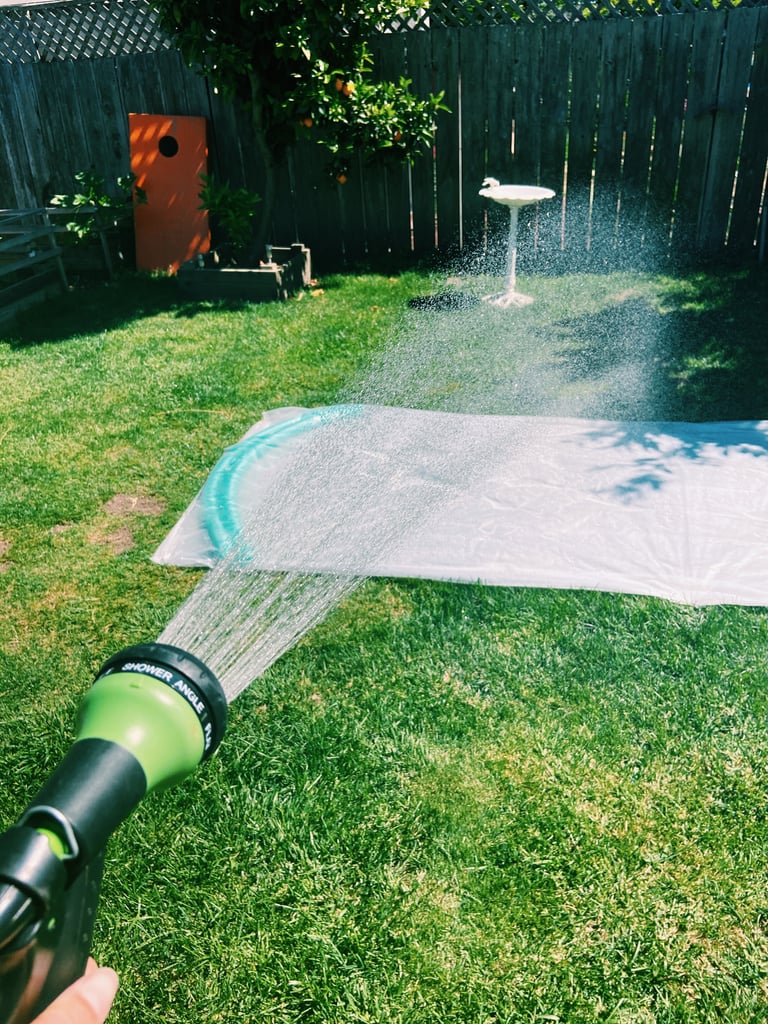
This part is optional, especially if you have a portable lawn sprinkler that can cover the surface of the slide pretty evenly. Mine couldn't, so I had to give my slide a nice, even spray down before I could use it.
Pro tip: To level up your DIY [3] slip 'n' slide experience, assign someone to aim the hose at every slider! I found it to be much more exciting than having just the portable sprinkler on.
Turn on your water source.
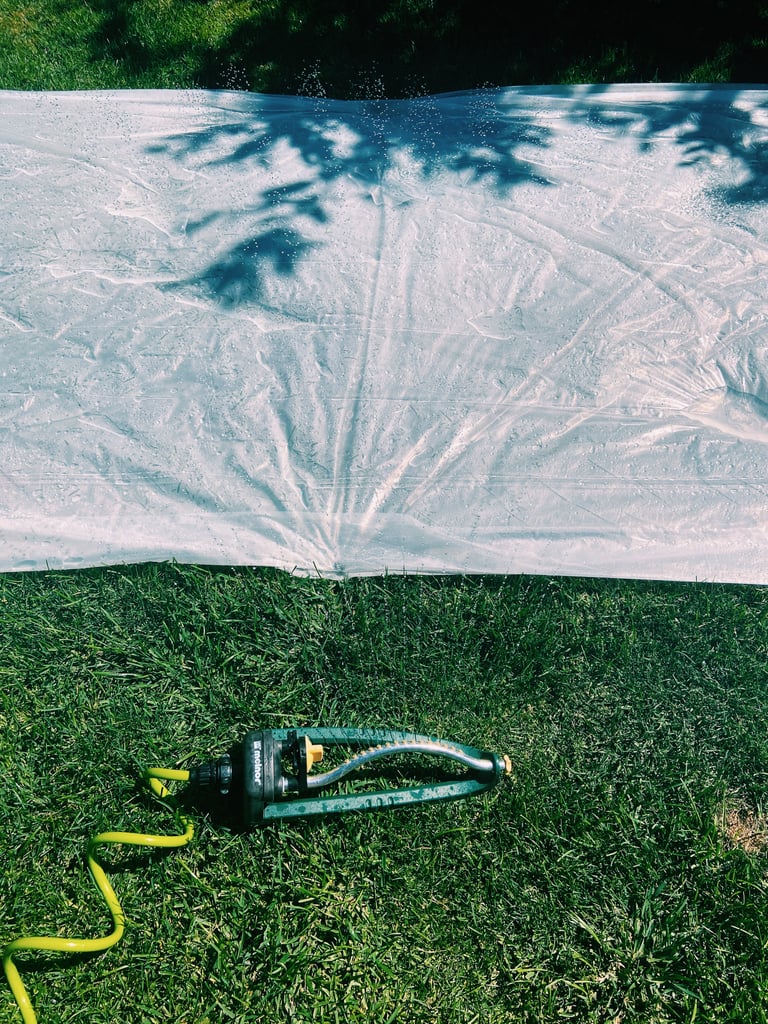
If you have a lawn in your backyard, you probably have one of these lying around. Connect it to your hose and aim it towards the slide!
Get sliding!
There you have it! This super simple slip 'n' slide is sure to help you cool off on a budget as summer approaches.

