I Tried Aura Nails: See Photos
I'm a Minimalist, but I Love the Aura Nails Trend
As POPSUGAR editors, we independently select and write about stuff we love and think you'll like too. If you buy a product we have recommended, we may receive affiliate commission, which in turn supports our work.
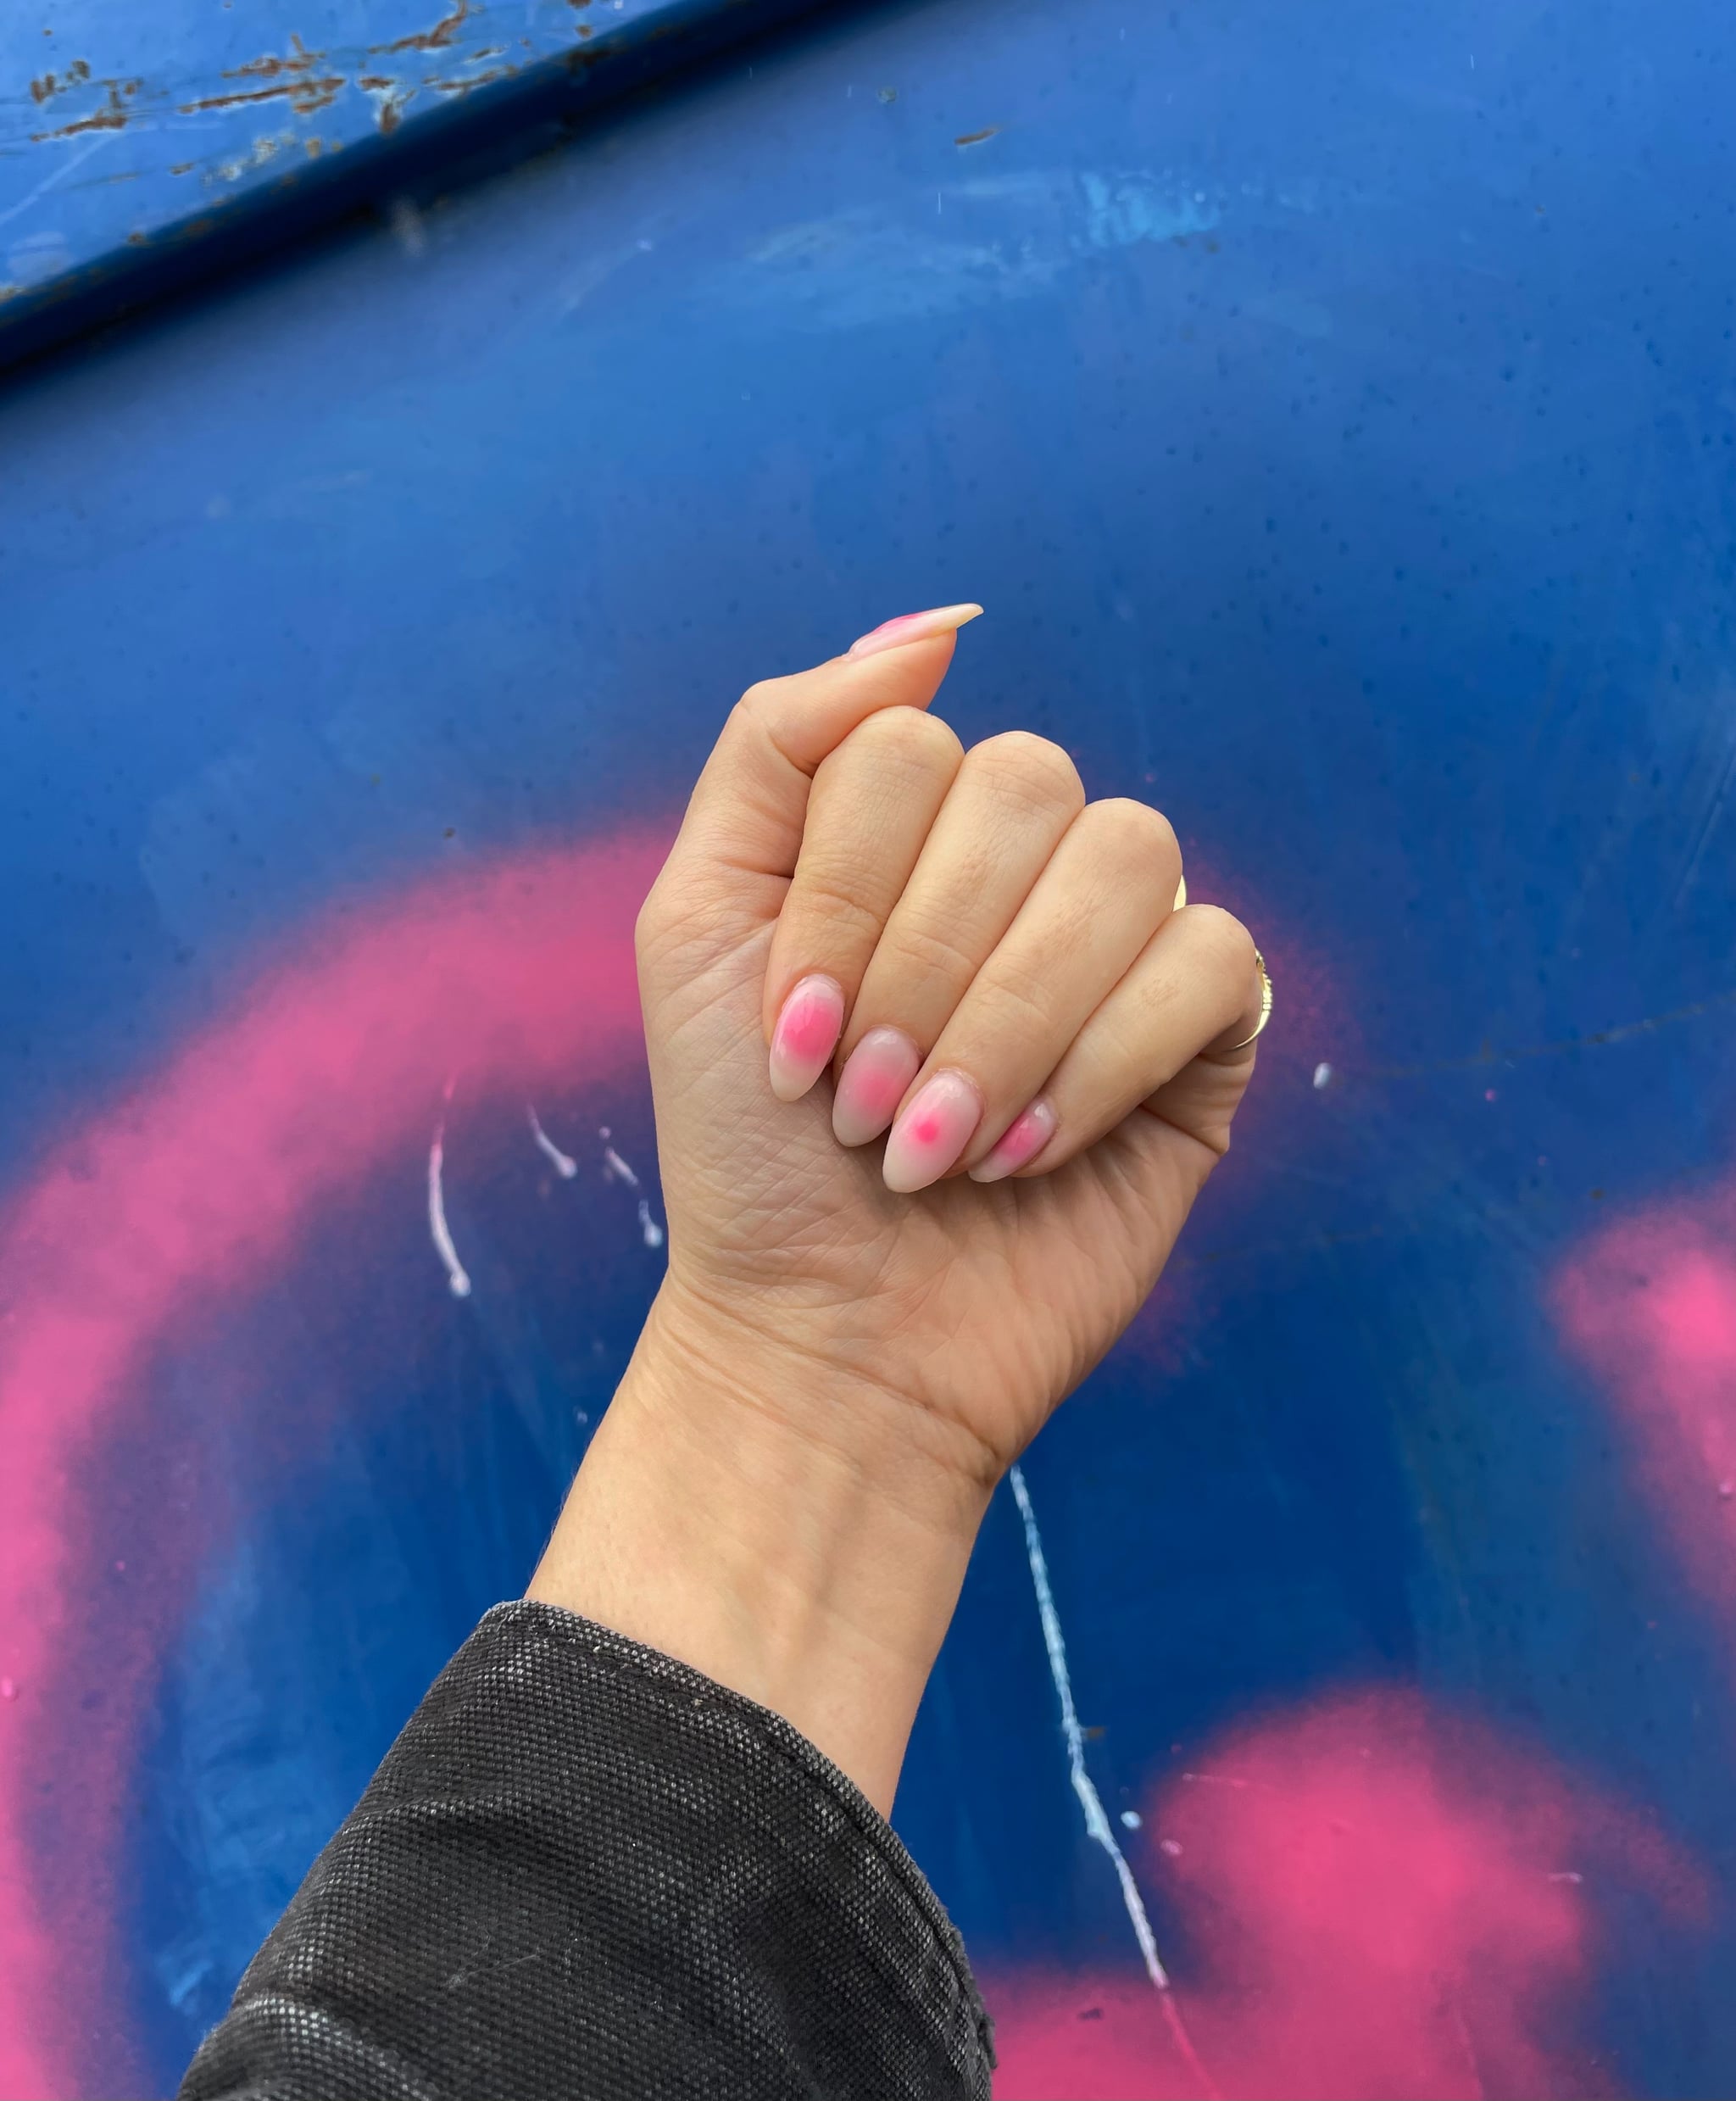
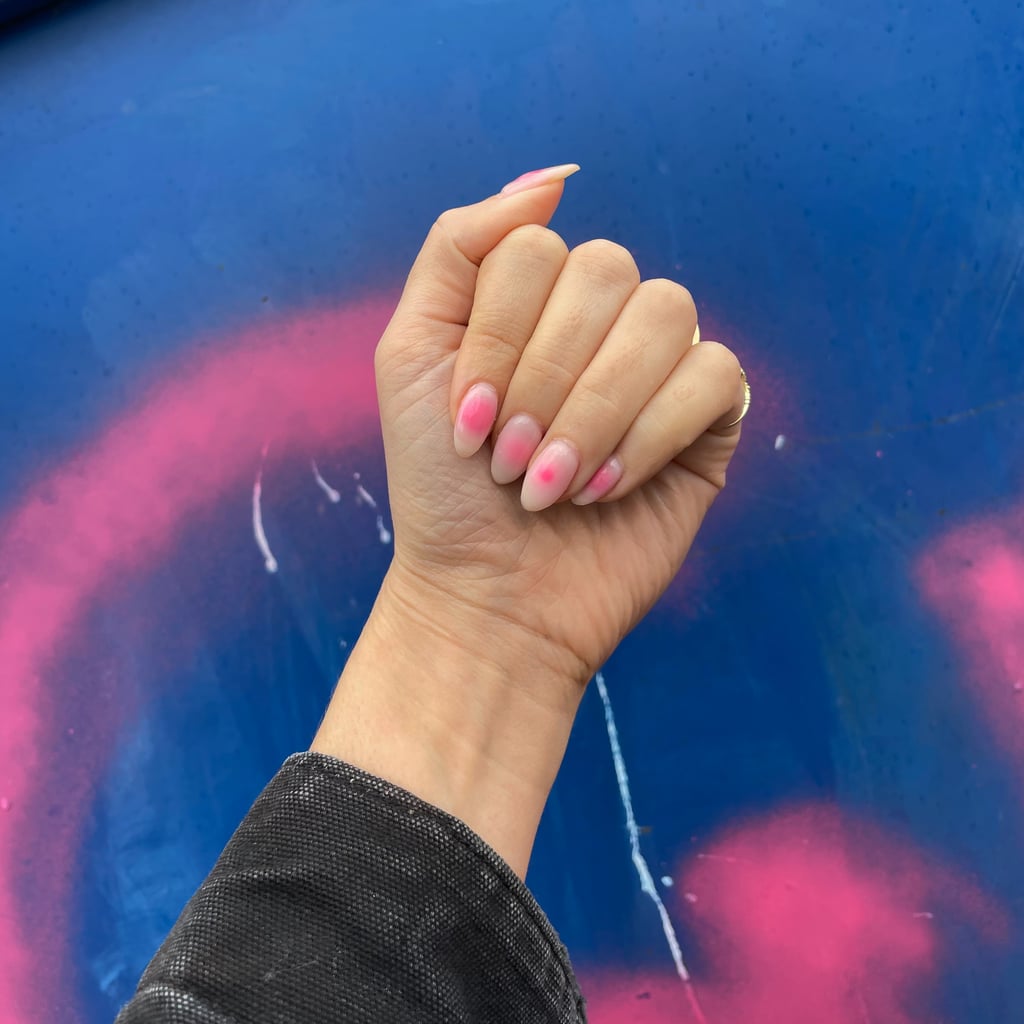
I'm picky when it comes to manicures. I get my nails done frequently, but I usually stick with options that are stylish but minimal when it comes to trying trends. For example, I'm a big fan of "lip gloss" nails or the '90s supermodel manicure, but will usually pass on anything that's a little more out-there, like "lava" nails, "liquid molten" nails, or any other bold design. When I saw that "aura" nails were trending, I was intrigued, but I wasn't sure if the style was too bold for my taste.
Like its name suggests, this type of nail art is typically inspired by the look of an aura reading and can involve an array of different colours. "Aura nails are nails that mimic the colours of the body's chakras and energy colour fields," Rita Pinto, founder of Vanity Projects nail salon, previously told POPSUGAR. When I learned that the design didn't have to be too bright or too dark — and that they could be minimal, just how I like it — I decided to try them out for myself.
I visited nail artist Rachel Joseph of Rachel Sue Nails in Sherman Oaks, who gave me the aura nails of my dreams. Below, check out a step-by-step breakdown of how we achieved the look, and how you can accomplish the nails at home on your own.
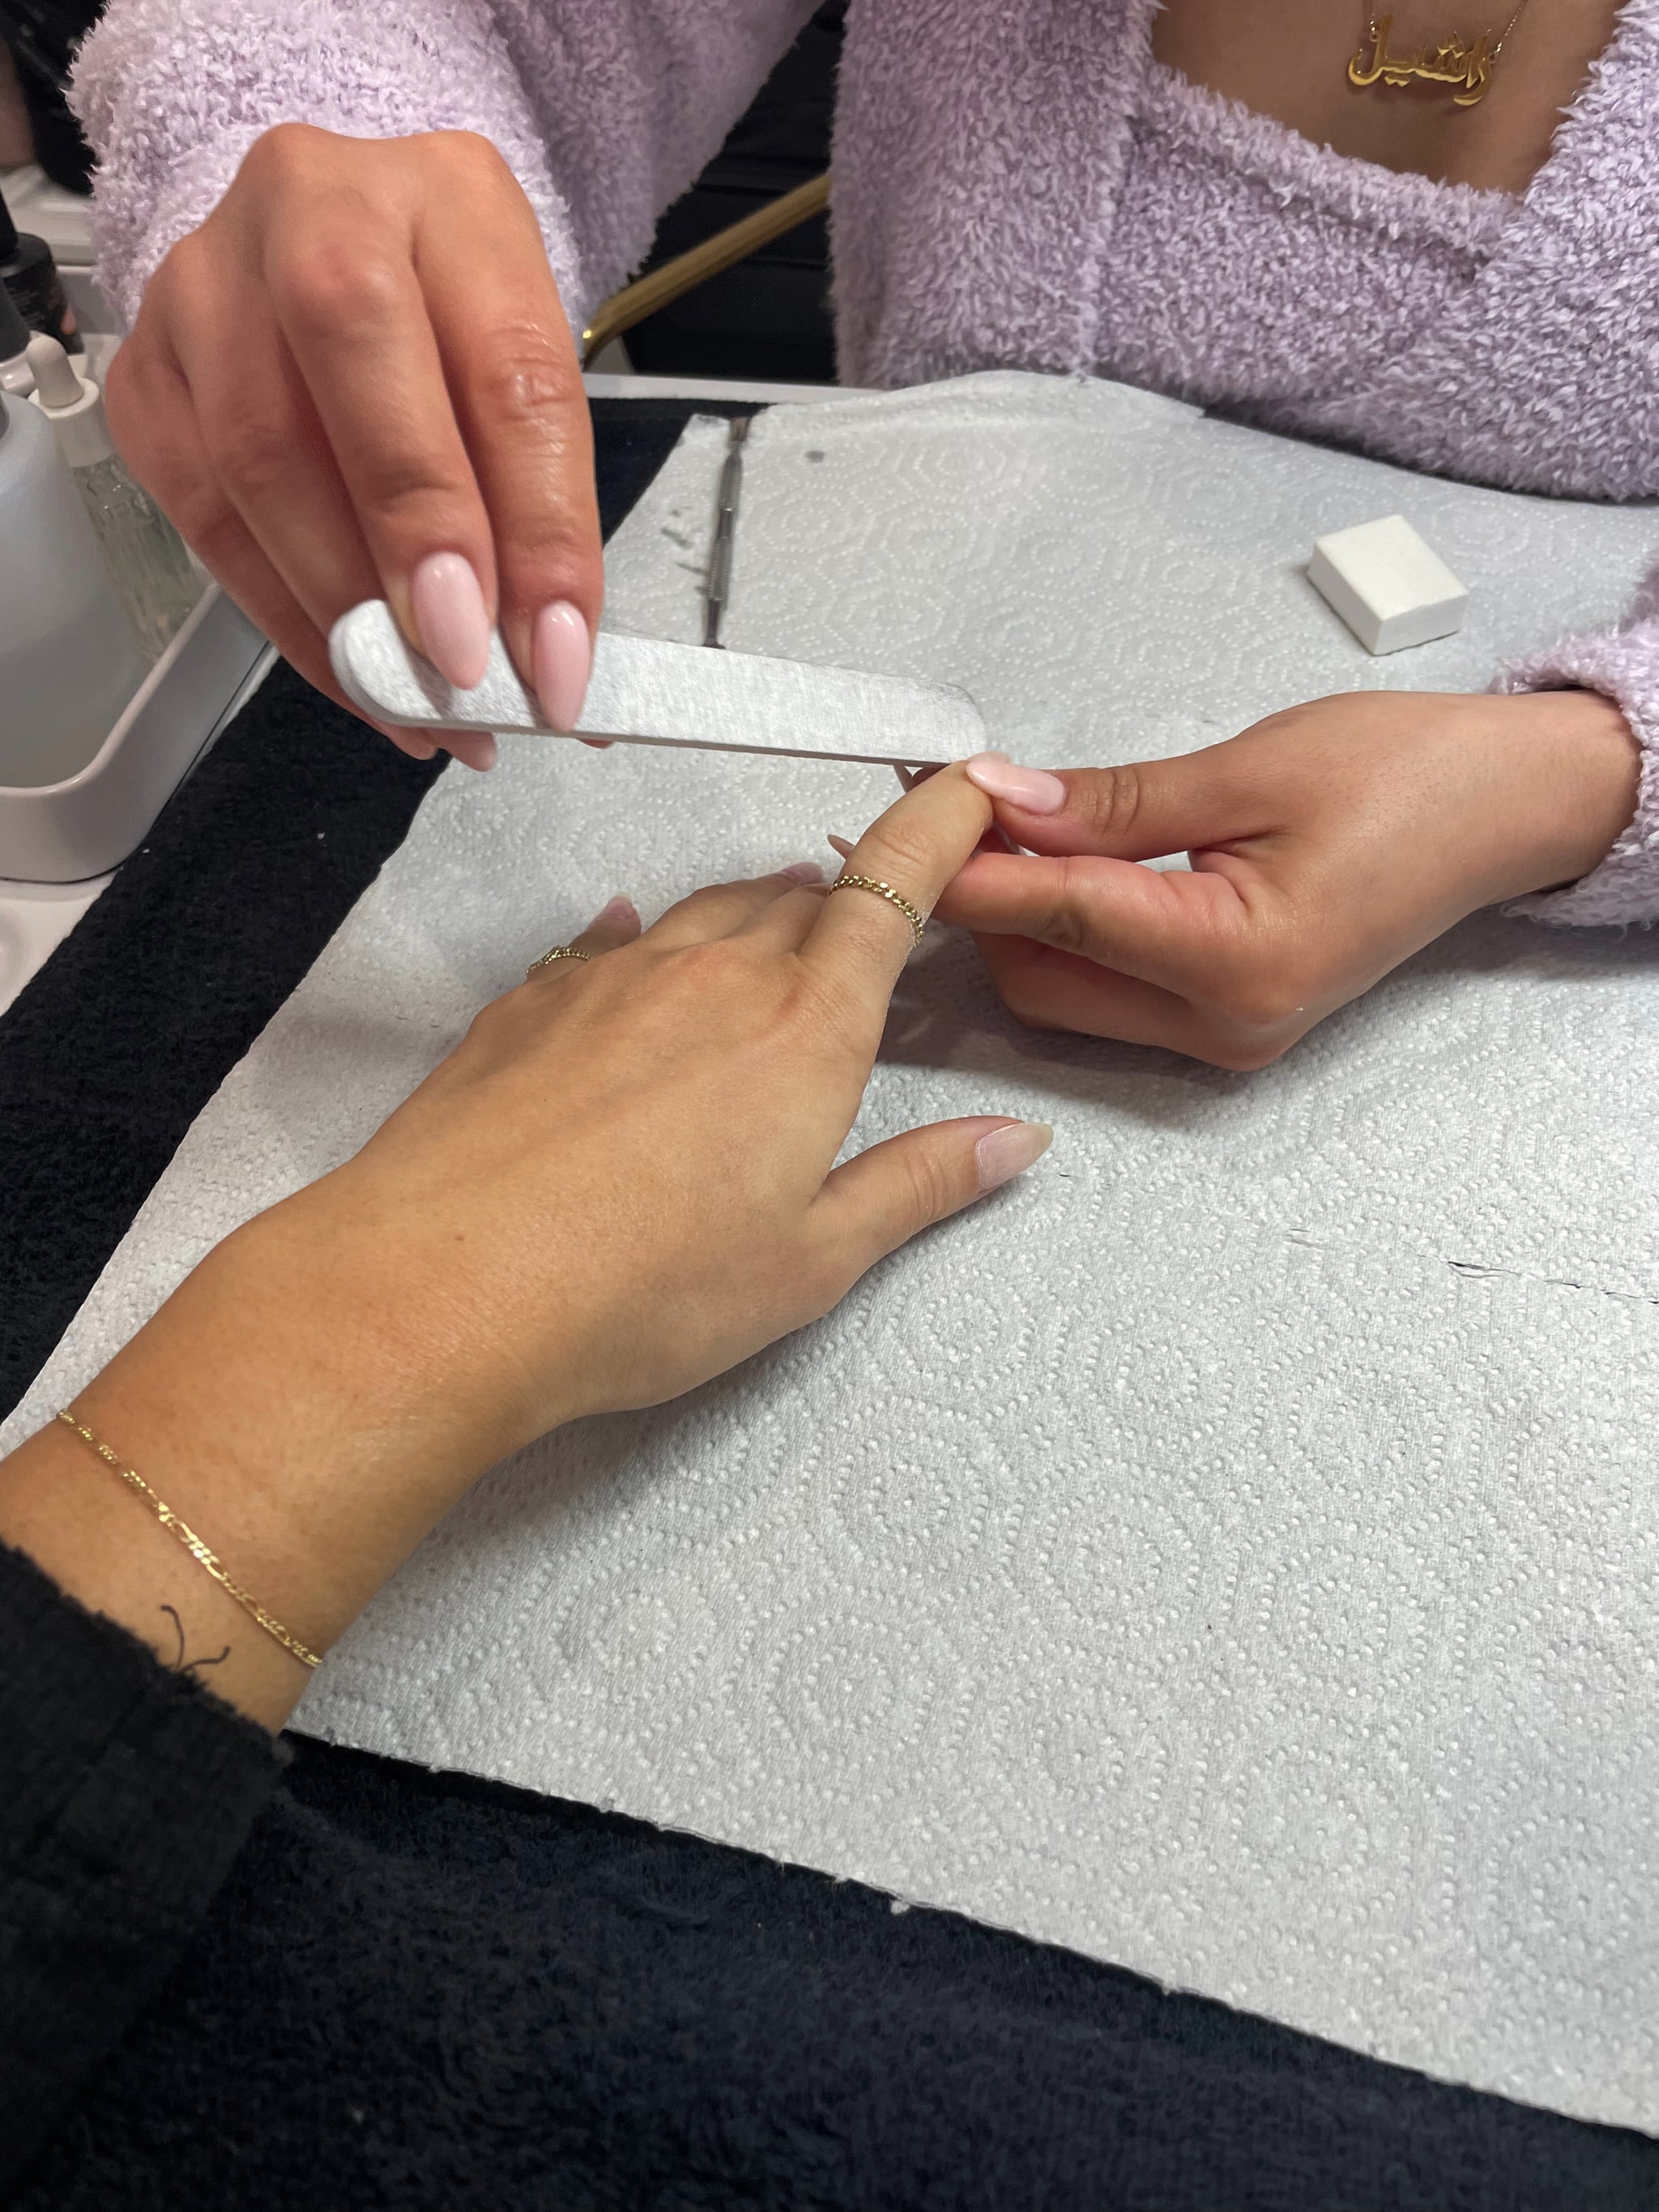
Step 1: Trim, Buff, and File Natural Nails
After removing the gel I had on already, Joseph trimmed my cuticles and then filed and buffed my natural nails. I've been growing out my nails for the last few months, so I wanted to keep them as long as possible. My previous shape was a little more round, but I wanted it to look a little more almond, so we settled on a hybrid of the two.
Step 2: Apply a Base Colour and Pick Your Aura Colour
I'm all about neutral colours when it comes to my nails, so I knew I wanted my base shade to be something fairly simple and chic. I usually shuffle between a few different neutral hues, but we ended up settling on the Orly Gel FX in Pink Nude ($20). The shade is a milky colour that presents a little more on the white side. After applying two coats, we let it cure under the LED lamp.
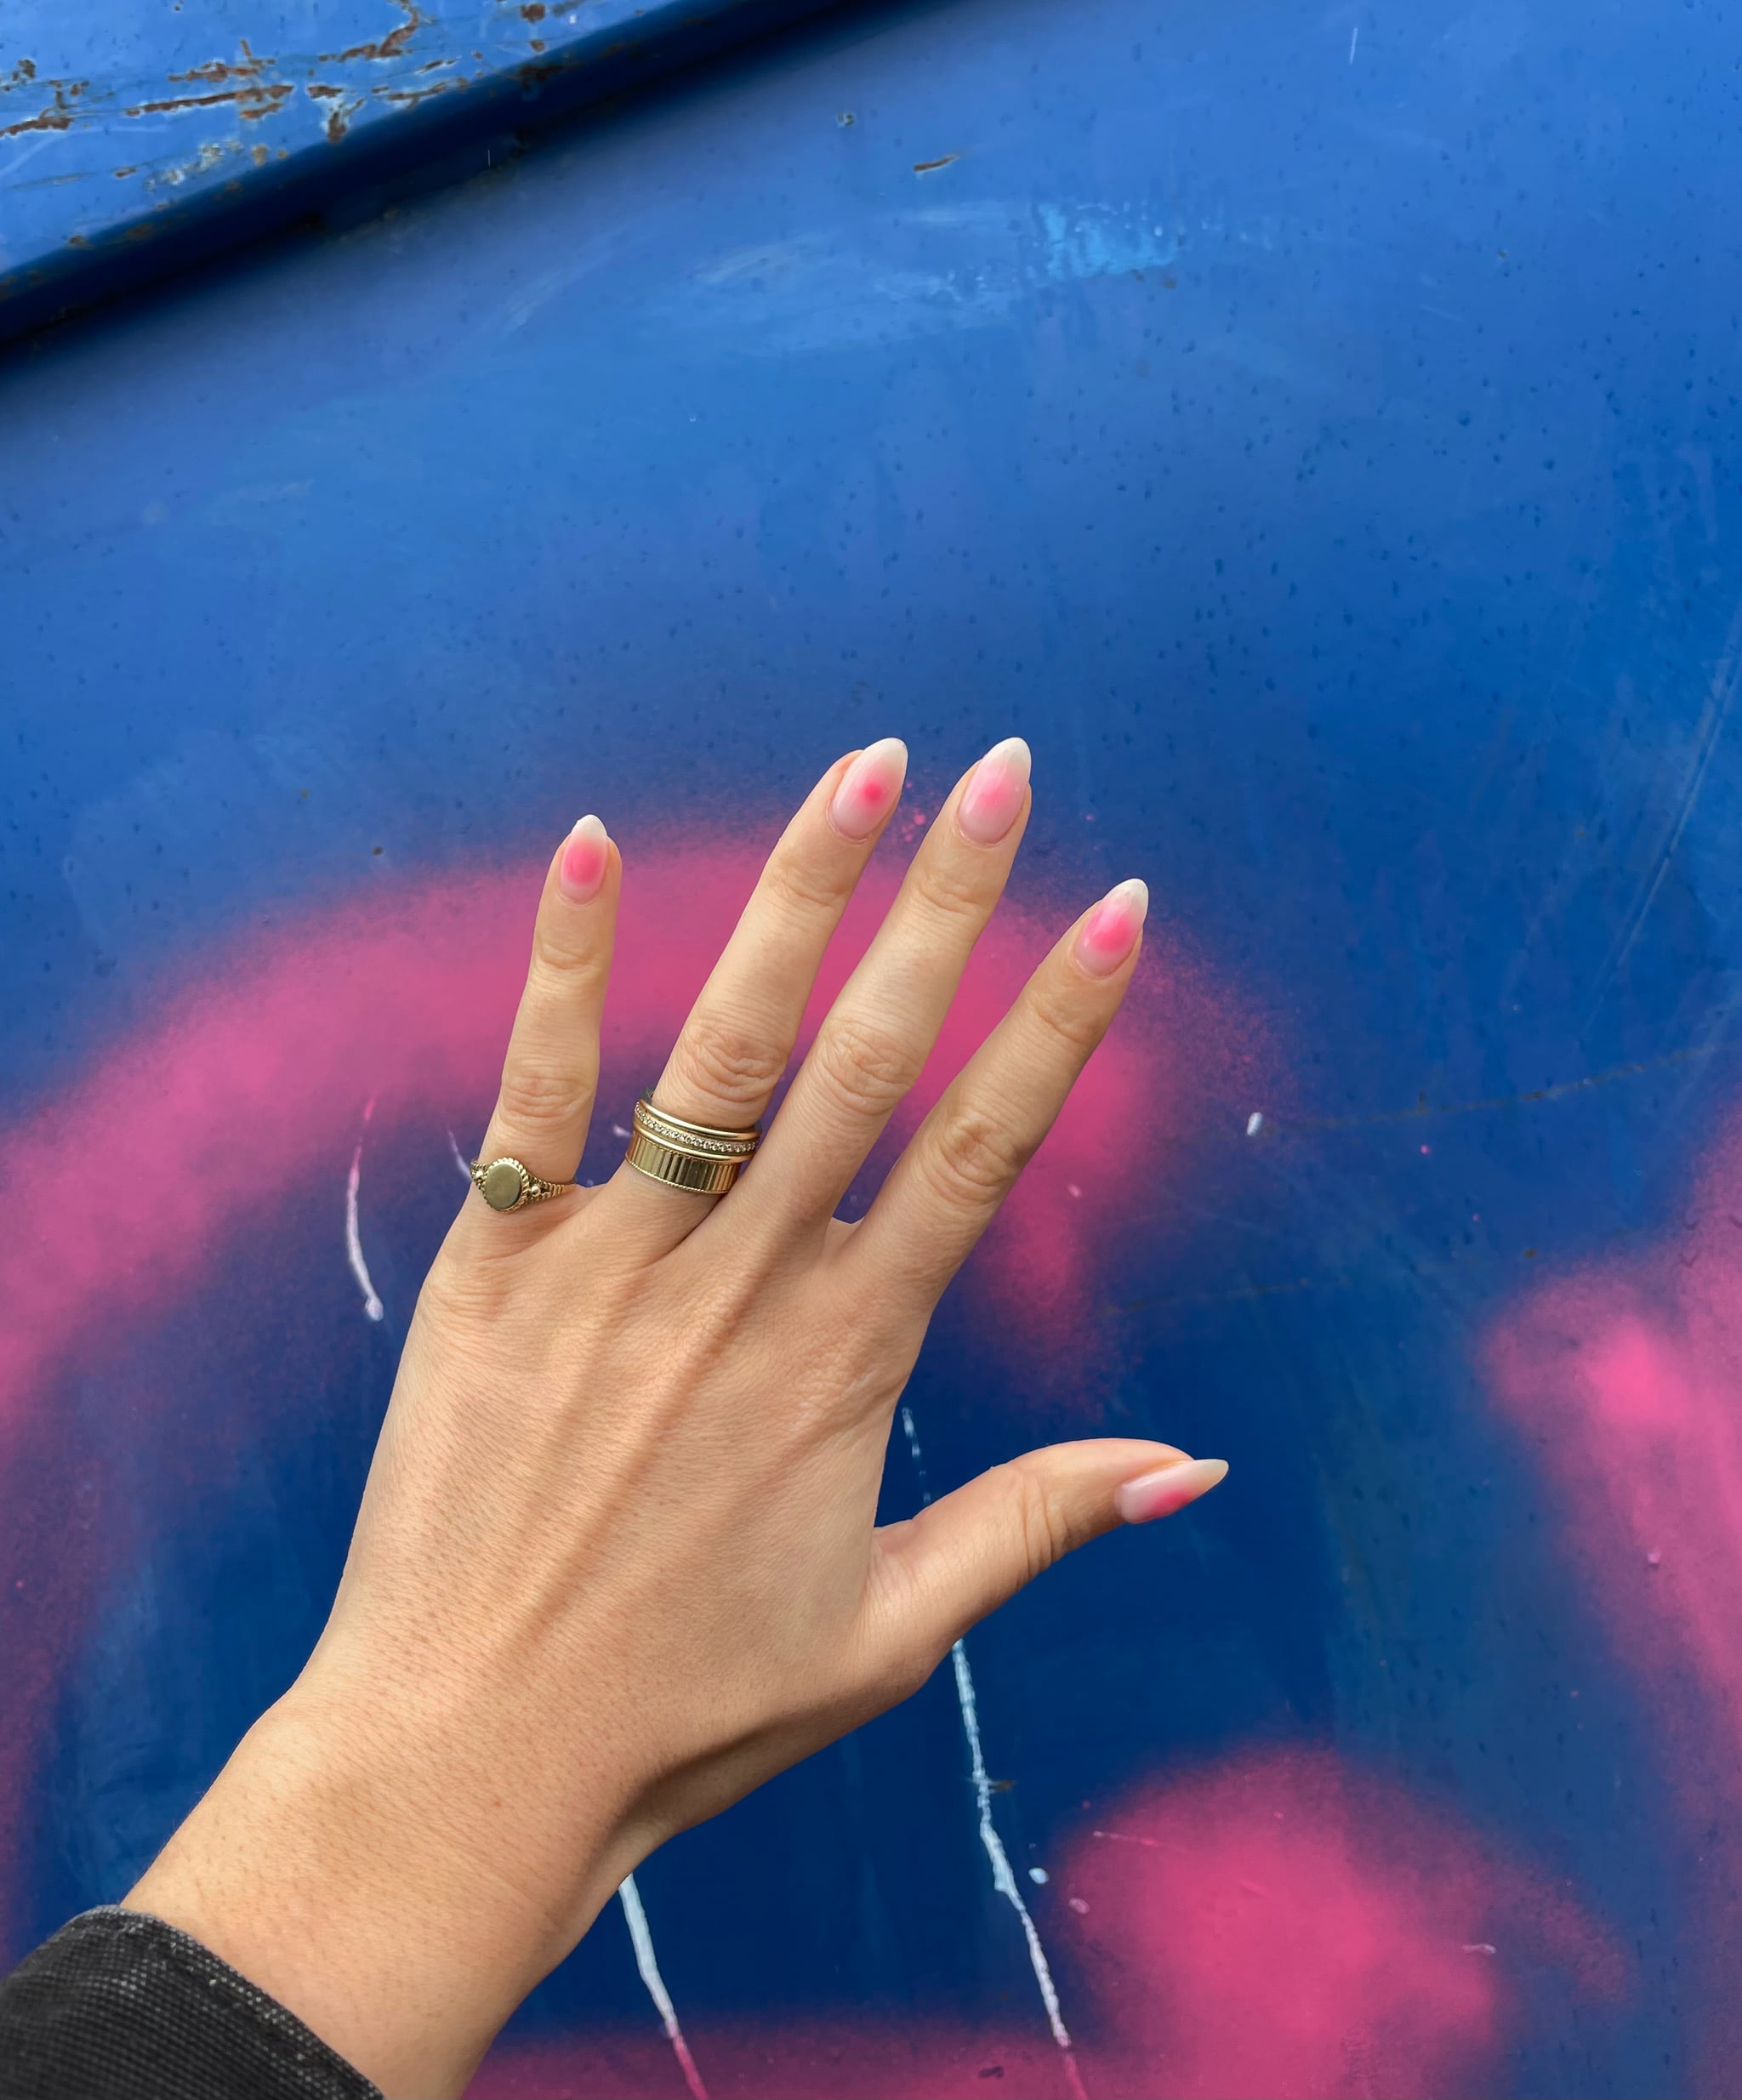
As for picking the aura colours, I did a little research prior to my appointment and learned that pink auras mean love and openness, so I decided to go with two muted pinks: Orly Meet Cute ($20) and Orly Cool in California ($20).
Step 3: Apply a Blooming Gel
As someone who writes about beauty every day (and gets a manicure like clockwork every two weeks), I thought I knew about practically every nail product. However, this was my first time ever using or even hearing of a blooming gel, but Joseph said it was going to be the key to getting the perfect aura look.
Put simply, blooming gel is a clear gel polish that you apply to the nail prior to applying a nail art design or secondary colour, and it causes the art or colour to "bloom" and fade. To use it for aura nails, Joseph started by applying a layer to each nail separately without curing it after, and then went in with the aura design.
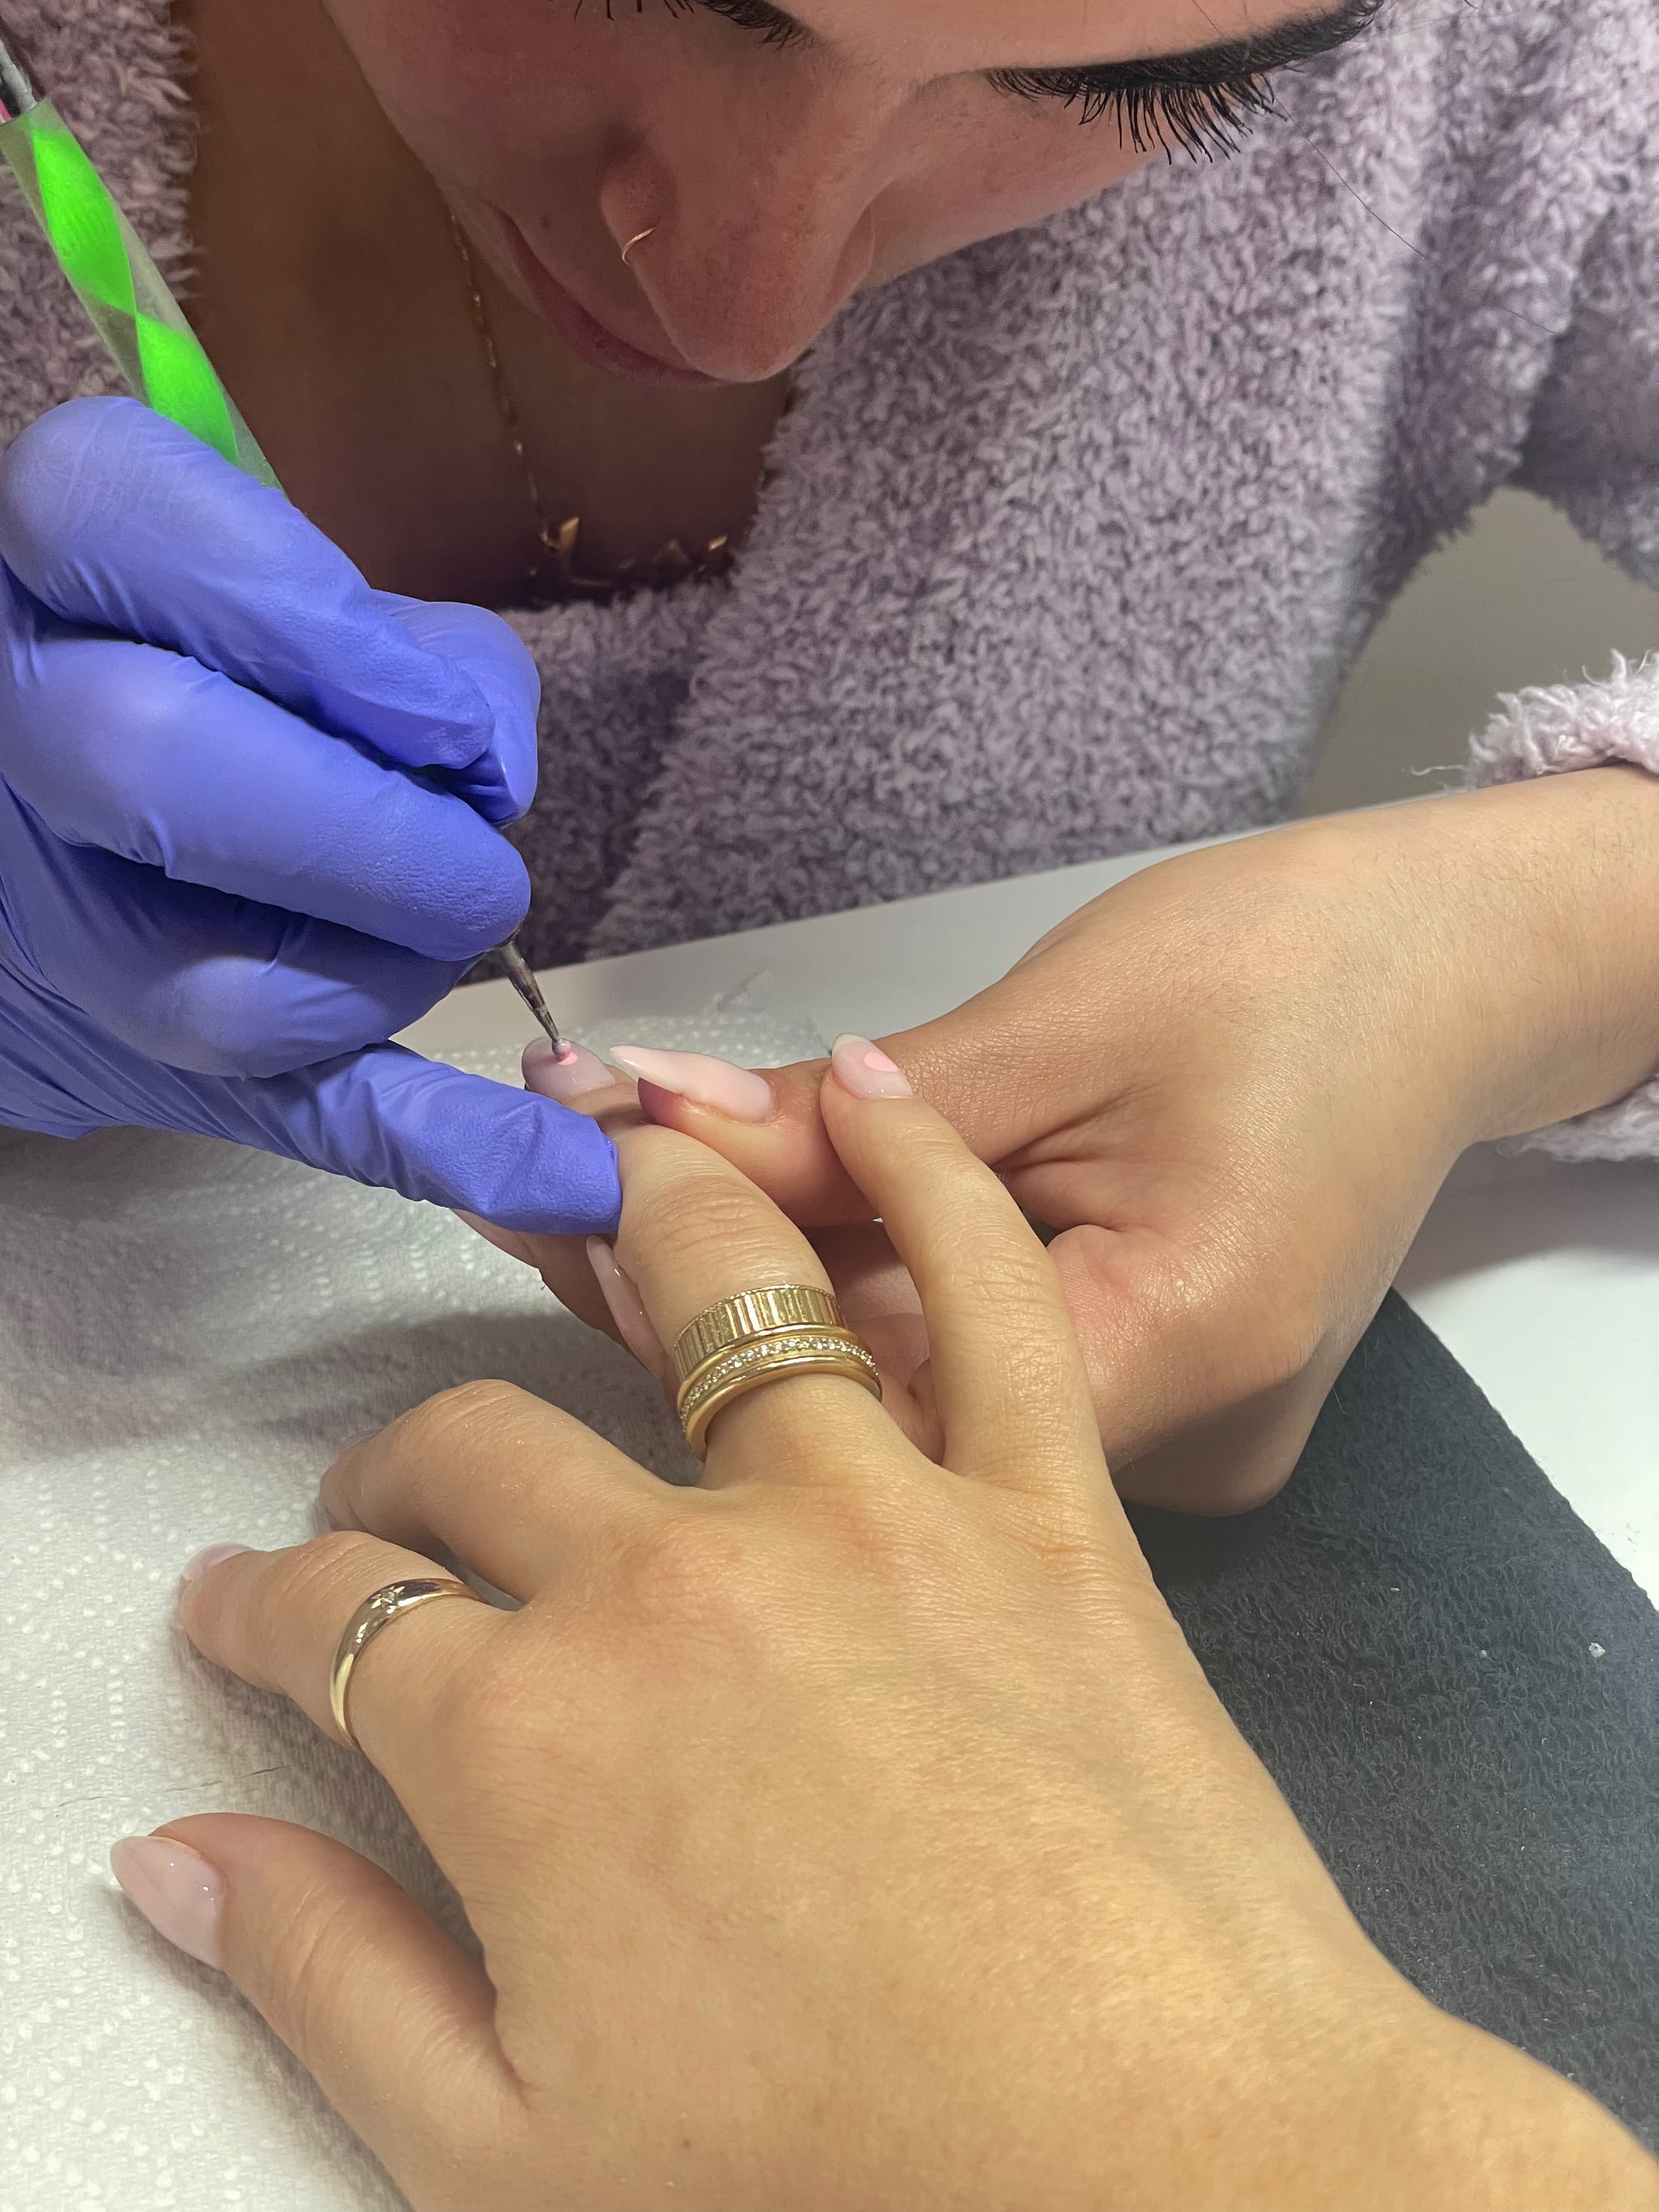
Step 4: Apply the Aura Colours
Joseph then took a tiny dot tool, dipped it in one of the pinks, and gently tapped it onto my nail. We then waited for the colour to "bloom" and once it reached a shape and look we liked, we cured it under the LED lamp. I ended up wanting to do the two pinks alternating on top of one another, so to add a second colour Joseph just added another thin layer of blooming gel, another dot of pink, and then we cured it once it reached a shape and shade we liked.
Step 5: Seal With a Topcoat
Once the nail art looked exactly how I wanted it, Joseph sealed everything with a top coat, and the result was pure magic. As mentioned, I'm typically a neutral nail type of gal, but I was smitten with my aura nails. The design was subtle, but still popped, and because I had a neutral base, the grow-out would be fairly seamless. After testing the trend for myself I'm fairly certain that aura nails are going to be my new go-to manicure.
