I Tried the "Lip Tenting" Filler Technique: See Photos
I Tried The Viral "Lip Tenting" Filler Technique
I am no stranger to the needle, be it Botox injections or dermal filler. These days that doesn't feel as big of a declaration as it used to be because there's less of a stigma. In that vein, I admit I've also had multiple rounds of lip injections over the past six years, using different types of filler from the Restylane and Juvéderm brands, because I have not been blessed with the fullest pair. My focus at every appointment: adding volume.
Typically, my injectors have used traditional techniques to give me that voluminous look, which has worked but often also left me with what is commonly known as "duck lips." They were big in all the wrong ways. To say I've been unhappy or dissatisfied with my results would be an understatement.
I knew that the lips I wanted were attainable; I had the Google searches and countless Instagram inspiration posts to prove it. I also knew I needed to try something new in order to get different results. So, I decided to dissolve the existing filler and start fresh. Using Hylenex, I had some of the volume dissolved from my lips and allowed them to sit without injecting any more filler for a few months. Then, once I felt ready, I sought out another lip-injection technique called "lip tenting" that promises a softer, fuller look. Keep reading to hear how my experience went.
What is Lip Tenting?
To be clear, lip tenting is not new in the world of injectables — if you are familiar with the Russian lip technique, this is essentially it — but its popularity has grown over the past few years on social media. "Lip tenting is one of several lip injection techniques where you're primarily working on the submucosal aspect of the vermillion border of the lip to give a greater raise and eversion to the lip line," says Paul Jarrod Frank, MD, a celebrity cosmetic dermatologist and owner of PFrankMD. In other words, this buzzy technique is meant to grow the pink portion of your lips rather than build volume, so that they actually appear larger, flatter, and more natural looking.
Why "tenting"? "It's called 'tenting' because when you're injecting, you're starting to inject deep, and you're injecting in a retrograde fashion to lift or tent up the border of the lip itself," says Dr. Frank. Essentially, lip tenting consists of injecting smaller amounts of the filler in and around the border of the lip at multiple entry points. Alternatively, older injection techniques consist of filler being injected horizontally (as opposed to vertically in the case of lip tenting) from underneath the lip and into the muscle itself.
Lip tenting, as Dr. Frank explains, can create a similar effect to a lip flip, which uses a neuromodulator such as Botox to create eversion and lift the border of the lip. (Although it's worth noting the two are not one and the same.)
What It's Like to Get Lip Tenting
I visited Dr. Frank at his office in Manhattan to get my lip filler using the lip tenting technique. Prior to my visit, I was instructed to avoid any anti-inflammatories, such as aspirin or ibuprofen to prevent bruising post-injection. Full disclosure: the morning of my appointment I had to take Advil for a headache, but luckily it had little to no effect on my bruising after the injections.
Once at his office, I was taken into the exam room and Dr. Frank walked in soon after. Warm, friendly, and professional, I shared my lip journey and expressed my concerns and desires for my lips to him. I was concerned about my upper lip, which tends to be asymmetrical despite filler, and he assured me that the lip tenting technique, which focuses more so on the upper lip, will solve the problem. Additionally, he reassured me that though I had some baseline filler in my lips that I would still see beautiful results. Lip tenting, he says, tends to be performed in tandem with other techniques, such as "muscular from underneath technique or from the side."
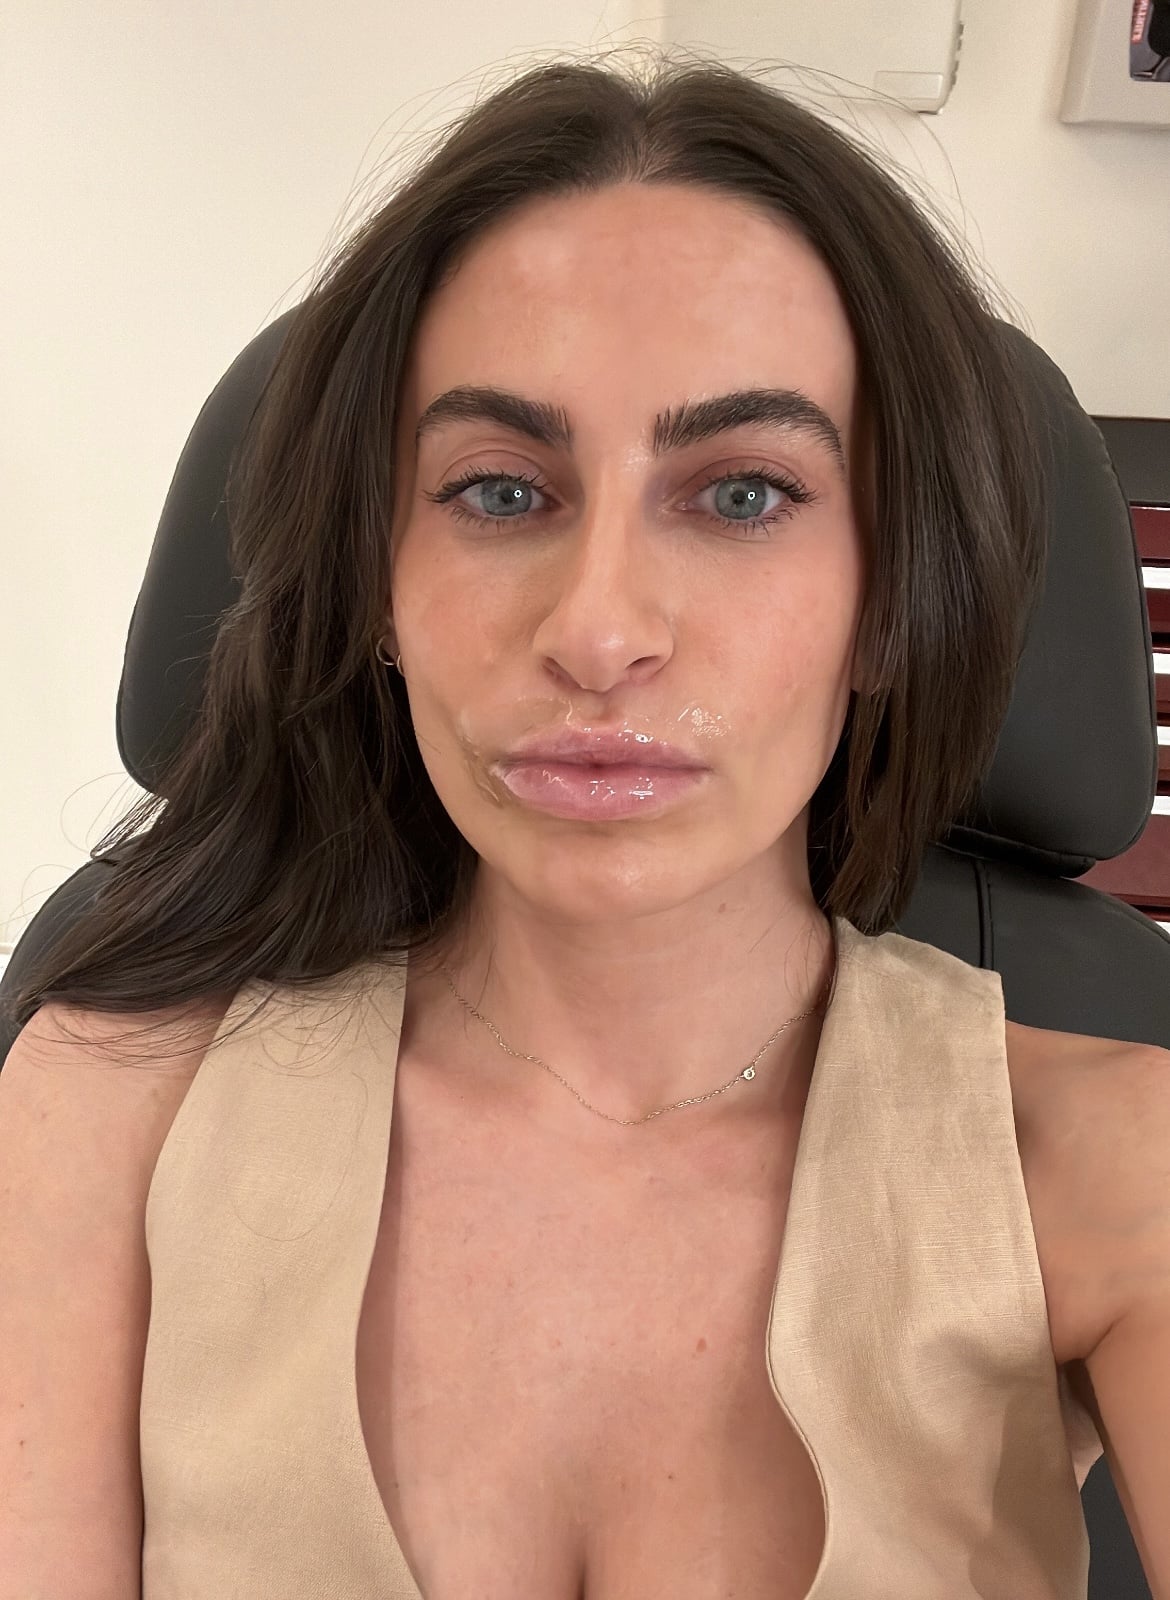
After addressing my concerns, numbing cream was applied to my lips for about 10 minutes. Once the numbing cream was removed, Dr. Frank began injecting on both sides of my upper lip slowly, precisely, and almost painlessly (that's where the numbing cream comes in). Though painless, I still felt the needle going in vertically from the border and into my lips, as well as the sensation of how slowly he pulled the needle out of my lips each time. The entire treatment took only a few minutes.
He ultimately avoided my cupid's bow as it was already turned up and also because the distance from my lip to my nose (the philtrum) is already pretty small. He did not inject my bottom lip either, as it is also pretty full. Dr. Frank did three to four injections on each side of my upper lip using the lip tenting method, along with a little pinch of filler into the meat of my lip to even out any irregularities. When all was said and done, Dr. Frank used about half of a syringe in my upper lip, as he felt it was sufficient to grow my lip enough without it looking overdone.
Though Dr. Frank had not used a full syringe on me for the lip tenting technique, a full syringe using this method is not required.
Lip Tenting Aftercare
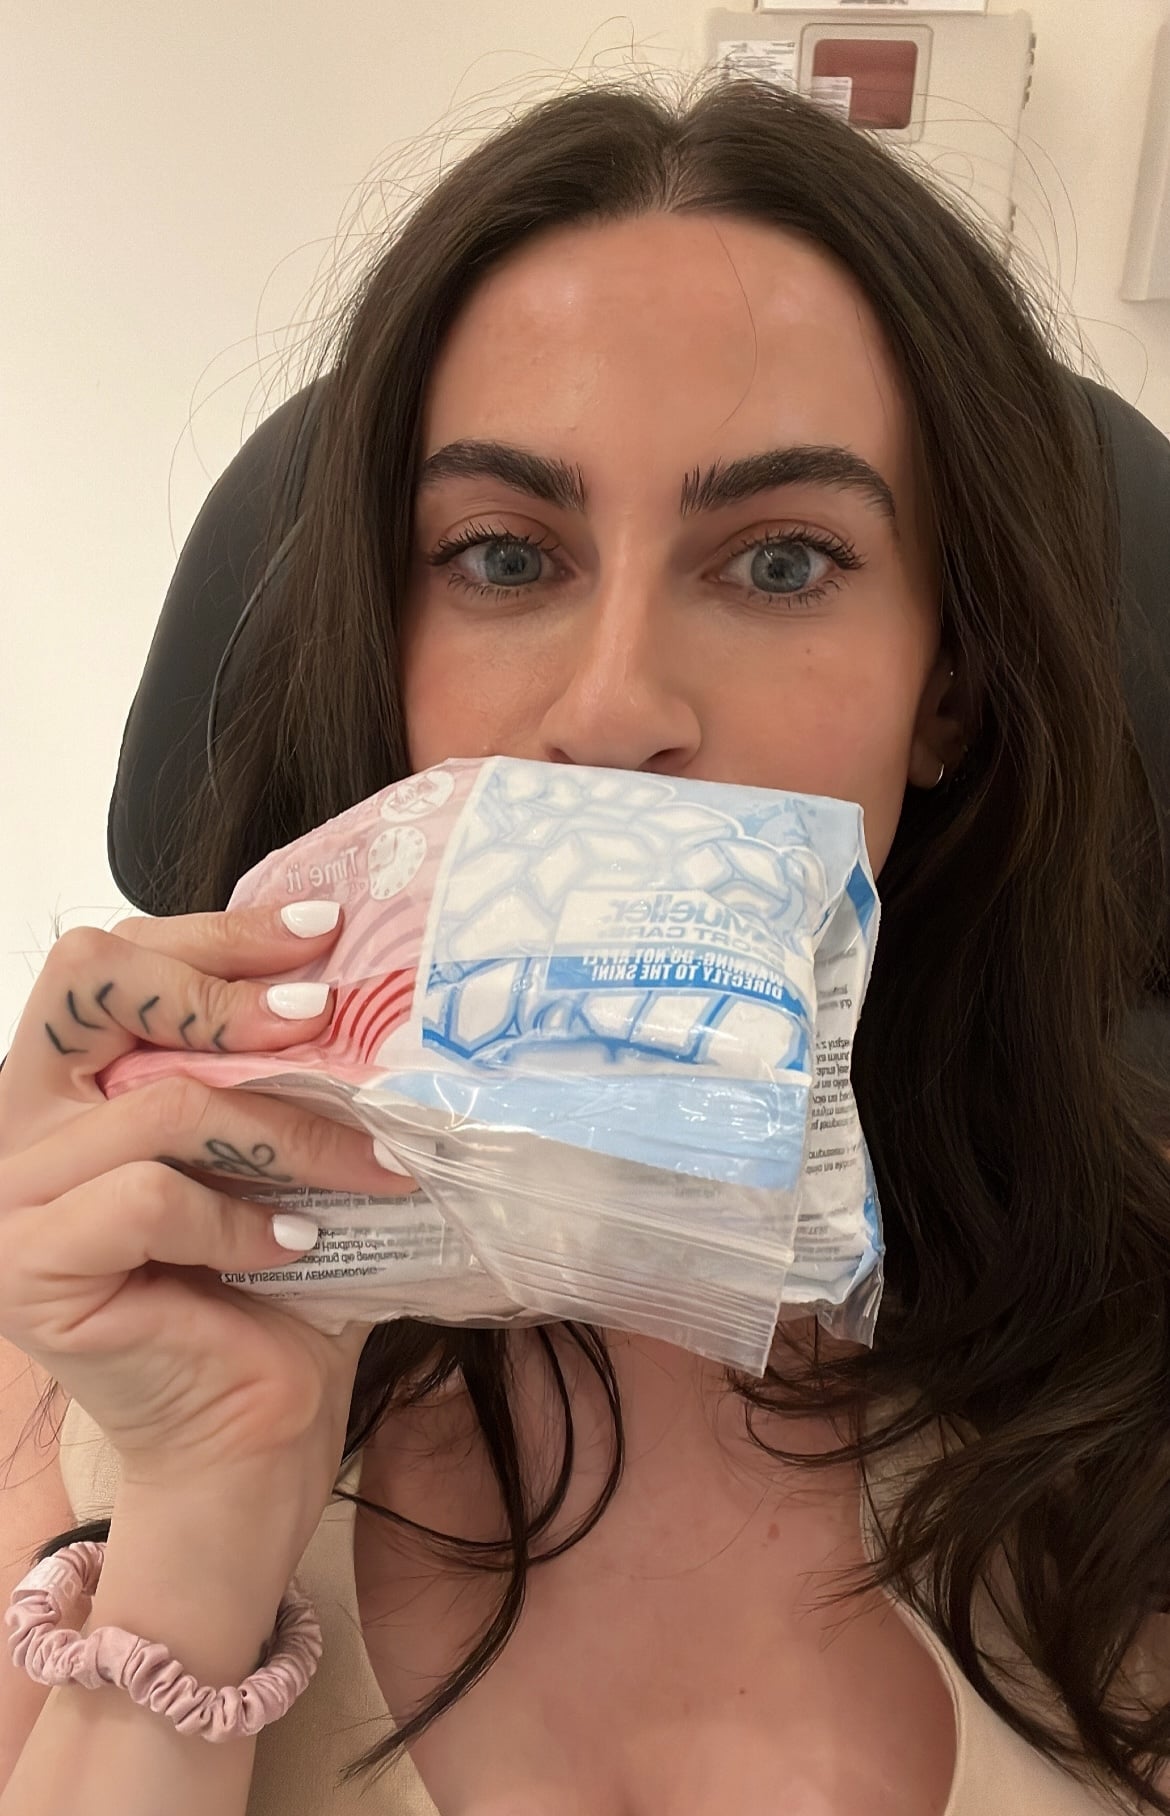
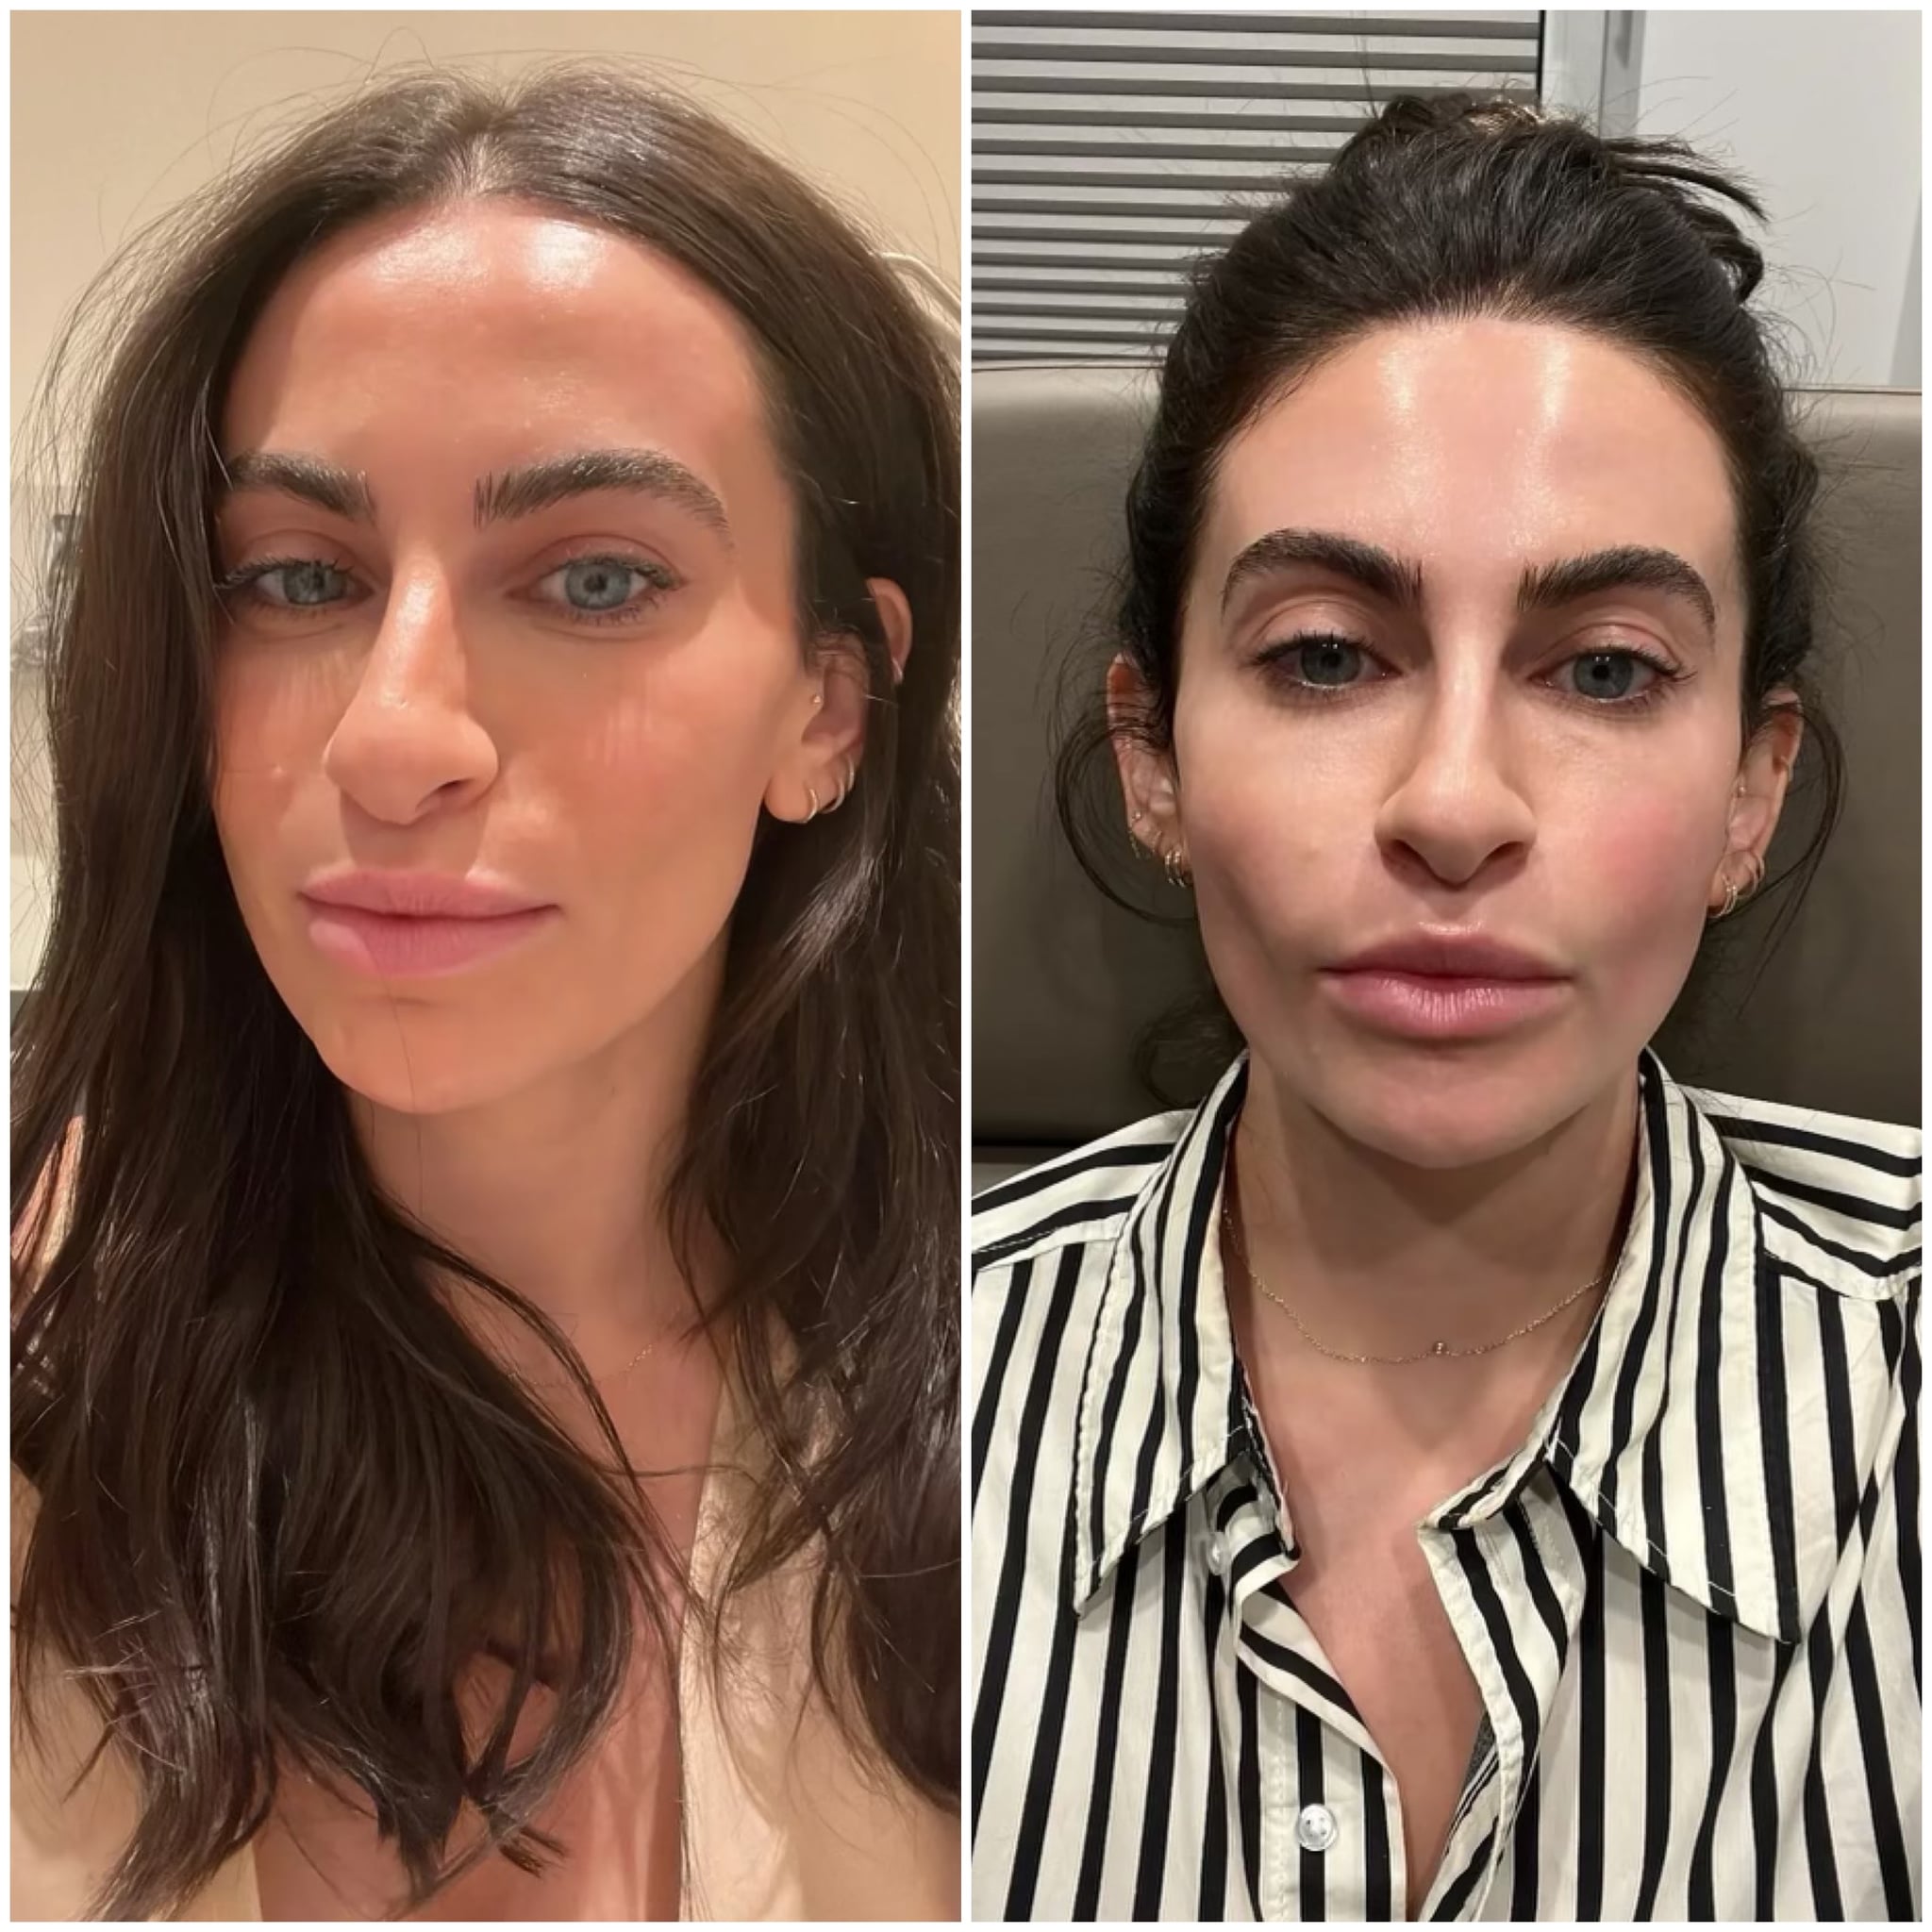
As with any other filler experience, I was given an ice packet post-injection and strongly warned against massaging the area. My lips settled after only a week. Dr. Frank told me to expect full results at around the two-week mark. Of all the times that I've had my lips injected, this was the first and only time that they did not swell post-injection or in the days after. I only developed a very small bruise on the outer part of the left upper lip, which lasted a day or two. For me, this was nothing short of a miracle — not only am I a bleeder, but I'm a bruiser.
Whether it was the lip tenting technique or Dr. Frank's expert injection skills that prevented the swelling, I can't quite say. Nevertheless, it was one of the best lip filler experiences I've had.
Is Lip Tenting Worth It?
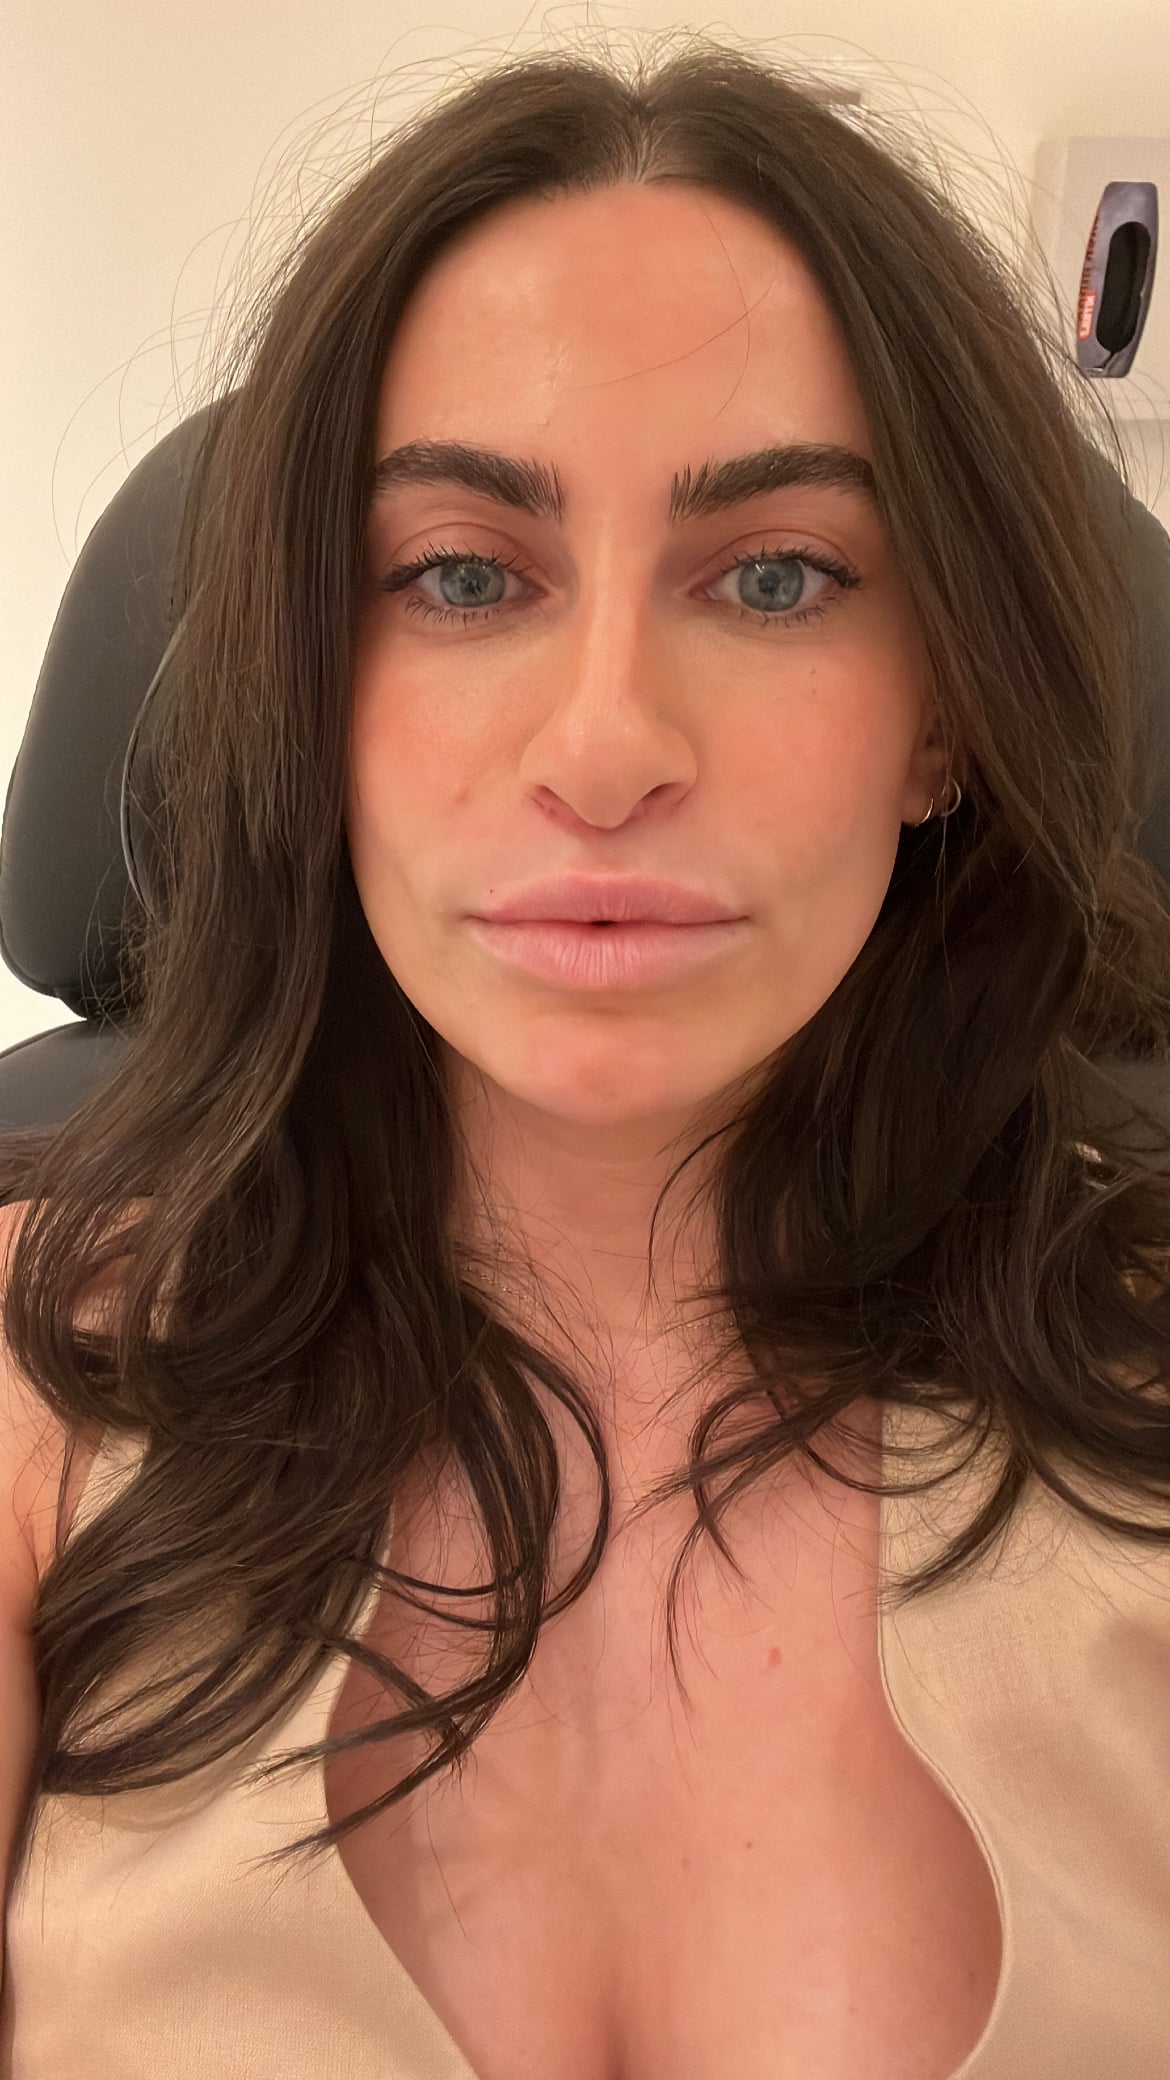
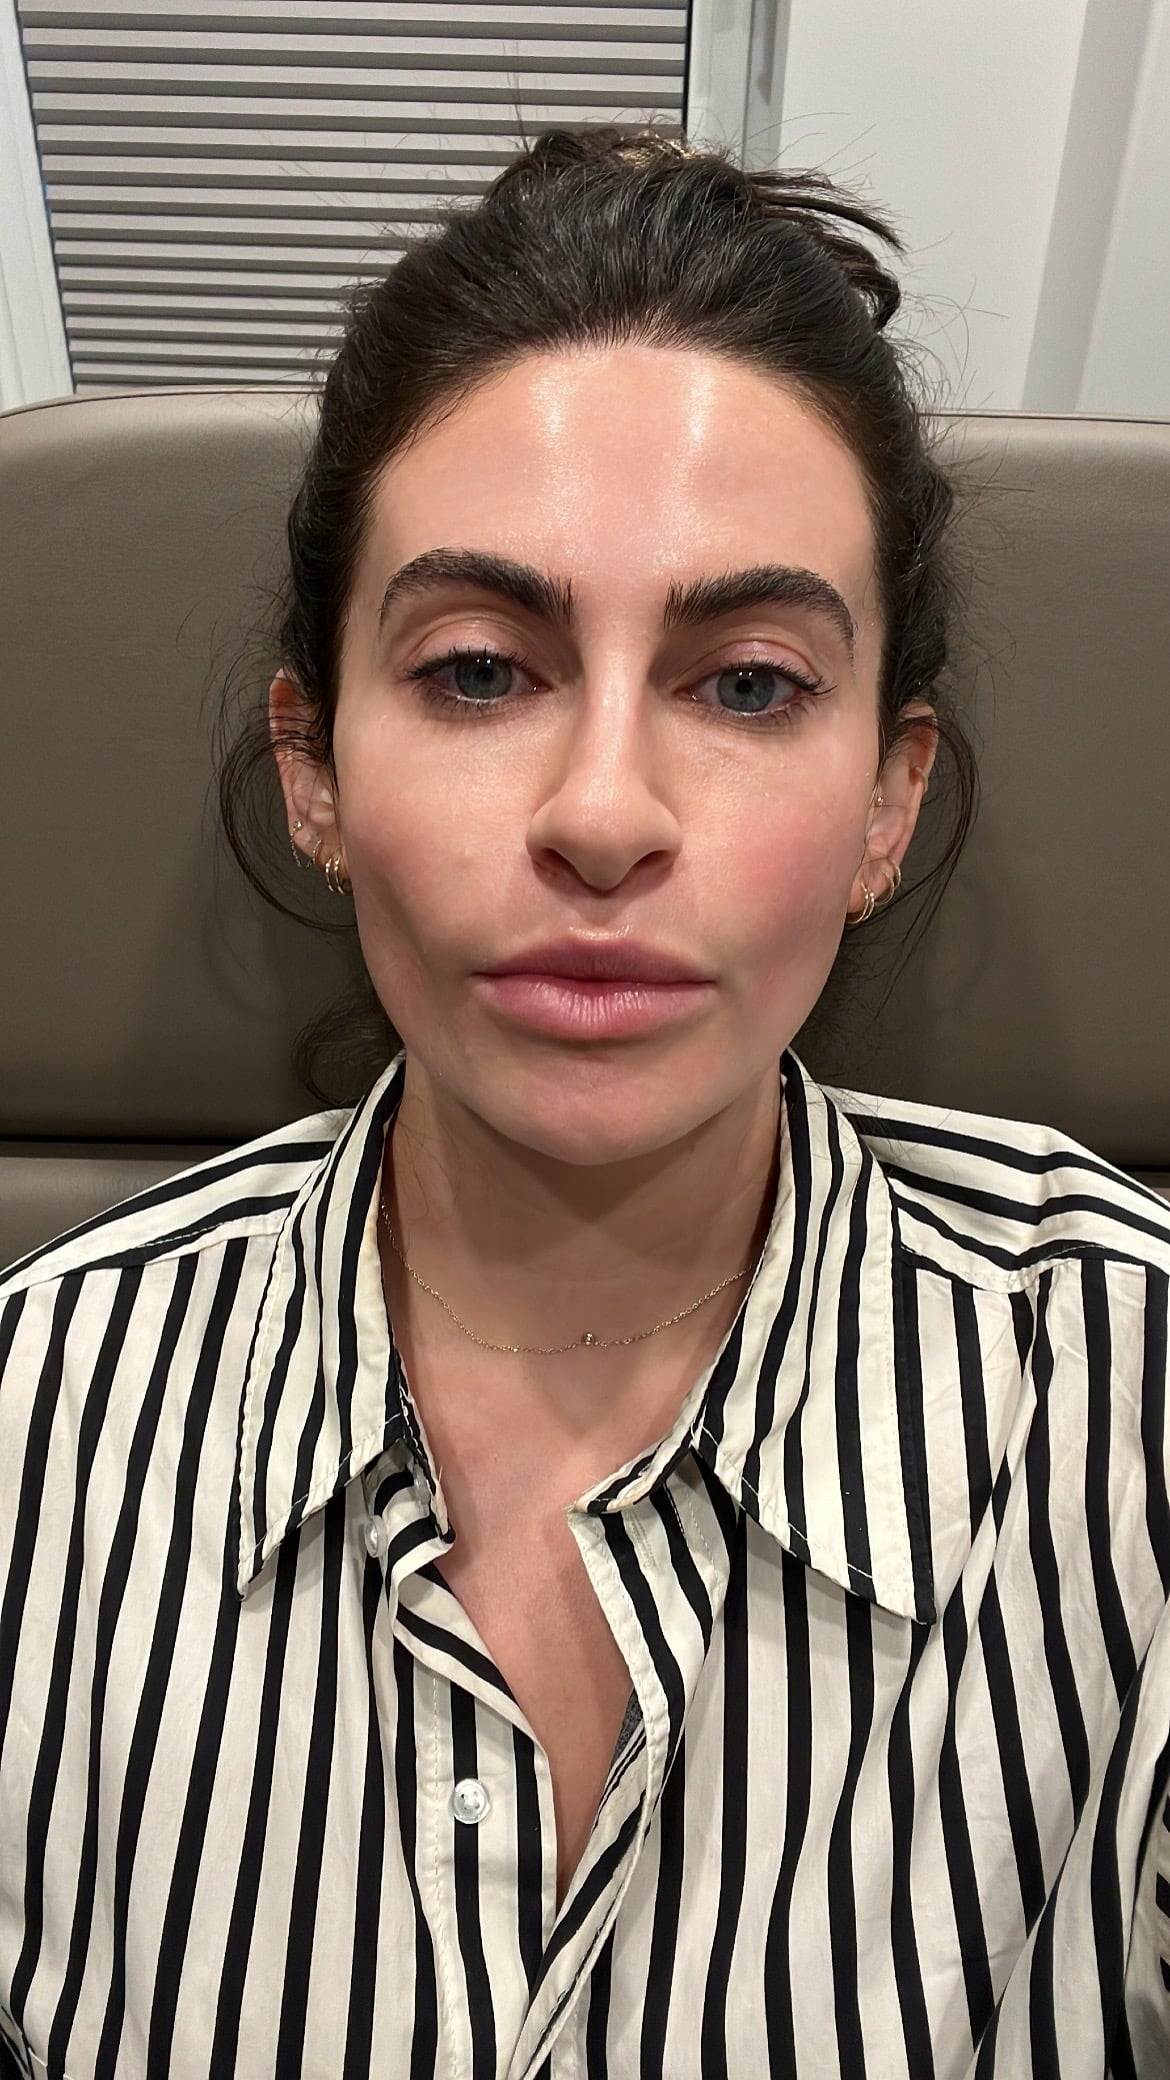
For me, the lip tenting method was worth it. I saw a small but noticeable increase in the size of my upper lip. I am now a little over a week post-injection and, when I look in the mirror, my upper lip appears natural and noticeably flipped up with slightly more of the pink area of the lip showing.
If you're considering the lip tenting technique and whether it's right for you, note that this depends on the laxity of your skin. Dr. Frank recommends lip tenting in younger patients as they generally have more elastic tissue, which is needed for a good result. "[P]utting too much filler in the vermillion area can make the filler move during smiling, so it's best to work on younger people with greater elasticity." Additionally, if the wrong candidate is injected using the lip tenting technique, it could promote migration.
As with other lip fillers and injection techniques, the effects of lip tenting can last anywhere from four months to a year. The lifespan on the filler will depend upon the patient and their lifestyle. Though I will say, in reference to my own filler experiences over the years, if you have been getting filler in your lips for some time, additional filler seems to last longer.
"Overall, lip tenting is a great technique to use in conjunction with other techniques. There is no best, it's only what's best for the patient to provide greater definition, eversion, and greater pink show in the lips," says Dr. Frank.
