Homemade Cheez-Its Recipe With Pictures
The Secret Ingredient to These Homemade Cheese Crackers? Instant Mac and Cheese Powder
Christina Tosi is known for her over-the-top cakes and confections from her Milk Bar bakery. The famous chef has an abundance of recipes on her website, and one that recently intrigued me was her recipe for homemade cheese crackers. The secret ingredient? Well, it's something you probably already have in the back corner of your pantry or cabinet: a box of instant macaroni and cheese!
These cheese crackers require minimal ingredients, a little time and patience, and just a few pieces of equipment. The basic dough is a great base for just about any flavouring you want to add to them. In the past, I've made ranch cheese crackers using powdered ranch dressing mix, spicy cheese crackers by adding sriracha hot sauce, and even garlic and herb cheese crackers with dried herbs and garlic powder mixed right in to the dough before baking.
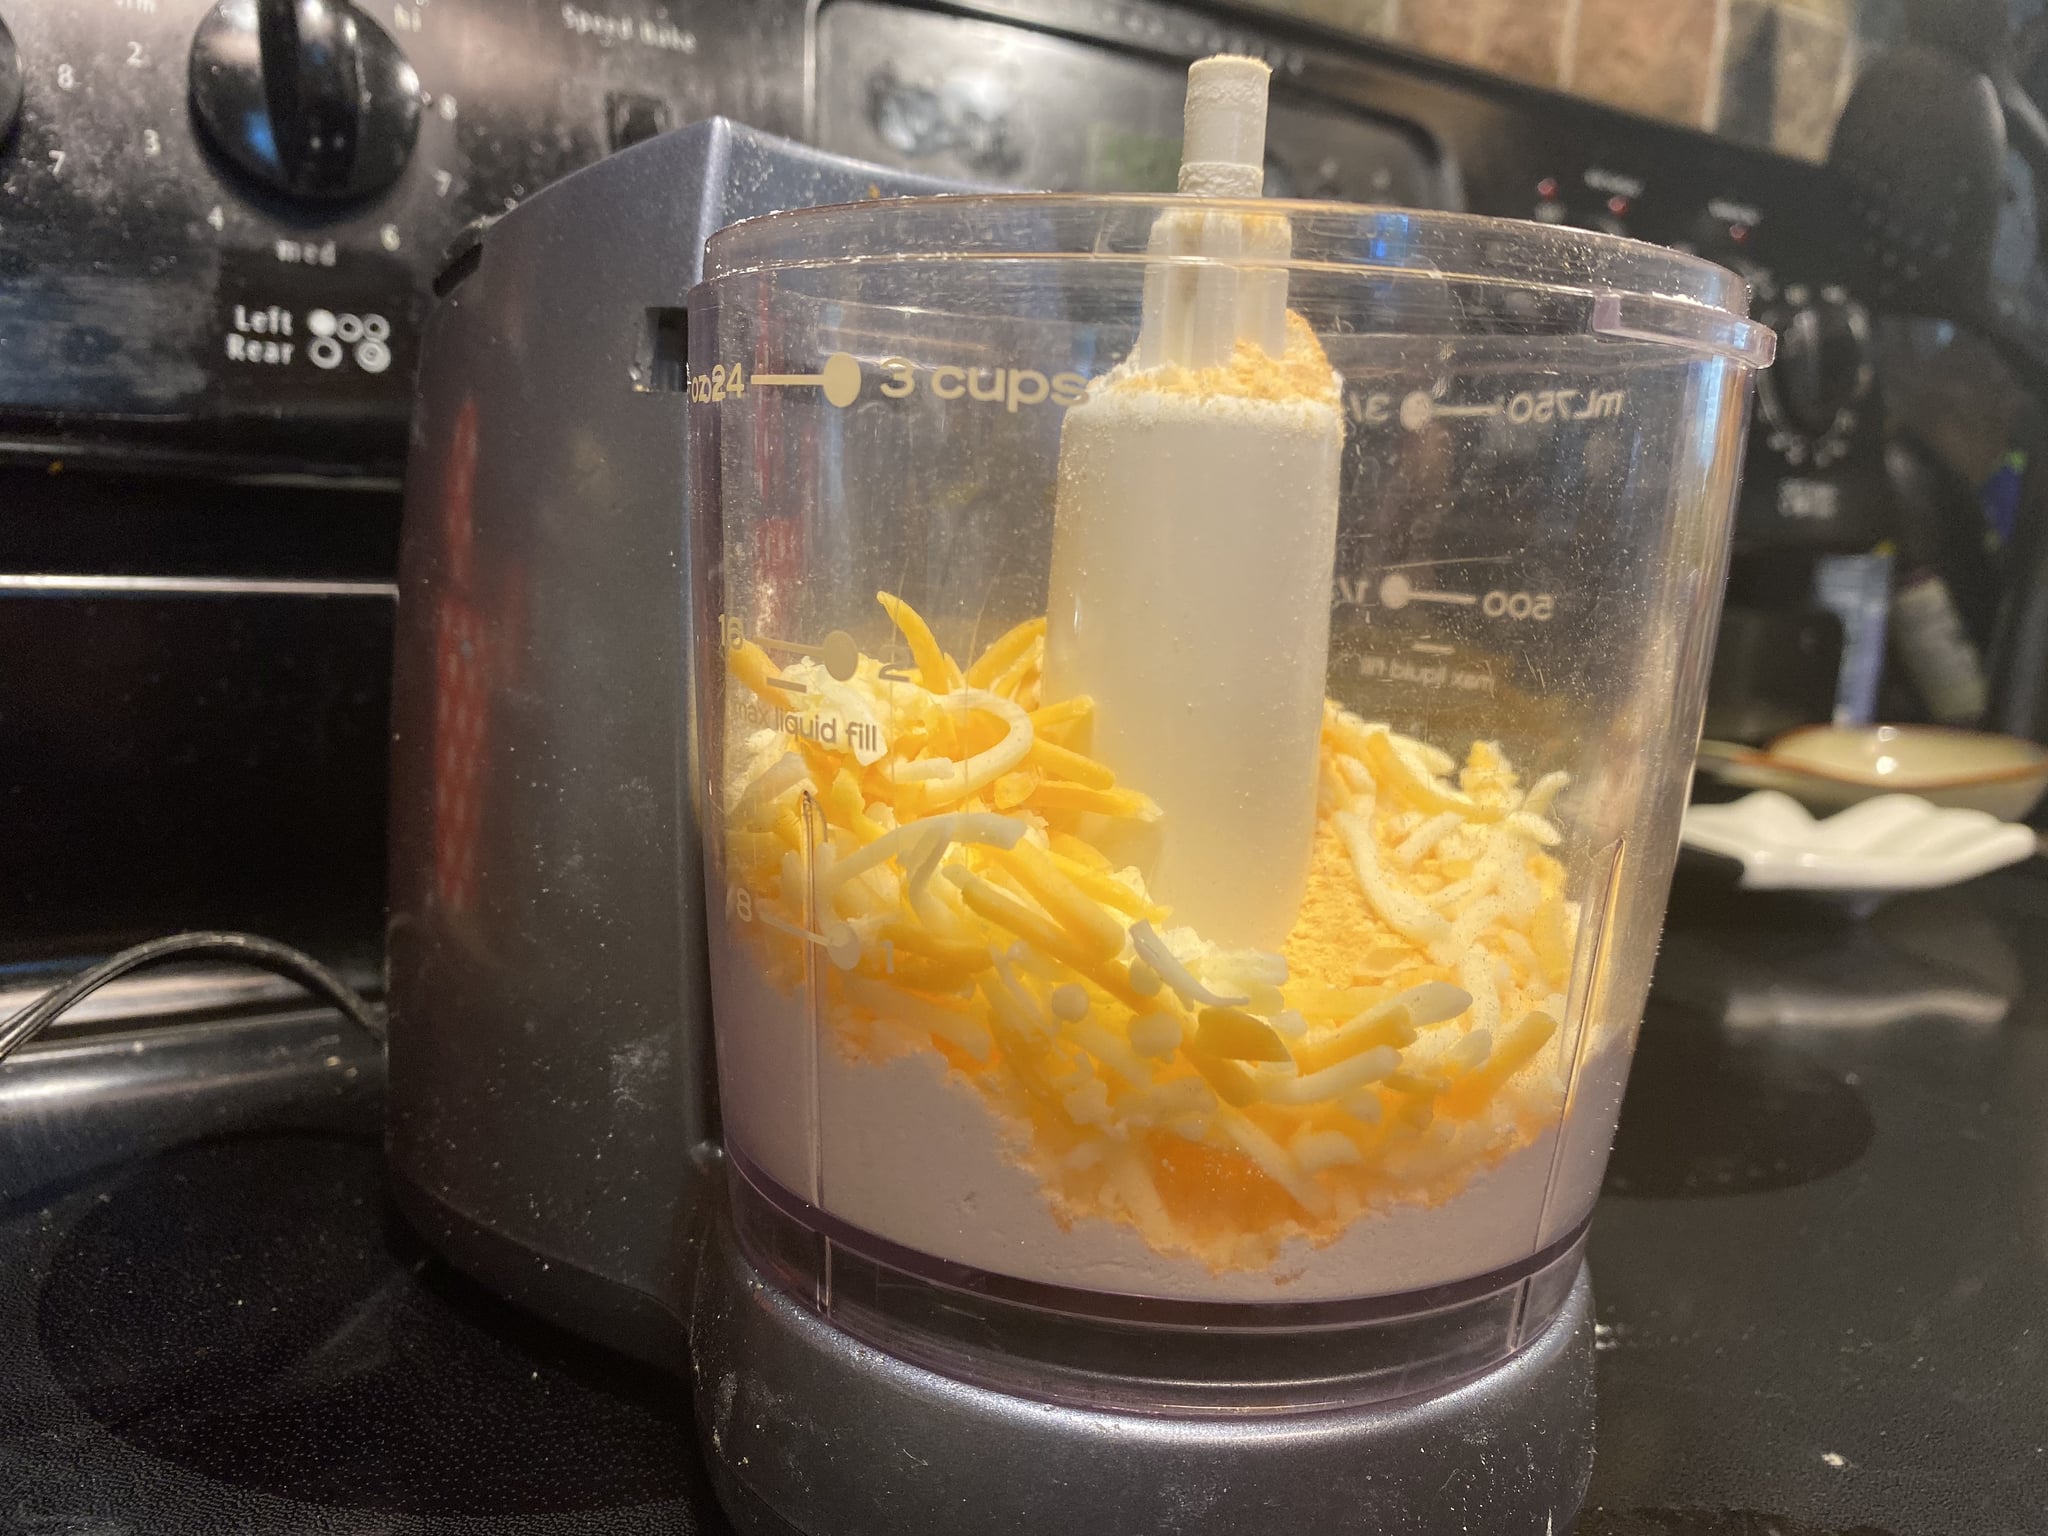
The recipe is super easy to follow and uses a food processor to mix everything up. If you don't have a food processor, you could easily do this by hand, with a stand mixer, or a hand mixer, but it will take a little bit longer since you want to incorporate the ingredients really well.
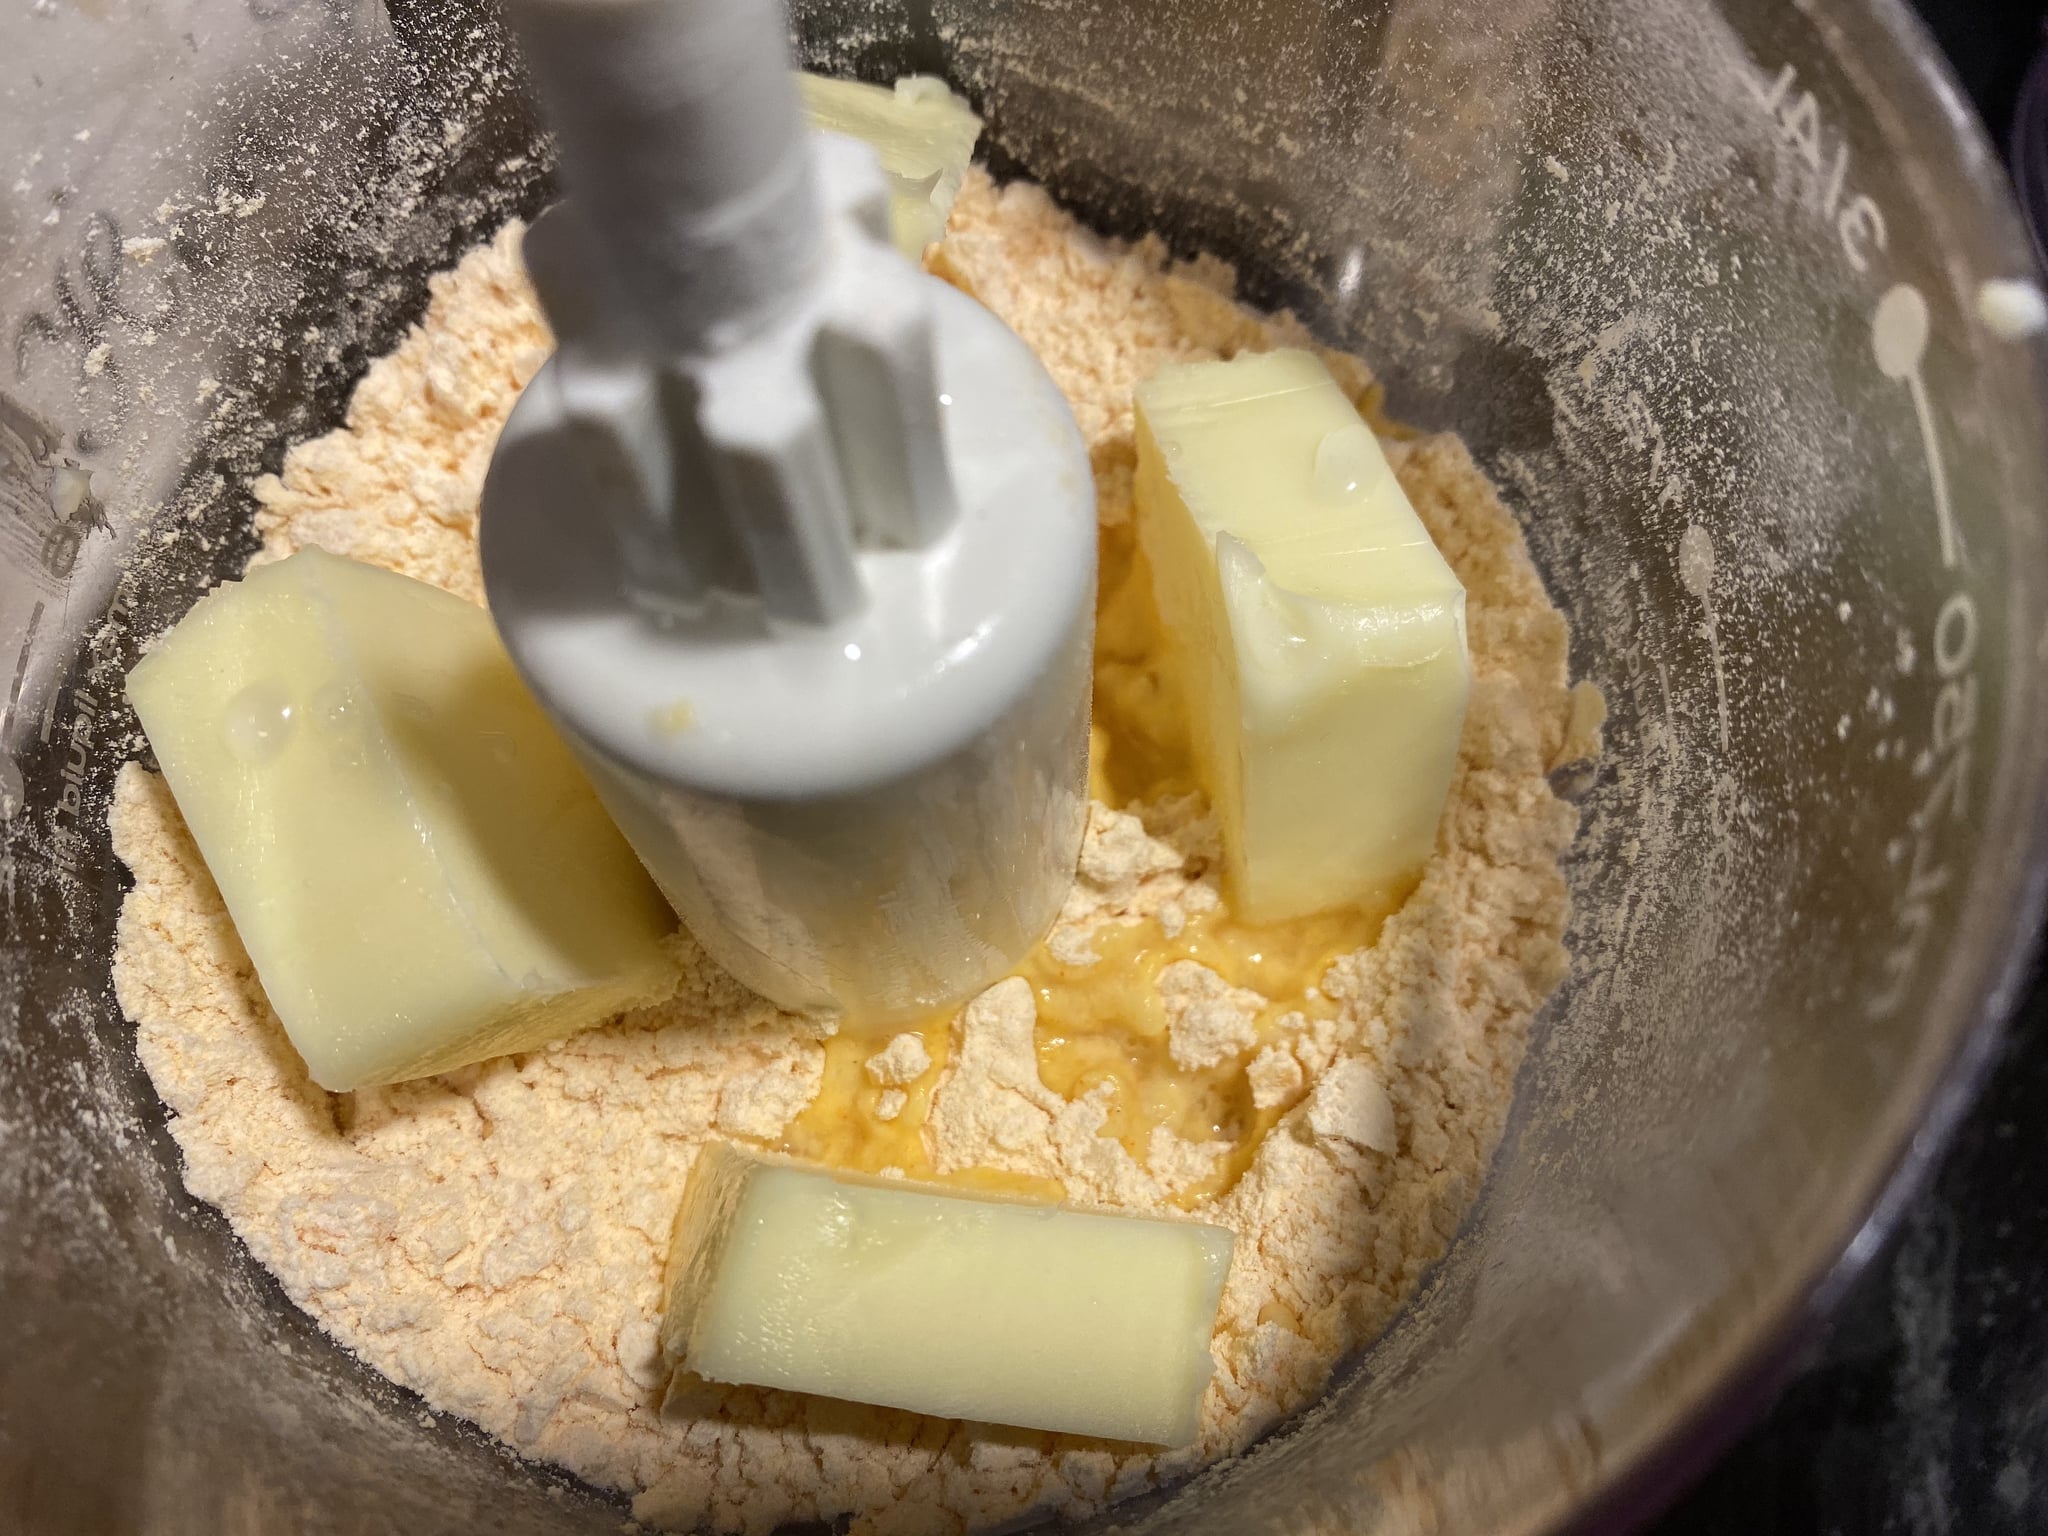
The butter for the mix needs to be cut up into smaller chunks so it breaks down into the cheese mix without leaving big clumps. This is also when you're going to want to add any additional flavourings.
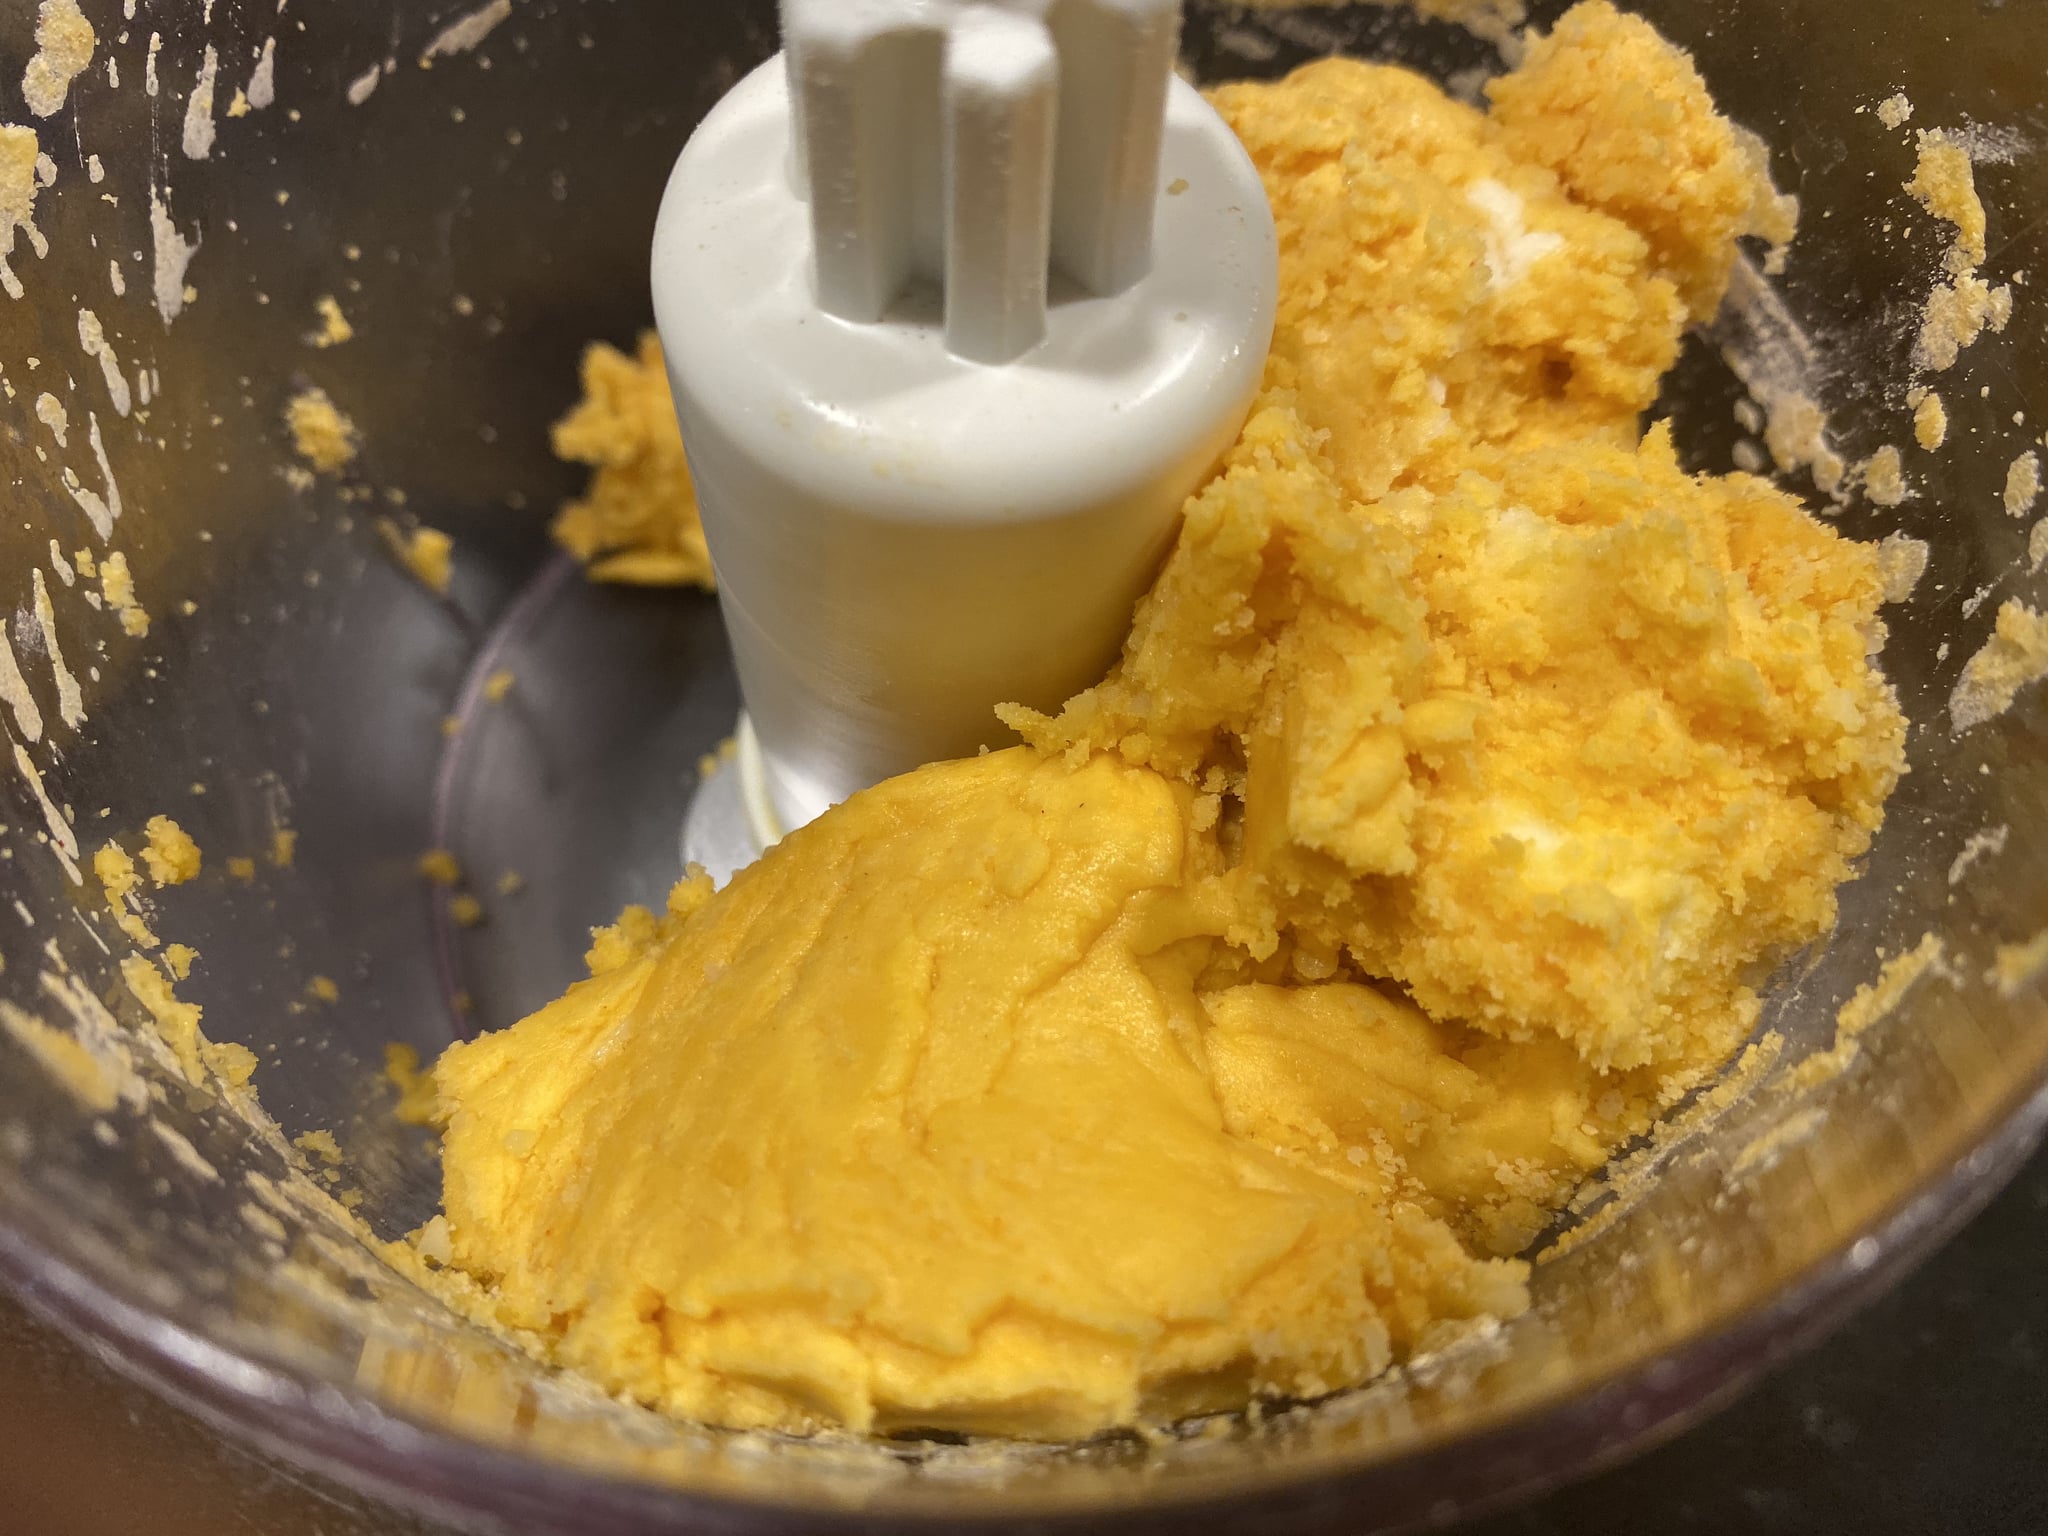
I pulsed the ingredients together to start than ran my food processor on high for about 30 seconds to get everything mixed well. When it's ready, it will form a thick dough and begin to pull away from the sides of the food processor. The dough should look electric orange thanks to the addition of the powdered cheese from the box of macaroni and cheese.
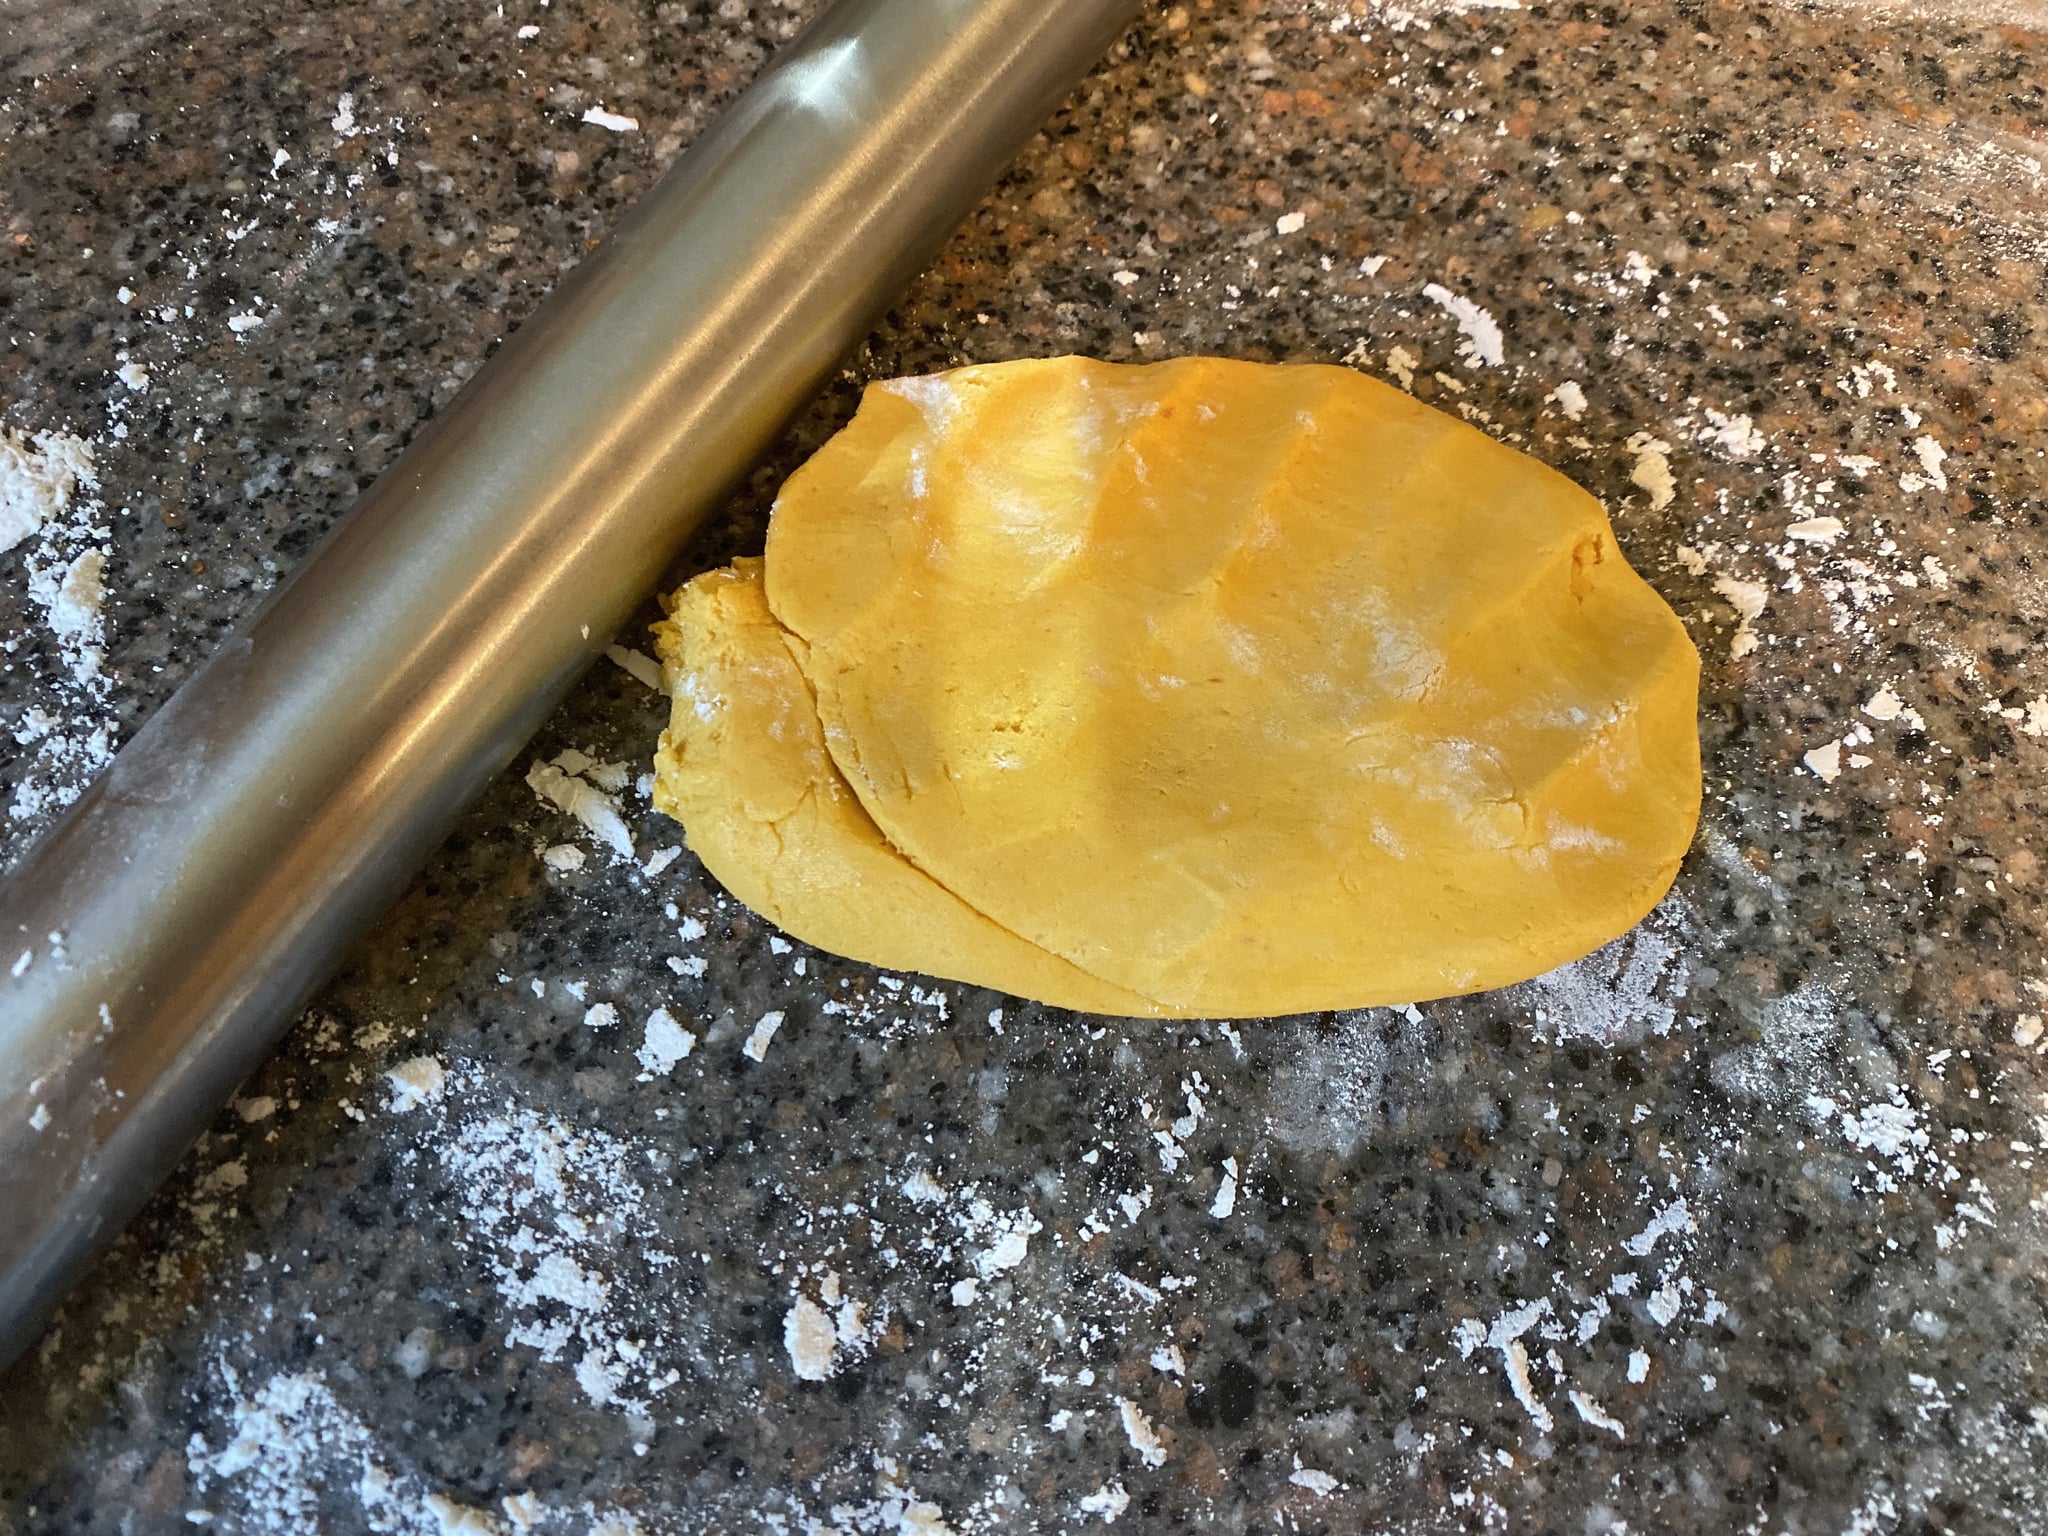
Flour a work surface lightly, dump the dough out onto the flour and try to form it into a rectangle for easy rolling. The dough will be a little sticky so if you need to flour the top of the dough to roll it out easier, that's fine. I floured mine a few times as I rolled it out so it didn't stick to my rolling pin.
You could also roll out the dough between two pieces of parchment paper, wax paper, or cling film for an easier clean up. If you're going to go this route make the pieces larger than you think you're going to need.

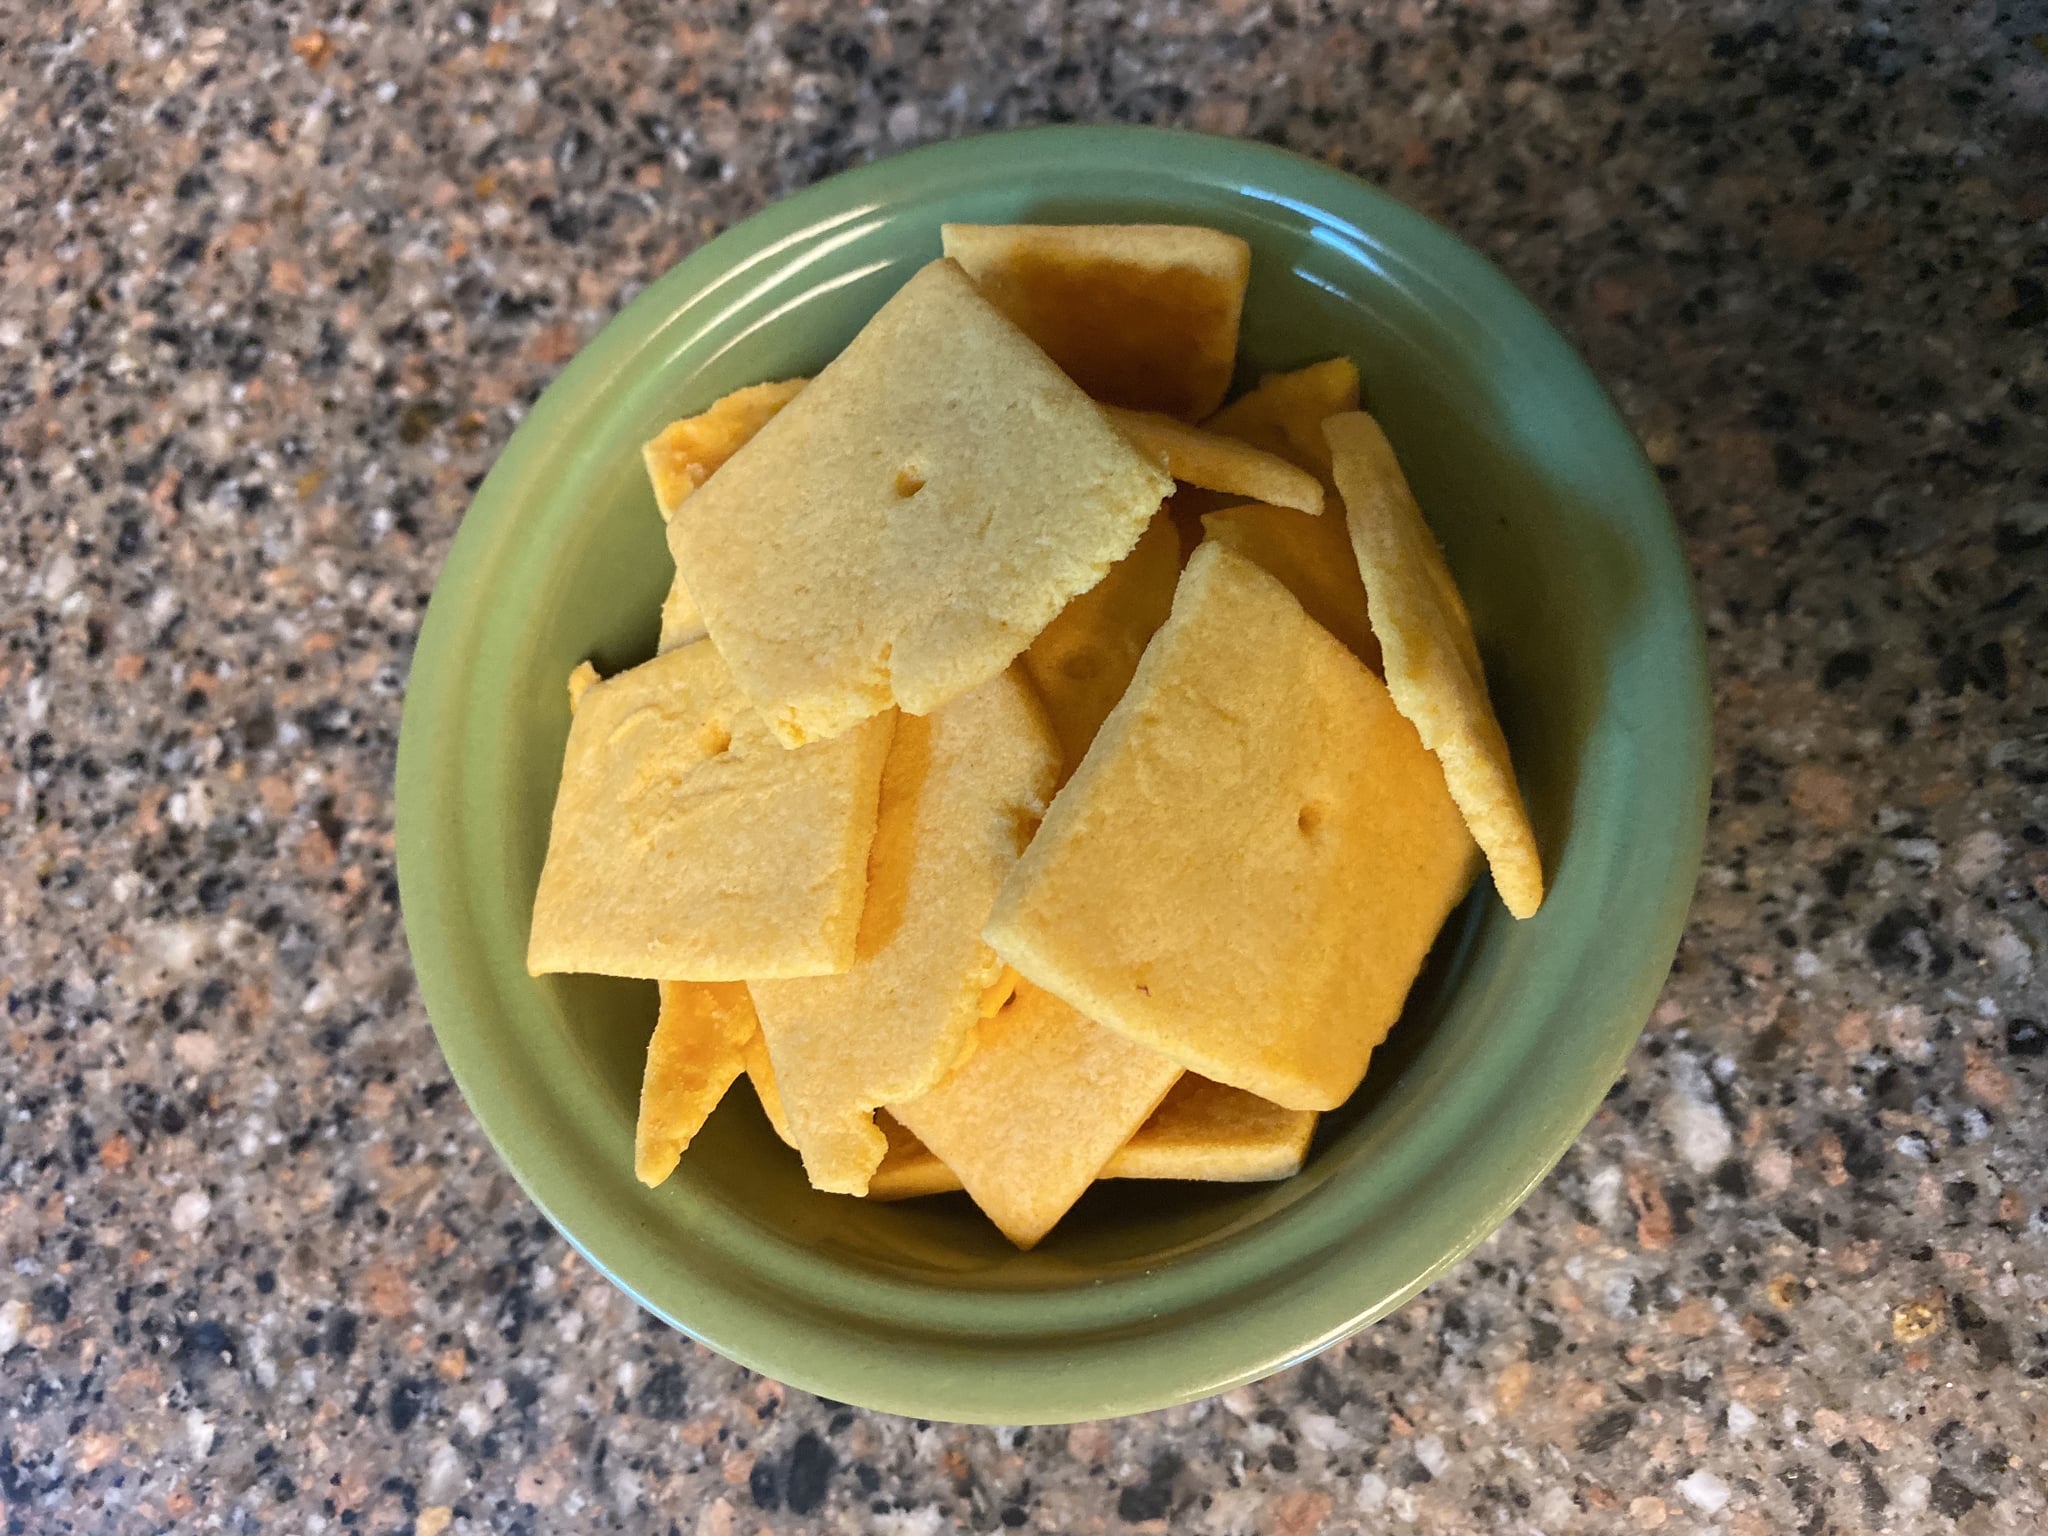
Be sure to roll your dough out pretty thin since these bake at a lower temperature for a pretty short amount of time. Cut it into any shape you want. I find it easier just to make squares with a pizza cutter so I can get these on a pan, into the oven, and into my mouth faster!
Cheeze-ums
Christina Tosi
Notes
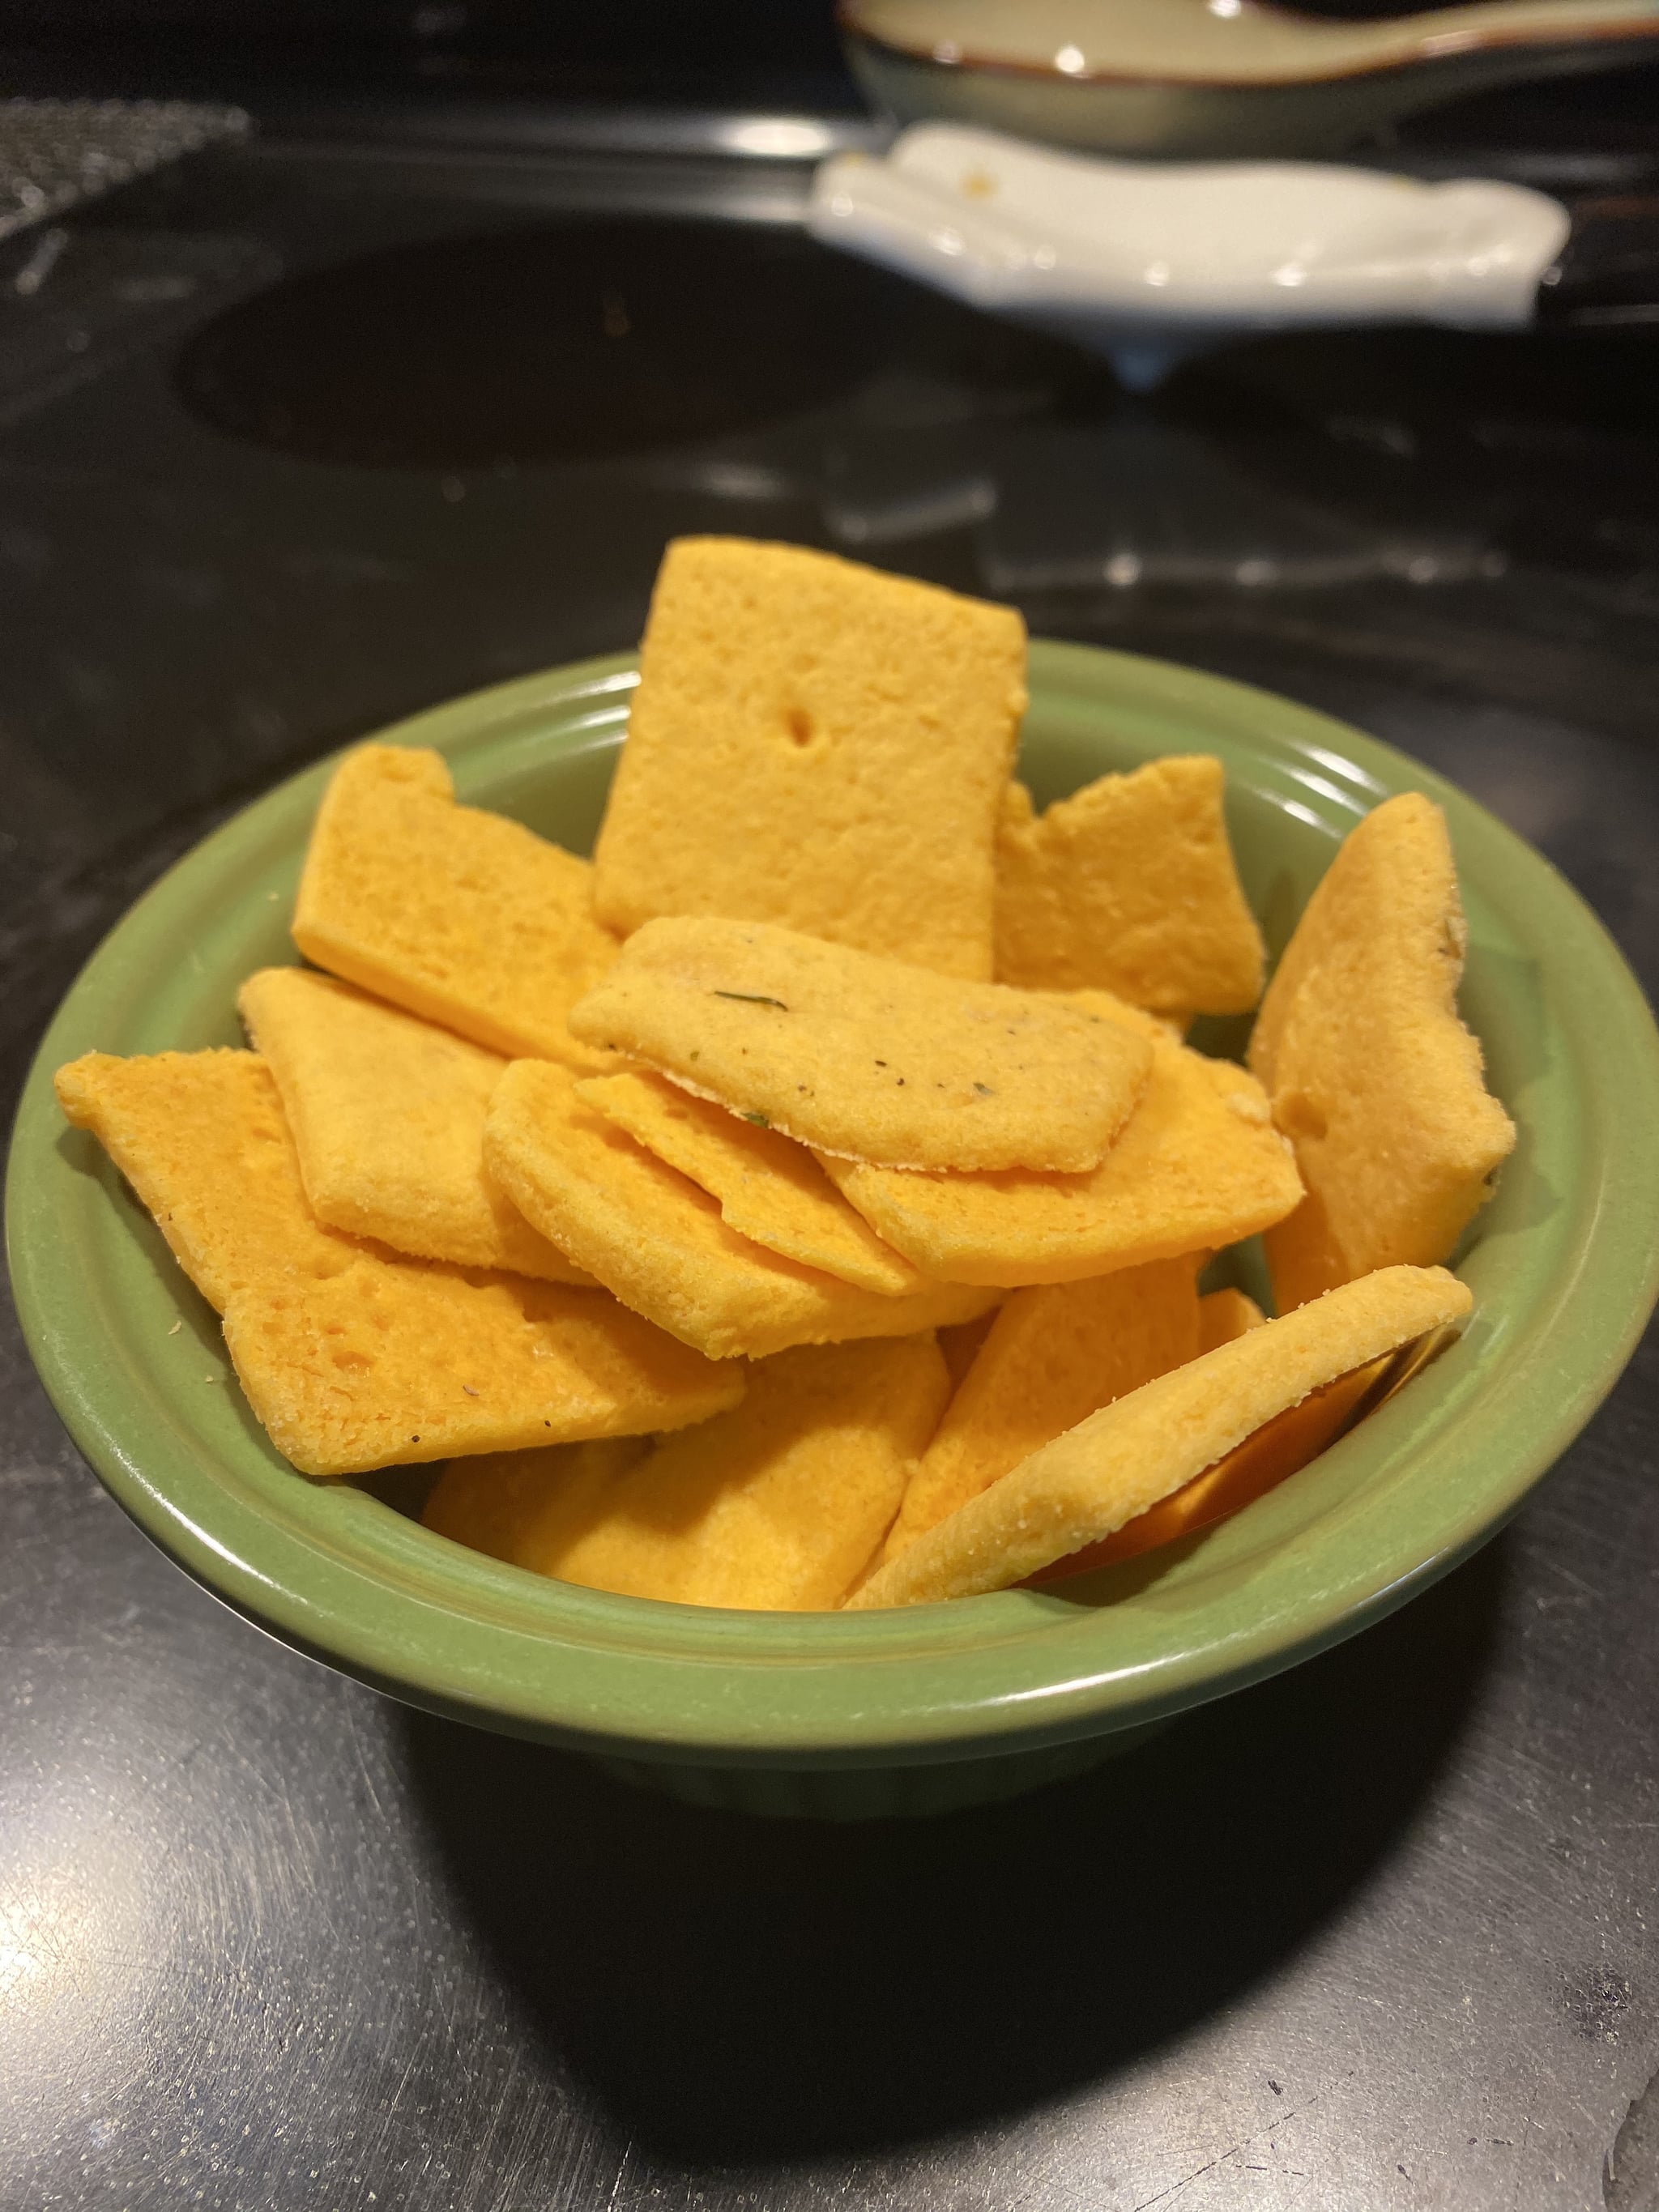
You can make these into just about any flavor you want, including spicy sriracha, zesty ranch, and garlic and herb.

Ingredients
- 1/2 cup all-purpose flour
1/4 shredded cheddar cheese (if you don't have cheddar use whatever kind of shredded cheese you have)
1 packet cheddar cheese powder from boxed macaroni and cheese
4 tablespoons butter
1 tablespoon water
Directions
- Heat oven to 250°F.
- Mix flour and both cheeses together with a food processor, mixer, or by hand.
- Add butter and water and mix until the ingredients form a bright orange dough.
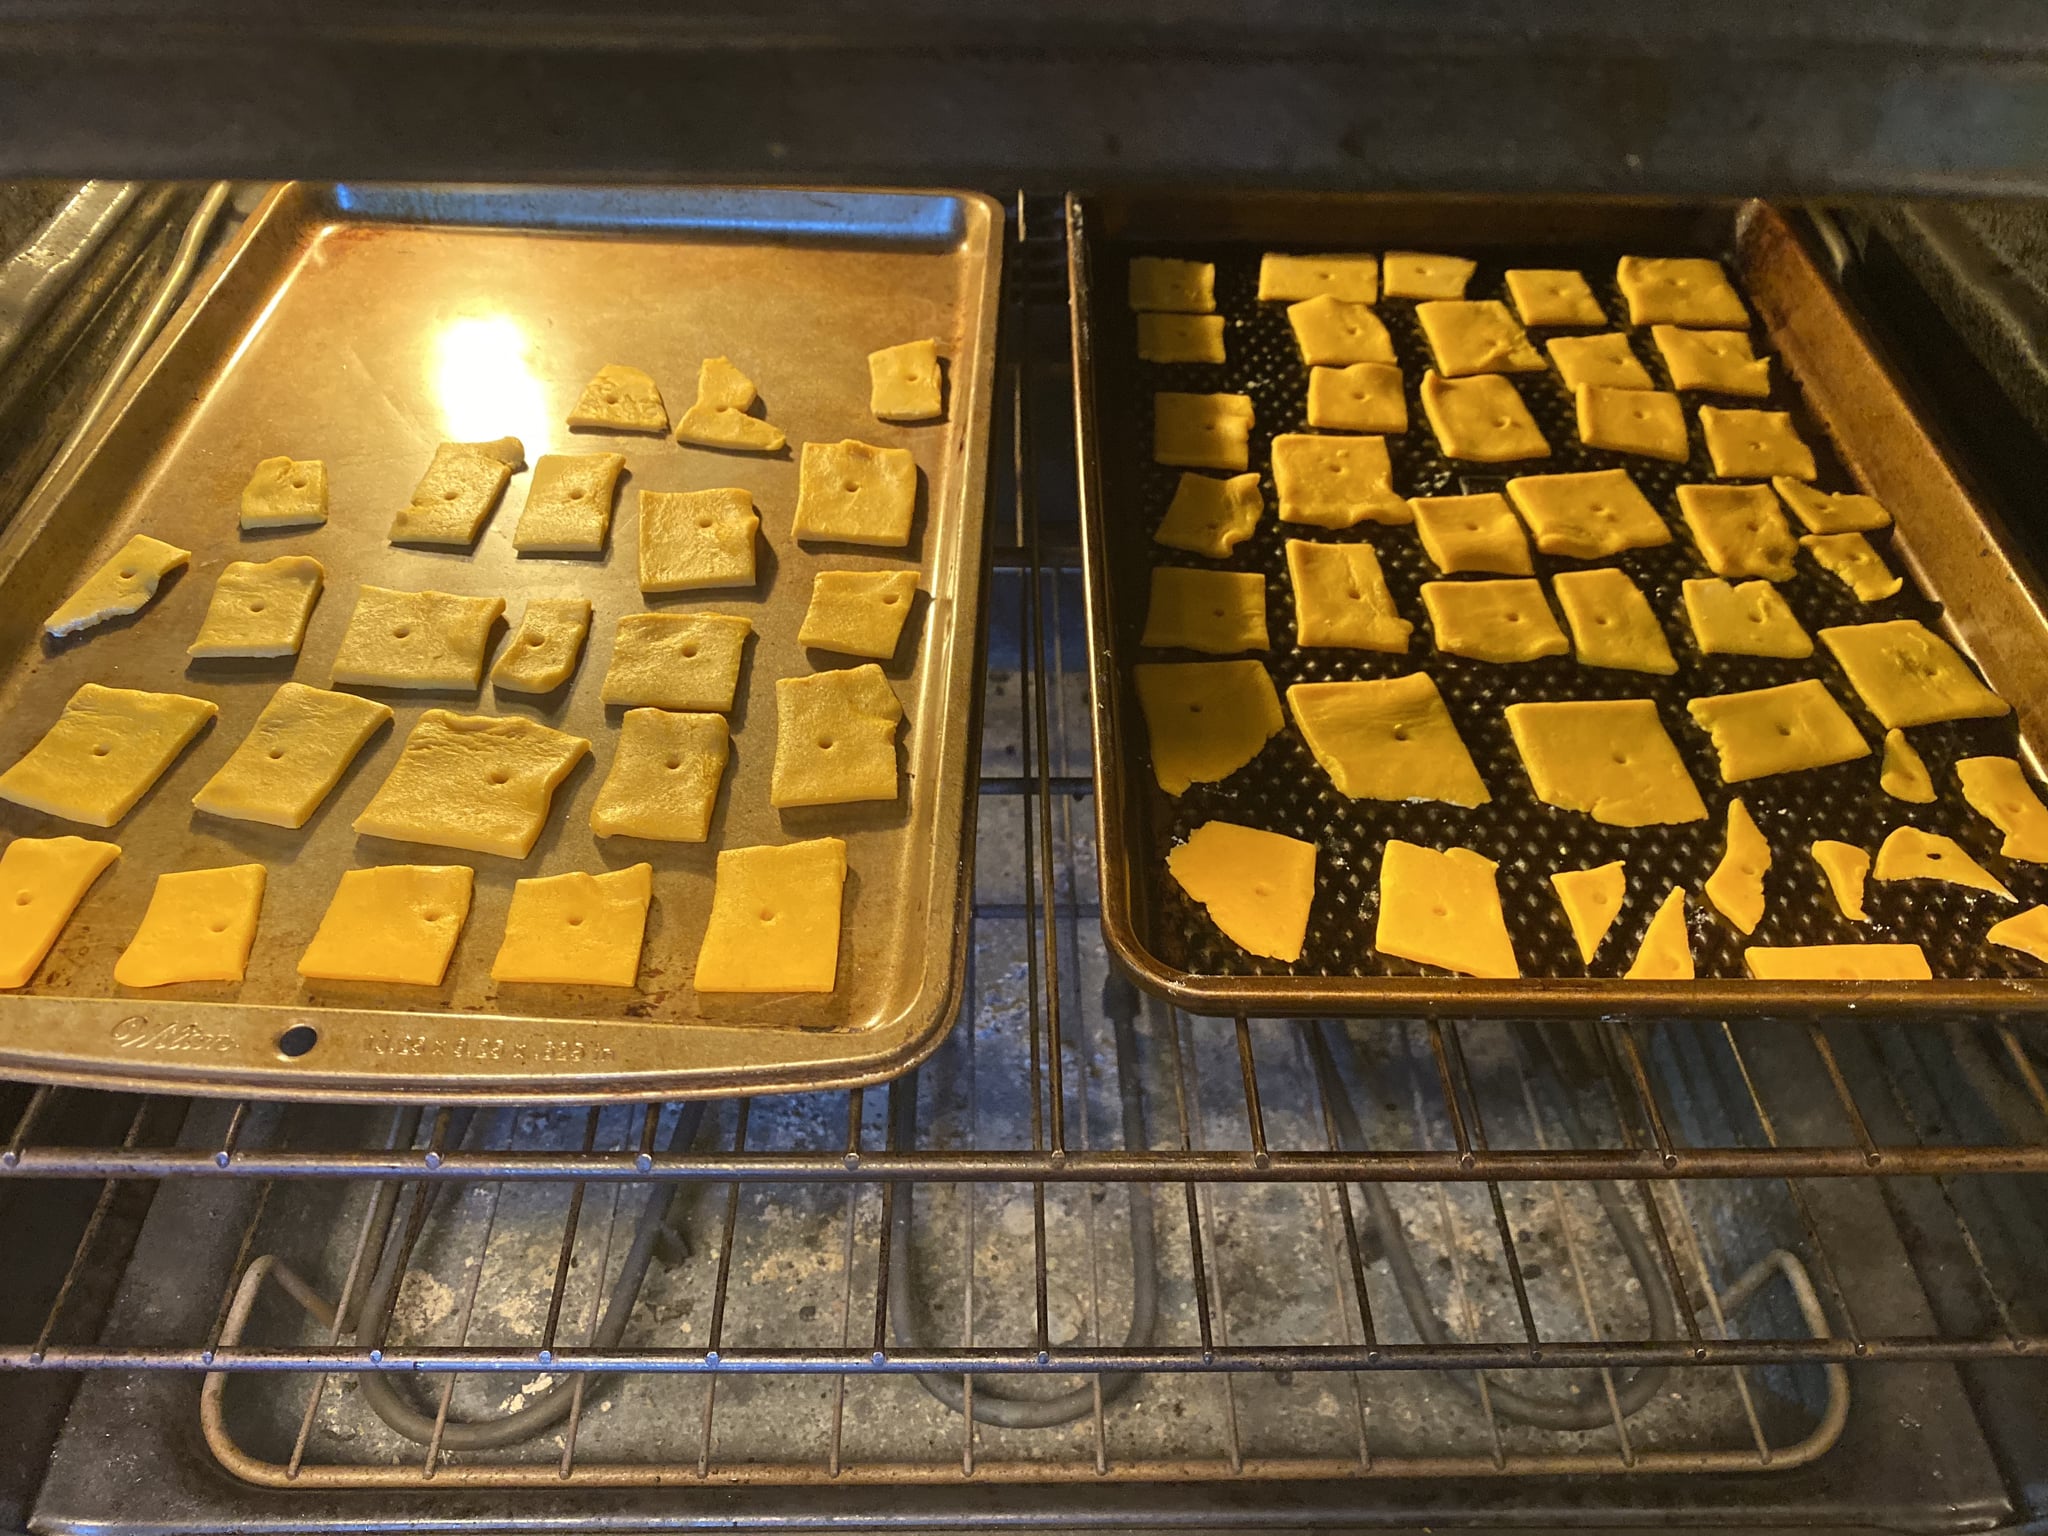
- Flour work surface or get two pieces of parchment paper, wax paper, or plastic wrap. Dump dough out onto the surface and roll into a thin sheet. Cut the sheet into shapes with a pizza cutter. Transfer each individual cracker to a sheet pan.
- Optional: before baking, poke a hole in the top of each cracker to make it look more like the real thing from the store.
- Bake for 15-25 minutes depending on how thick your crackers are and how crispy you want them. They should be golden brown around the edges.
- Let cool before devouring.
Information
- Category
- Snacks
- Yield
- 2 servings
- Total Time
- 14 minutes, 59 seconds


